Camera
以SC-3568HA为例,该板卡支持USB摄像头与MIPI摄像头
MIPI摄像头连接如下图:

目前该板卡支持GC8034、OV5695这两个MIPI摄像头
1. MIPI摄像头DTS配置
- arch/arm64/boot/dts/rockchip/rk3568-toybrick-x0.dtsi
    &i2c4 {
        status = "okay";

        gc8034: gc8034@37 {
            compatible = "galaxycore,gc8034";
            reg = <0x37>;
            clocks = <&cru CLK_CIF_OUT>;//CLK_CAM0_OUT>;
            clock-names = "xvclk";
            power-domains = <&power RK3568_PD_VI>;
            pinctrl-names = "default";
            pinctrl-0 = <&cif_clk>;
            reset-gpios = <&gpio0 RK_PD6 GPIO_ACTIVE_LOW>;
            pwdn-gpios = <&gpio4 RK_PB4 GPIO_ACTIVE_LOW>;
            rockchip,grf = <&grf>;
            rockchip,camera-module-index = <0>;
            rockchip,camera-module-facing = "back";
            rockchip,camera-module-name = "RK-CMK-8M-2-v1";
            rockchip,camera-module-lens-name = "CK8401";
            port {
                gc8034_out: endpoint {
                    remote-endpoint = <&mipi_in_ucam1>;
                    data-lanes = <1 2 3 4>;
                };
            };
        };

        ......

        ov5695: ov5695@36 {
            status = "okay";
            compatible = "ovti,ov5695";
            reg = <0x36>;
            clocks = <&cru CLK_CIF_OUT>;
            clock-names = "xvclk";
            power-domains = <&power RK3568_PD_VI>;
            pinctrl-names = "default";
            pinctrl-0 = <&cif_clk>;
            reset-gpios = <&gpio0 RK_PD6 GPIO_ACTIVE_LOW>;
            pwdn-gpios = <&gpio4 RK_PB4 GPIO_ACTIVE_LOW>;
            rockchip,camera-module-index = <0>;
            rockchip,camera-module-facing = "back";
            rockchip,camera-module-name = "TongJu";
            rockchip,camera-module-lens-name = "CHT842-MD";
            port {
                ov5695_out: endpoint {
                    remote-endpoint = <&mipi_in_ucam2>;
                    data-lanes = <1 2>;
                };
            };
        };
    };
2. 摄像头测试
使用鸿蒙系统自带的摄像头应用测试:
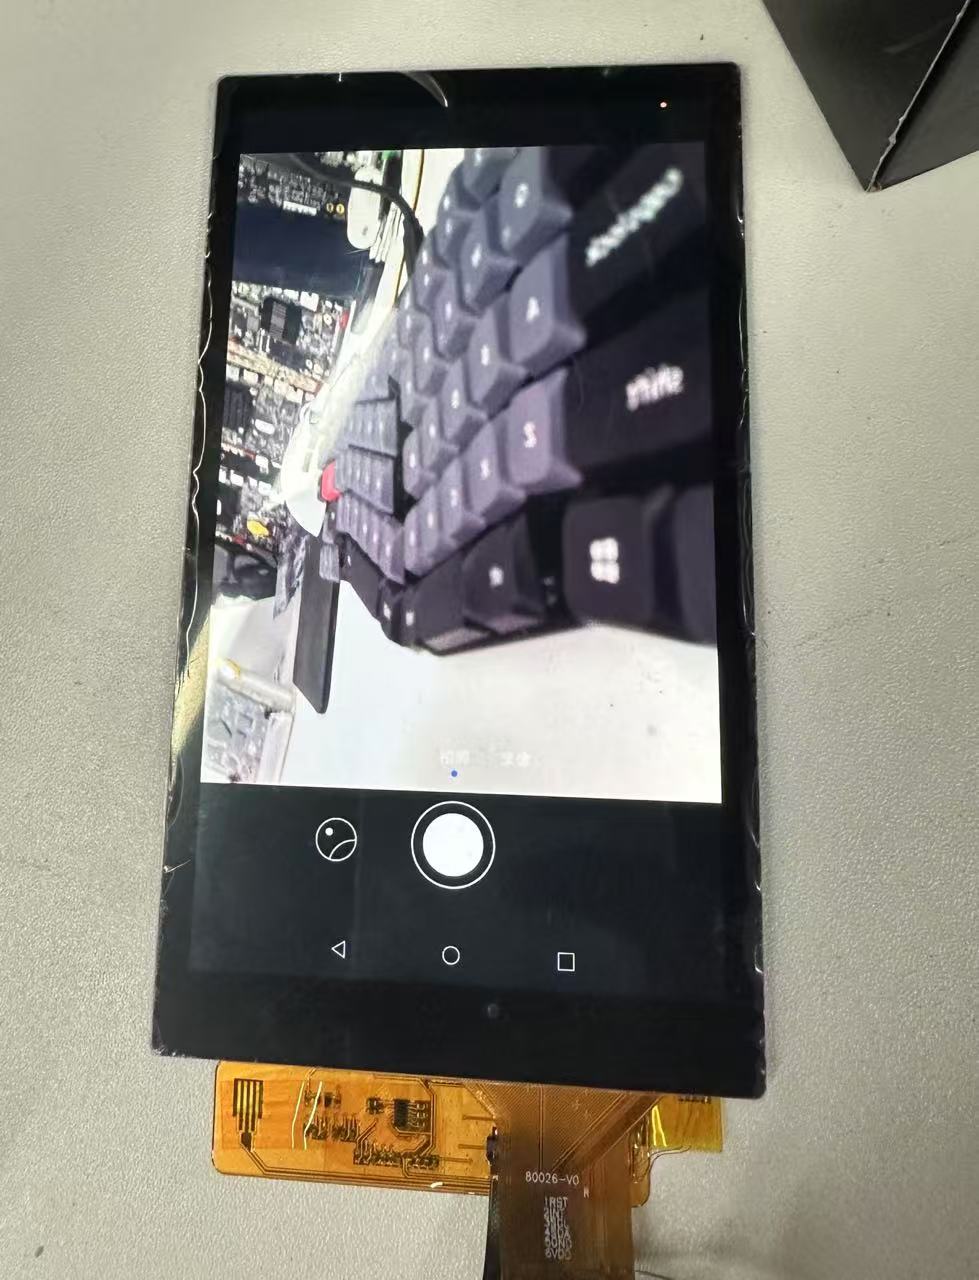
测试预览,拍照,录像都正常
3. 摄像头 API使用与实践
3.1 标准API使用方法
备注
本模块为开发者提供一套简单且易于理解的相机服务接口,开发者通过调用接口可以开发相机应用。应用通过
访问和操作相机硬件,实现基础操作,如预览、拍照和录像;还可以通过接口组合完成更多操作,如控制闪光
灯和曝光时间、对焦或调焦等。
camera标准接口
@ohos.multimedia.camera (相机管理)(系统接口)
API使用说明
使用camera相关API开发时候,需要先了解熟悉第一个open Harmony工程的创建,相关文档: Hello World应用以及部署
在使用一个API时,需要注意以下几点:

API权限说明
API的参数与返回值
API调用错误的时候,参考API错误码和通用错误码
API示例的正确使用
如下图所示,即为标准API文档
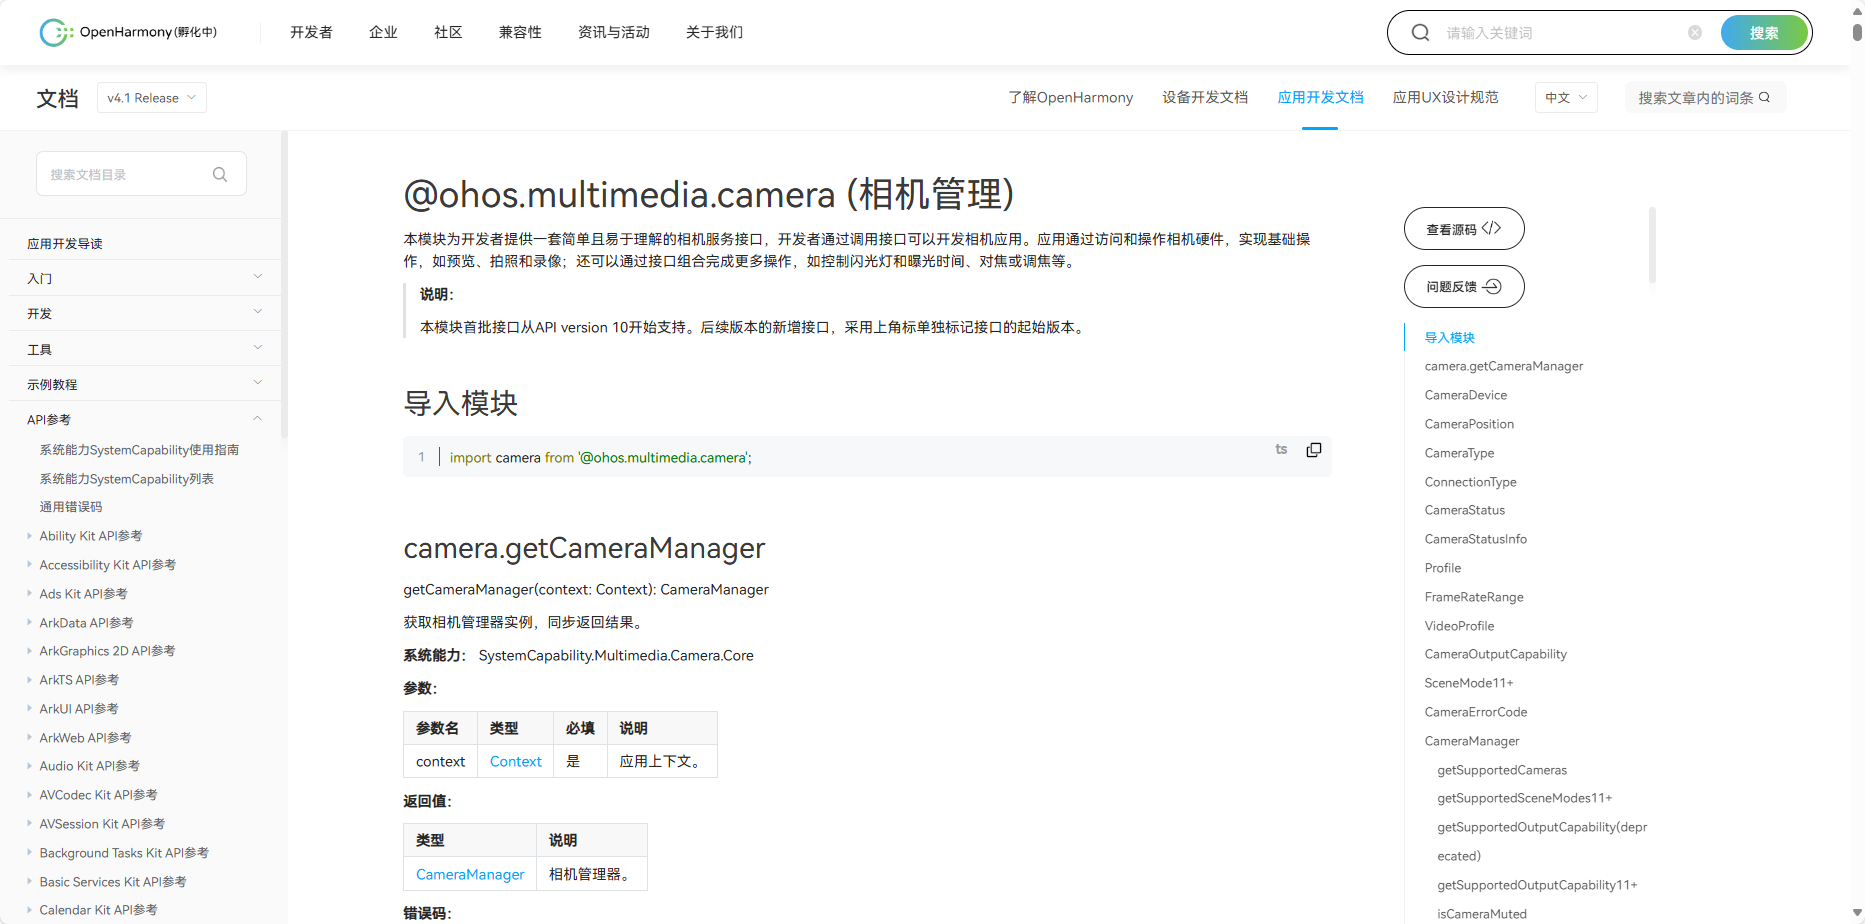
- 官方标准开发文档
3.2 社区Demo
- 简介
为了帮助开发者更快速的使用板子开发和学习,我们在gitee上提供了一个WiFi相关的使用示例,每一个项目都是独立的DevEco Studio工程,开发者可以将工程导入到DevEco Studio中即可,通过浏览代码、编译工程、安装和运行应用示例来了解应用示例中涉及API的使用方法。
注意
在导入社区Demo工程的时候,需要开发者需要注意本地的开发环境是否与项目的一致,即本地SDK是否与
项目SDK一致。
- 导入模块
在使用Camera标准API的时候,最重要的一步是导入Camera的模块,才能使用Camera相应的API接口。通常模块导入是在文件头导入,导入模块: import camera from '@ohos.multimedia.camera'
API 介绍
camera.getCameraManager(获取相机管理器实例)
getCameraManager(context: Context): CameraManager- getSupportedCameras(获取支持指定的相机设备对象)
getSupportedCameras(): Array<CameraDevice>- getSupportedOutputCapability(查询相机设备支持的输出能力)
getSupportedOutputCapability(camera: CameraDevice): CameraOutputCapability- isCameraMuted(查询相机当前的禁用状态)
isCameraMuted(): boolean- createCameraInput(使用CameraDevice对象创建CameraInput实例)
	createCameraInput(camera: CameraDevice): CameraInput
需要权限: ohos.permission.CAMERA- createPreviewOutput(创建预览输出对象)
createPreviewOutput(profile: Profile, surfaceId: string): PreviewOutput- CameraInput.open(打开相机,通过注册回调函数获取状态)
open(callback: AsyncCallback<void>): void- CameraInput.close(关闭相机,通过注册回调函数获取状态)
close(callback: AsyncCallback<void>): void- CameraInput.on(‘error’) (监听CameraInput的错误事件,通过注册回调函数获取结果)
on(type: ‘error’, camera: CameraDevice, callback: ErrorCallback): void- CameraInput.off(‘error’) (注销监听CameraInput的错误事件)
off(type: ‘error’, camera: CameraDevice, callback?: ErrorCallback): void- Demo主要实现源码
camera.ets
	/*
	* Copyright (c) 2022 Huawei Device Co., Ltd.
	* Licensed under the Apache License, Version 2.0 (the "License");
	* you may not use this file except in compliance with the License.
	* You may obtain a copy of the License at
	*
	*     http://www.apache.org/licenses/LICENSE-2.0
	*
	* Unless required by applicable law or agreed to in writing, software
	* distributed under the License is distributed on an "AS IS" BASIS,
	* WITHOUT WARRANTIES OR CONDITIONS OF ANY KIND, either express or implied.
	* See the License for the specific language governing permissions and
	* limitations under the License.
	*/

	import camera from '@ohos.multimedia.camera'
	import deviceInfo from '@ohos.deviceInfo'
	import fileio from '@ohos.fileio'
	import image from '@ohos.multimedia.image'
	import media from '@ohos.multimedia.media'
	import mediaLibrary from '@ohos.multimedia.mediaLibrary'
	import Logger from './Logger'
	import MediaUtils from './MediaUtils'

	const CameraMode = {
	MODE_PHOTO: 0, // 拍照模式
	MODE_VIDEO: 1 // 录像模式
	}

	const CameraSize = {
	WIDTH: 1920,
	HEIGHT: 1080
	}

	export default class CameraService {
	private tag: string = 'CameraService'
	private context: any = undefined
	private mediaUtil: MediaUtils = undefined
	private cameraManager: camera.CameraManager = undefined
	private cameras: Array<camera.CameraDevice> = undefined
	private cameraId: string = ''
	private cameraInput: camera.CameraInput = undefined
	private previewOutput: camera.PreviewOutput = undefined
	private photoOutPut: camera.PhotoOutput = undefined
	private captureSession: camera.CaptureSession = undefined
	private mReceiver: image.ImageReceiver = undefined
	private photoUri: string = ''
	private fileAsset: mediaLibrary.FileAsset = undefined
	private fd: number = -1
	private curMode = CameraMode.MODE_PHOTO
	private videoRecorder: media.VideoRecorder = undefined
	private videoOutput: camera.VideoOutput = undefined
	private handleTakePicture: (photoUri: string) => void = undefined
	private cameraOutputCapability: camera.CameraOutputCapability = undefined
	private videoConfig: any = {
		audioSourceType: 1,
		videoSourceType: 0,
		profile: {
		audioBitrate: 48000,
		audioChannels: 2,
		audioCodec: 'audio/mp4v-es',
		audioSampleRate: 48000,
		durationTime: 1000,
		fileFormat: 'mp4',
		videoBitrate: 48000,
		videoCodec: 'video/mp4v-es',
		videoFrameWidth: 640,
		videoFrameHeight: 480,
		videoFrameRate: 30
		},
		url: '',
		orientationHint: 0,
		location: {
		latitude: 30, longitude: 130
		},
		maxSize: 10000,
		maxDuration: 10000
	}

	constructor(context: any) {
		this.context = context
		this.mediaUtil = MediaUtils.getInstance(context)
		this.mReceiver = image.createImageReceiver(CameraSize.WIDTH, CameraSize.HEIGHT, 4, 8)
		Logger.debug(this.tag, 'createImageReceiver')
		this.mReceiver.on('imageArrival', () => {
		Logger.debug(this.tag, 'imageArrival')
		this.mReceiver.readNextImage((err, image) => {
			Logger.debug(this.tag, 'readNextImage')
			if (err || image === undefined) {
			Logger.error(this.tag, 'failed to get valid image')
			return
			}
			image.getComponent(4, (errMsg, img) => {
			Logger.debug(this.tag, 'getComponent')
			if (errMsg || img === undefined) {
				Logger.debug(this.tag, 'failed to get valid buffer')
				return
			}
			let buffer = new ArrayBuffer(4096)
			if (img.byteBuffer) {
				buffer = img.byteBuffer
			} else {
				Logger.error(this.tag, 'img.byteBuffer is undefined')
			}
			this.savePicture(buffer, image)
			})
		})
		})
	}

	async savePicture(buffer: ArrayBuffer, img: image.Image) {
		Logger.debug(this.tag, 'savePicture')
		this.fileAsset = await this.mediaUtil.createAndGetUri(mediaLibrary.MediaType.IMAGE)
		this.photoUri = this.fileAsset.uri
		Logger.debug(this.tag, `this.photoUri = ${this.photoUri}`)
		this.fd = await this.mediaUtil.getFdPath(this.fileAsset)
		Logger.debug(this.tag, `this.fd = ${this.fd}`)
		await fileio.write(this.fd, buffer)
		await this.fileAsset.close(this.fd)
		await img.release()
		Logger.debug(this.tag, 'save image done')
		if (this.handleTakePicture) {
		this.handleTakePicture(this.photoUri)
		}
	}

	async initCamera(surfaceId: string): Promise<boolean> {
		try {
		Logger.debug(this.tag, 'initCamera')
		await this.releaseCamera()
		Logger.debug(this.tag, `deviceInfo.deviceType = ${deviceInfo.deviceType}`)
		if (deviceInfo.deviceType === 'default') {
			this.videoConfig.videoSourceType = 1
		} else {
			this.videoConfig.videoSourceType = 0
		}
		this.cameraManager = await camera.getCameraManager(this.context)
		Logger.debug(this.tag, 'getCameraManager')
		this.cameras = await this.cameraManager.getSupportedCameras()
		Logger.debug(this.tag, `get cameras ${this.cameras.length}`)
		if (this.cameras.length === 0) {
			Logger.debug(this.tag, 'cannot get cameras')
			return
		}

		let cameraDevice = this.cameras[0]
		this.cameraInput = await this.cameraManager.createCameraInput(cameraDevice)
		this.cameraInput.open()
		Logger.debug(this.tag, 'createCameraInput')
		this.cameraOutputCapability = await this.cameraManager.getSupportedOutputCapability(cameraDevice)
		let previewProfile = this.cameraOutputCapability.previewProfiles[0]
		this.previewOutput = await this.cameraManager.createPreviewOutput(previewProfile, surfaceId)
		this.previewOutput.on('frameStart', () => {
			Logger.debug(this.tag, 'Preview frame started');
		})
		this.previewOutput.on('frameEnd', () => {
			Logger.debug(this.tag, 'Preview frame ended');
		})
		this.previewOutput.on('error', (previewOutputError) => {
			Logger.debug(this.tag, `Preview output error code: ${previewOutputError.code}`);
		})

		Logger.debug(this.tag, 'createPreviewOutput')
		let mSurfaceId = await this.mReceiver.getReceivingSurfaceId()
		let photoProfile = this.cameraOutputCapability.photoProfiles[0]
		this.photoOutPut = await this.cameraManager.createPhotoOutput(photoProfile, mSurfaceId)
		this.captureSession = await this.cameraManager.createCaptureSession()
		Logger.debug(this.tag, 'createCaptureSession')
		await this.captureSession.beginConfig()
		Logger.debug(this.tag, 'beginConfig')
		await this.captureSession.addInput(this.cameraInput)
		await this.captureSession.addOutput(this.previewOutput)
		await this.captureSession.addOutput(this.photoOutPut)
		await this.captureSession.commitConfig()
		await this.captureSession.start().then(() => {
			Logger.debug(this.tag, 'Promise returned to indicate the session start success.');
		}).catch((err) => {
			Logger.debug(this.tag, `Failed to start the session ${err.code}`);
			return false
		});

		Logger.debug(this.tag, 'captureSession start')
		} catch (error) {
		Logger.debug(this.tag, "error code:" + error.code )
		Logger.debug(this.tag, "error code:" + JSON.parse(error))
		return false
		}
		return true
	}

	setTakePictureCallback(callback) {
		this.handleTakePicture = callback
	}

	async takePicture() {
		Logger.debug(this.tag, 'takePicture')
		if (this.curMode === CameraMode.MODE_VIDEO) {
		this.curMode = CameraMode.MODE_PHOTO
		}
		let photoSettings = {
		rotation: camera.ImageRotation.ROTATION_0,
		quality: camera.QualityLevel.QUALITY_LEVEL_MEDIUM,
		location: { // 位置信息,经纬度
			latitude: 12.9698,
			longitude: 77.7500,
			altitude: 1000
		},
		mirror: false
		}
		await this.photoOutPut.capture(photoSettings)
		Logger.debug(this.tag, 'takePicture done')
		AppStorage.Set('isRefresh', true)
	}

	async startVideo() {
		Logger.debug(this.tag, 'startVideo begin')
		await this.captureSession.stop()
		await this.captureSession.beginConfig()
		if (this.curMode === CameraMode.MODE_PHOTO) {
		this.curMode = CameraMode.MODE_VIDEO
		if (this.photoOutPut) {
			await this.captureSession.removeOutput(this.photoOutPut)
			this.photoOutPut.release()
		}
		} else {
		if (this.videoOutput) {
			await this.captureSession.removeOutput(this.videoOutput)
		}
		}
		if (this.videoOutput) {
		await this.captureSession.removeOutput(this.videoOutput)
		await this.videoOutput.release()
		}
		this.fileAsset = await this.mediaUtil.createAndGetUri(mediaLibrary.MediaType.VIDEO)
		this.fd = await this.mediaUtil.getFdPath(this.fileAsset)
		this.videoRecorder = await media.createVideoRecorder()
		this.videoConfig.url = `fd://${this.fd}`
		await this.videoRecorder.prepare(this.videoConfig)
		let videoId = await this.videoRecorder.getInputSurface()
		let videoProfile = this.cameraOutputCapability.videoProfiles[0];
		this.videoOutput = await this.cameraManager.createVideoOutput(videoProfile, videoId)
		await this.captureSession.addOutput(this.videoOutput)
		await this.captureSession.commitConfig()
		await this.captureSession.start()
		await this.videoOutput.start()
		await this.videoRecorder.start()
		Logger.debug(this.tag, 'startVideo end')
	}

	async stopVideo() {
		Logger.debug(this.tag, 'stopVideo called')
		await this.videoRecorder.stop()
		await this.videoOutput.stop()
		await this.videoRecorder.release()
		await this.fileAsset.close(this.fd)
	}

	async releaseCamera() {
		Logger.debug(this.tag, 'releaseCamera')
		if (this.cameraInput) {
		await this.cameraInput.close()
		}
		if (this.previewOutput) {
		await this.previewOutput.release()
		}
		if (this.photoOutPut) {
		await this.photoOutPut.release()
		}
		if (this.videoOutput) {
		await this.videoOutput.release()
		}
		if (this.captureSession) {
		await this.captureSession.release()
			}
		}
	}
3.3 代码编译
详见
代码编译详细流程可见: Hello World应用以及部署 中的第二部分(构建第一个页面部分内容)
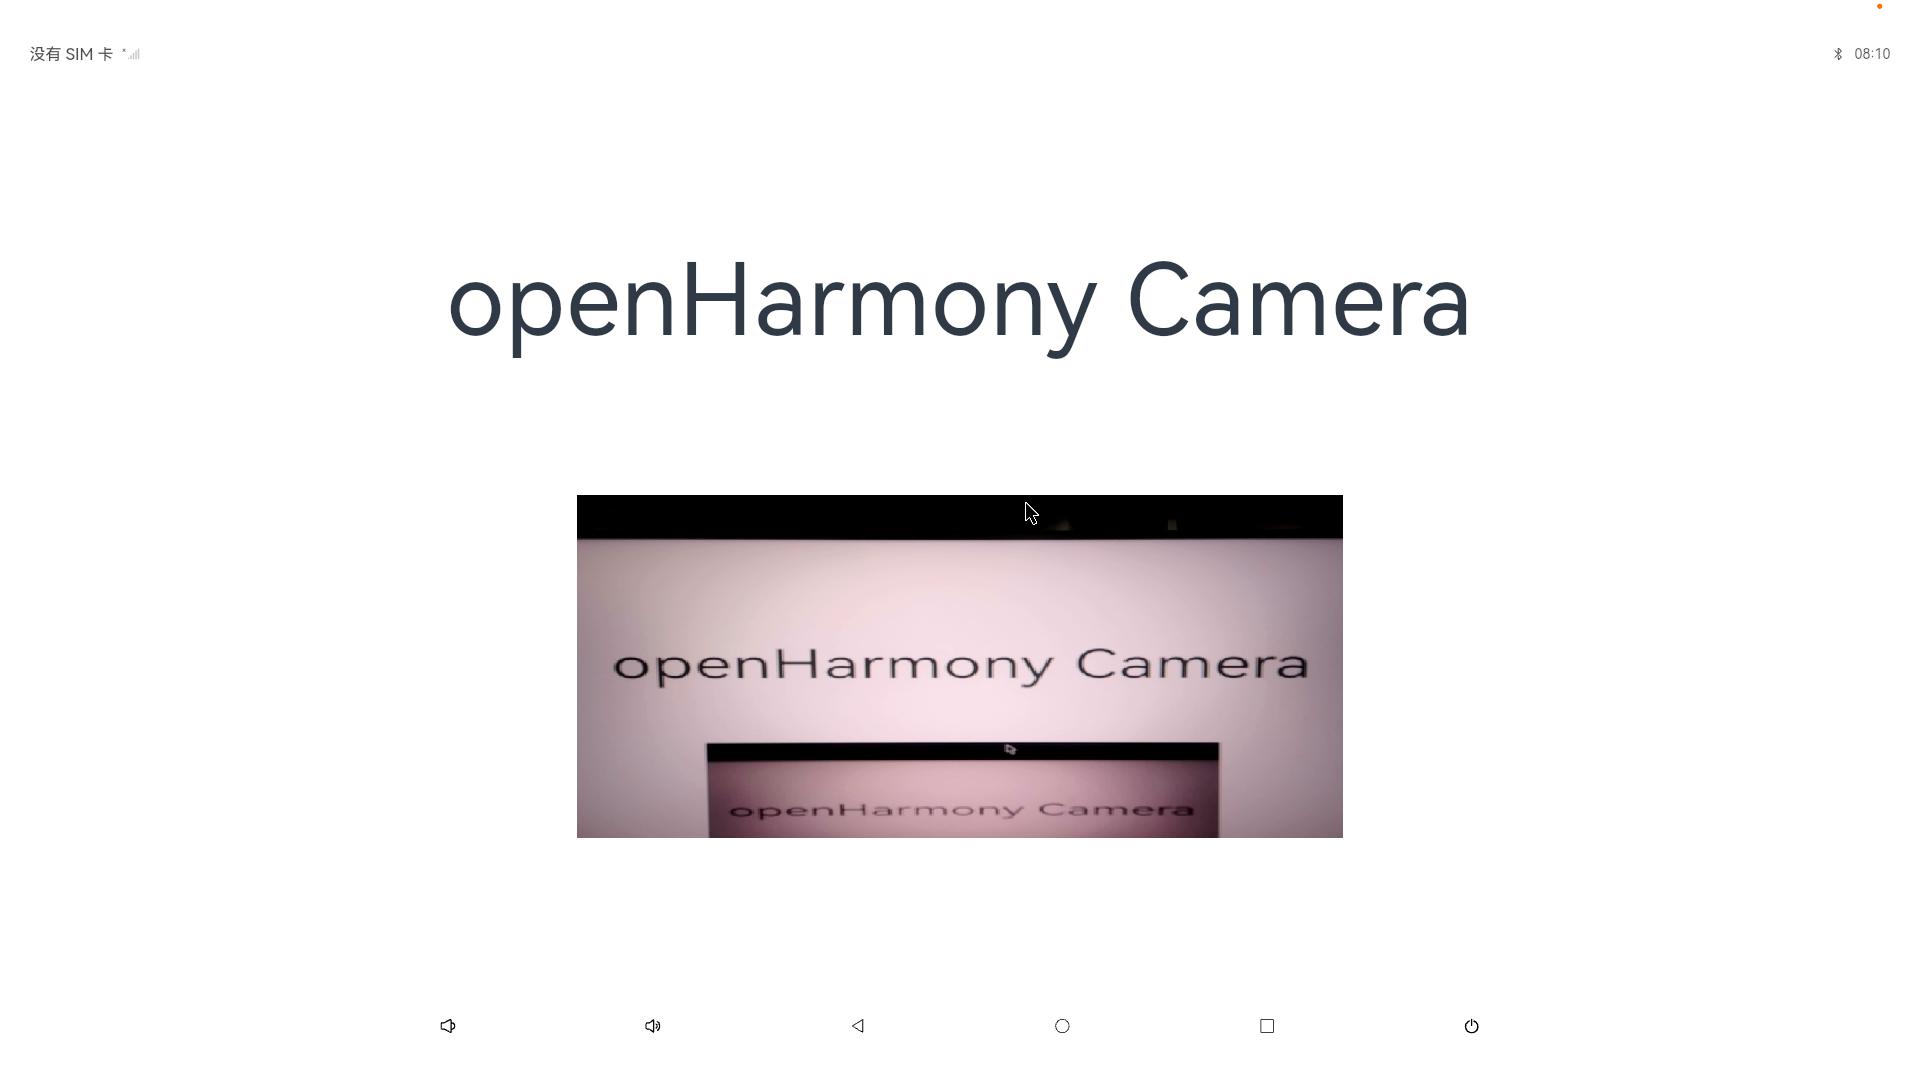
3.4 代码运行效果
用以上标准API接口实现Camera Demo,如下图所示: