Camera
Taking SC-3568HA as an example, this board supports USB camera and MIPI camera
The MIPI camera connection is as follows:

Currently, the board supports two MIPI cameras: GC8034 and OV5695.
1. MIPI camera DTS configuration
- arch/arm64/boot/dts/rockchip/rk3568-toybrick-x0.dtsi
    &i2c4 {
        status = "okay";

        gc8034: gc8034@37 {
            compatible = "galaxycore,gc8034";
            reg = <0x37>;
            clocks = <&cru CLK_CIF_OUT>;//CLK_CAM0_OUT>;
            clock-names = "xvclk";
            power-domains = <&power RK3568_PD_VI>;
            pinctrl-names = "default";
            pinctrl-0 = <&cif_clk>;
            reset-gpios = <&gpio0 RK_PD6 GPIO_ACTIVE_LOW>;
            pwdn-gpios = <&gpio4 RK_PB4 GPIO_ACTIVE_LOW>;
            rockchip,grf = <&grf>;
            rockchip,camera-module-index = <0>;
            rockchip,camera-module-facing = "back";
            rockchip,camera-module-name = "RK-CMK-8M-2-v1";
            rockchip,camera-module-lens-name = "CK8401";
            port {
                gc8034_out: endpoint {
                    remote-endpoint = <&mipi_in_ucam1>;
                    data-lanes = <1 2 3 4>;
                };
            };
        };

        ......

        ov5695: ov5695@36 {
            status = "okay";
            compatible = "ovti,ov5695";
            reg = <0x36>;
            clocks = <&cru CLK_CIF_OUT>;
            clock-names = "xvclk";
            power-domains = <&power RK3568_PD_VI>;
            pinctrl-names = "default";
            pinctrl-0 = <&cif_clk>;
            reset-gpios = <&gpio0 RK_PD6 GPIO_ACTIVE_LOW>;
            pwdn-gpios = <&gpio4 RK_PB4 GPIO_ACTIVE_LOW>;
            rockchip,camera-module-index = <0>;
            rockchip,camera-module-facing = "back";
            rockchip,camera-module-name = "TongJu";
            rockchip,camera-module-lens-name = "CHT842-MD";
            port {
                ov5695_out: endpoint {
                    remote-endpoint = <&mipi_in_ucam2>;
                    data-lanes = <1 2>;
                };
            };
        };
    };
2. Camera test
Test using the camera application that comes with the HarmonyOS:
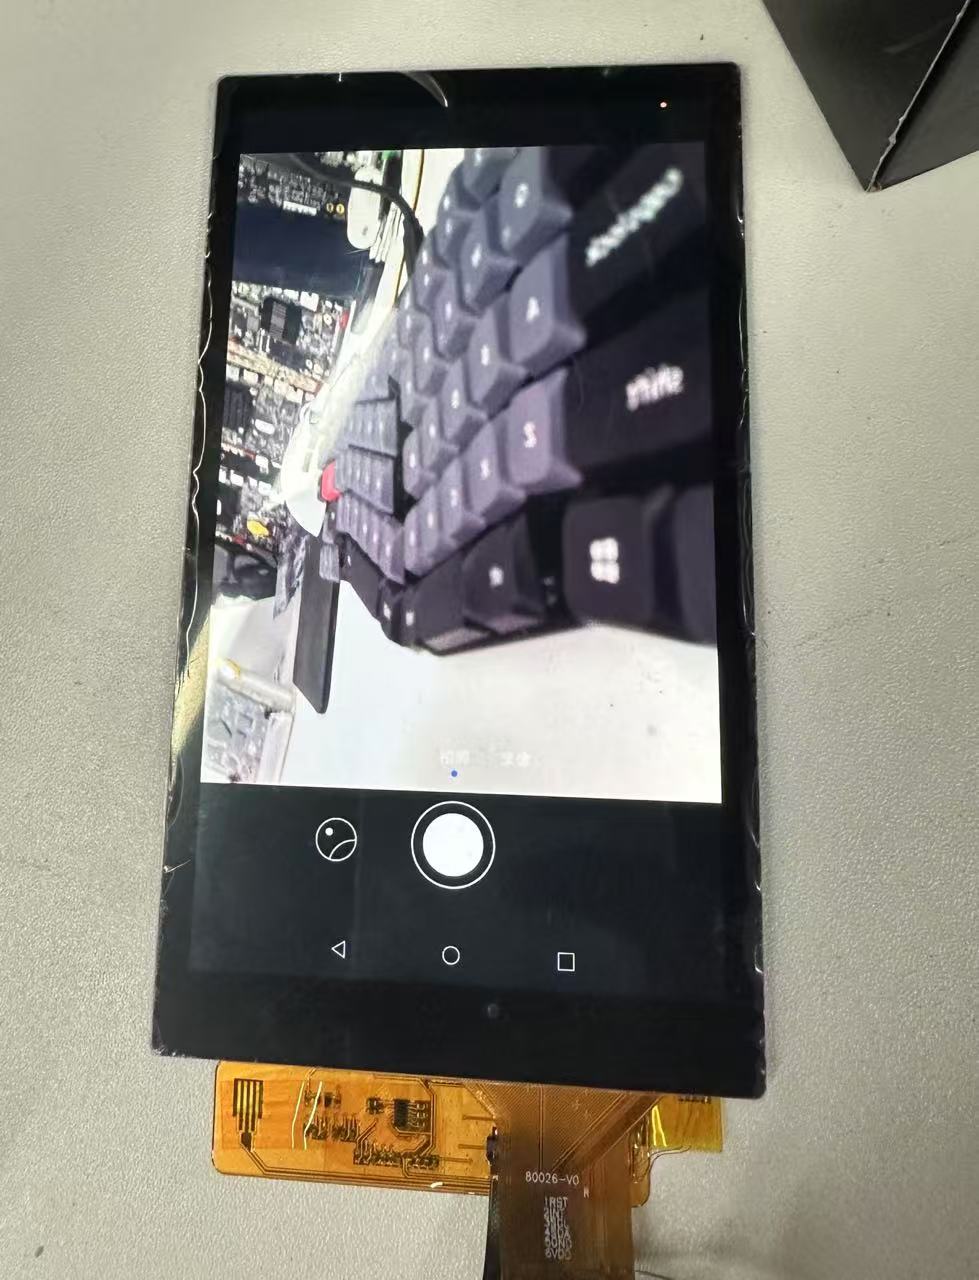
Test preview, photo taking and video recording are all normal
3. Camera API usage and practice
3.1 How to use the standard API
Warning
This module provides developers with a set of simple and easy - to - understand camera service interfaces. By calling these interfaces, developers can develop camera applications. The applications can access and operate the camera hardware to achieve basic operations such as previewing, taking photos, and recording videos. Moreover, through the combination of interfaces, more operations can be completed, such as controlling the flash and exposure time, focusing or adjusting the focus, etc.
Camera standard interface
@ohos.multimedia.camera (camera management) (system interface)
API Usage Instructions
When developing with camera-related APIs, you need to first understand how to create your first open Harmony project. Related documents: Hello World application and deployment
When using an API, you need to pay attention to the following points:
- API permission description
- Parameters and return values of the API
- When an error occurs during API calls, refer to the API error codes and general error codes
- Correct use of API examples
As shown in the figure below, this is the standard API document
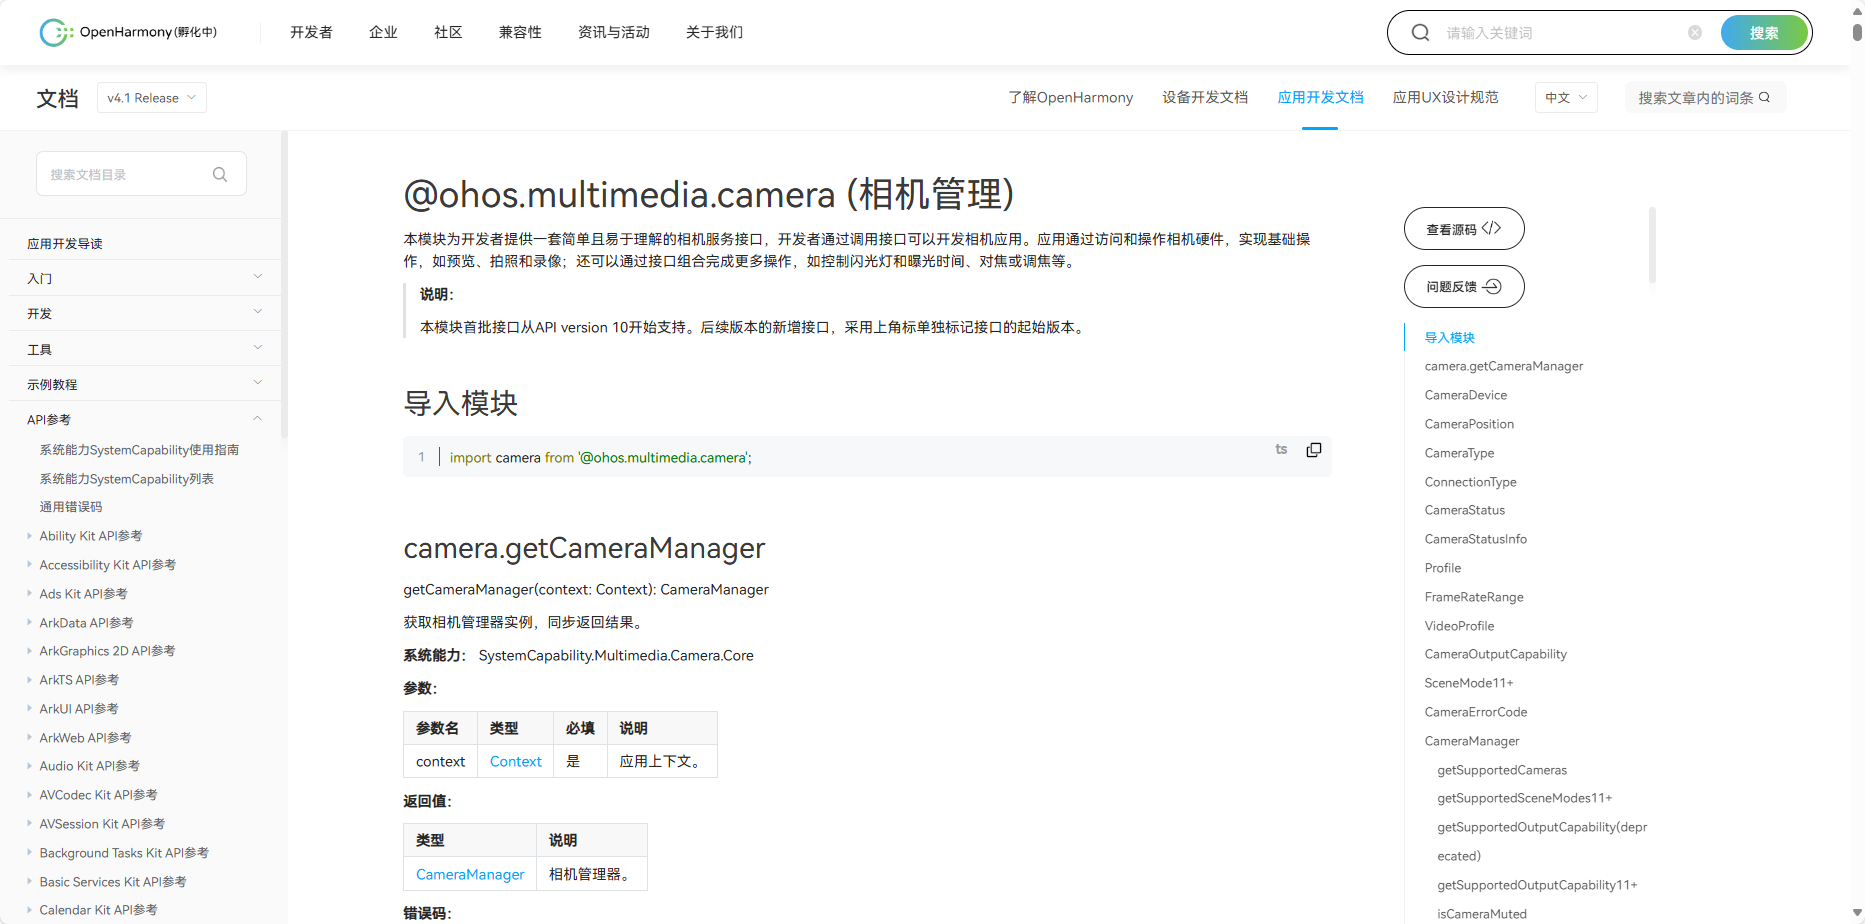
- Official standard development documents
3.2 Community Demo
- Introduction
In order to help developers develop and learn more quickly using the board, we have provided a WiFi-related usage example on gitee. Each project is an independent DevEco Studio project. Developers can import the project into DevEco Studio and understand the usage of the API involved in the application example by browsing the code, compiling the project, installing and running the application example.
Warning
When importing the community Demo project, developers need to pay attention to whether the local development environment is consistent with that of the project, that is, whether the local SDK is the same as the project SDK.
- Importing modules
When using the Camera standard API, the most important step is to import the Camera module to use the corresponding Camera API interface. Usually the module is imported in the file header, import the module: import camera from '@ohos.multimedia.camera'
API Introduction
camera.getCameraManager (get camera manager instance)
getCameraManager(context: Context): CameraManager- getSupportedCameras (gets the camera device object that supports the specified camera)
getSupportedCameras(): Array<CameraDevice>- getSupportedOutputCapability (query the output capabilities supported by the camera device)
getSupportedOutputCapability(camera: CameraDevice): CameraOutputCapability- isCameraMuted (query the current disabled state of the camera)
isCameraMuted(): boolean- createCameraInput (Use the CameraDevice object to create a CameraInput instance)
	createCameraInput(camera: CameraDevice): CameraInput
Permission required: ohos.permission.CAMERA- createPreviewOutput (Create a preview output object)
createPreviewOutput(profile: Profile, surfaceId: string): PreviewOutput- CameraInput.open (open the camera and get the status by registering a callback function)
open(callback: AsyncCallback<void>): void- CameraInput.close (Close the camera and get the status by registering a callback function)
close(callback: AsyncCallback<void>): void- CameraInput.on('error') (listens to CameraInput error events and gets the result by registering a callback function)
on(type: ‘error’, camera: CameraDevice, callback: ErrorCallback): void- CameraInput.off('error') (cancel listening for CameraInput error events)
off(type: ‘error’, camera: CameraDevice, callback?: ErrorCallback): void- Demo mainly implements source code
camera.ets
	/*
	* Copyright (c) 2022 Huawei Device Co., Ltd.
	* Licensed under the Apache License, Version 2.0 (the "License");
	* you may not use this file except in compliance with the License.
	* You may obtain a copy of the License at
	*
	*     http://www.apache.org/licenses/LICENSE-2.0
	*
	* Unless required by applicable law or agreed to in writing, software
	* distributed under the License is distributed on an "AS IS" BASIS,
	* WITHOUT WARRANTIES OR CONDITIONS OF ANY KIND, either express or implied.
	* See the License for the specific language governing permissions and
	* limitations under the License.
	*/

	import camera from '@ohos.multimedia.camera'
	import deviceInfo from '@ohos.deviceInfo'
	import fileio from '@ohos.fileio'
	import image from '@ohos.multimedia.image'
	import media from '@ohos.multimedia.media'
	import mediaLibrary from '@ohos.multimedia.mediaLibrary'
	import Logger from './Logger'
	import MediaUtils from './MediaUtils'

	const CameraMode = {
	MODE_PHOTO: 0, // 拍照模式
	MODE_VIDEO: 1 // 录像模式
	}

	const CameraSize = {
	WIDTH: 1920,
	HEIGHT: 1080
	}

	export default class CameraService {
	private tag: string = 'CameraService'
	private context: any = undefined
	private mediaUtil: MediaUtils = undefined
	private cameraManager: camera.CameraManager = undefined
	private cameras: Array<camera.CameraDevice> = undefined
	private cameraId: string = ''
	private cameraInput: camera.CameraInput = undefined
	private previewOutput: camera.PreviewOutput = undefined
	private photoOutPut: camera.PhotoOutput = undefined
	private captureSession: camera.CaptureSession = undefined
	private mReceiver: image.ImageReceiver = undefined
	private photoUri: string = ''
	private fileAsset: mediaLibrary.FileAsset = undefined
	private fd: number = -1
	private curMode = CameraMode.MODE_PHOTO
	private videoRecorder: media.VideoRecorder = undefined
	private videoOutput: camera.VideoOutput = undefined
	private handleTakePicture: (photoUri: string) => void = undefined
	private cameraOutputCapability: camera.CameraOutputCapability = undefined
	private videoConfig: any = {
		audioSourceType: 1,
		videoSourceType: 0,
		profile: {
		audioBitrate: 48000,
		audioChannels: 2,
		audioCodec: 'audio/mp4v-es',
		audioSampleRate: 48000,
		durationTime: 1000,
		fileFormat: 'mp4',
		videoBitrate: 48000,
		videoCodec: 'video/mp4v-es',
		videoFrameWidth: 640,
		videoFrameHeight: 480,
		videoFrameRate: 30
		},
		url: '',
		orientationHint: 0,
		location: {
		latitude: 30, longitude: 130
		},
		maxSize: 10000,
		maxDuration: 10000
	}

	constructor(context: any) {
		this.context = context
		this.mediaUtil = MediaUtils.getInstance(context)
		this.mReceiver = image.createImageReceiver(CameraSize.WIDTH, CameraSize.HEIGHT, 4, 8)
		Logger.debug(this.tag, 'createImageReceiver')
		this.mReceiver.on('imageArrival', () => {
		Logger.debug(this.tag, 'imageArrival')
		this.mReceiver.readNextImage((err, image) => {
			Logger.debug(this.tag, 'readNextImage')
			if (err || image === undefined) {
			Logger.error(this.tag, 'failed to get valid image')
			return
			}
			image.getComponent(4, (errMsg, img) => {
			Logger.debug(this.tag, 'getComponent')
			if (errMsg || img === undefined) {
				Logger.debug(this.tag, 'failed to get valid buffer')
				return
			}
			let buffer = new ArrayBuffer(4096)
			if (img.byteBuffer) {
				buffer = img.byteBuffer
			} else {
				Logger.error(this.tag, 'img.byteBuffer is undefined')
			}
			this.savePicture(buffer, image)
			})
		})
		})
	}

	async savePicture(buffer: ArrayBuffer, img: image.Image) {
		Logger.debug(this.tag, 'savePicture')
		this.fileAsset = await this.mediaUtil.createAndGetUri(mediaLibrary.MediaType.IMAGE)
		this.photoUri = this.fileAsset.uri
		Logger.debug(this.tag, `this.photoUri = ${this.photoUri}`)
		this.fd = await this.mediaUtil.getFdPath(this.fileAsset)
		Logger.debug(this.tag, `this.fd = ${this.fd}`)
		await fileio.write(this.fd, buffer)
		await this.fileAsset.close(this.fd)
		await img.release()
		Logger.debug(this.tag, 'save image done')
		if (this.handleTakePicture) {
		this.handleTakePicture(this.photoUri)
		}
	}

	async initCamera(surfaceId: string): Promise<boolean> {
		try {
		Logger.debug(this.tag, 'initCamera')
		await this.releaseCamera()
		Logger.debug(this.tag, `deviceInfo.deviceType = ${deviceInfo.deviceType}`)
		if (deviceInfo.deviceType === 'default') {
			this.videoConfig.videoSourceType = 1
		} else {
			this.videoConfig.videoSourceType = 0
		}
		this.cameraManager = await camera.getCameraManager(this.context)
		Logger.debug(this.tag, 'getCameraManager')
		this.cameras = await this.cameraManager.getSupportedCameras()
		Logger.debug(this.tag, `get cameras ${this.cameras.length}`)
		if (this.cameras.length === 0) {
			Logger.debug(this.tag, 'cannot get cameras')
			return
		}

		let cameraDevice = this.cameras[0]
		this.cameraInput = await this.cameraManager.createCameraInput(cameraDevice)
		this.cameraInput.open()
		Logger.debug(this.tag, 'createCameraInput')
		this.cameraOutputCapability = await this.cameraManager.getSupportedOutputCapability(cameraDevice)
		let previewProfile = this.cameraOutputCapability.previewProfiles[0]
		this.previewOutput = await this.cameraManager.createPreviewOutput(previewProfile, surfaceId)
		this.previewOutput.on('frameStart', () => {
			Logger.debug(this.tag, 'Preview frame started');
		})
		this.previewOutput.on('frameEnd', () => {
			Logger.debug(this.tag, 'Preview frame ended');
		})
		this.previewOutput.on('error', (previewOutputError) => {
			Logger.debug(this.tag, `Preview output error code: ${previewOutputError.code}`);
		})

		Logger.debug(this.tag, 'createPreviewOutput')
		let mSurfaceId = await this.mReceiver.getReceivingSurfaceId()
		let photoProfile = this.cameraOutputCapability.photoProfiles[0]
		this.photoOutPut = await this.cameraManager.createPhotoOutput(photoProfile, mSurfaceId)
		this.captureSession = await this.cameraManager.createCaptureSession()
		Logger.debug(this.tag, 'createCaptureSession')
		await this.captureSession.beginConfig()
		Logger.debug(this.tag, 'beginConfig')
		await this.captureSession.addInput(this.cameraInput)
		await this.captureSession.addOutput(this.previewOutput)
		await this.captureSession.addOutput(this.photoOutPut)
		await this.captureSession.commitConfig()
		await this.captureSession.start().then(() => {
			Logger.debug(this.tag, 'Promise returned to indicate the session start success.');
		}).catch((err) => {
			Logger.debug(this.tag, `Failed to start the session ${err.code}`);
			return false
		});

		Logger.debug(this.tag, 'captureSession start')
		} catch (error) {
		Logger.debug(this.tag, "error code:" + error.code )
		Logger.debug(this.tag, "error code:" + JSON.parse(error))
		return false
		}
		return true
	}

	setTakePictureCallback(callback) {
		this.handleTakePicture = callback
	}

	async takePicture() {
		Logger.debug(this.tag, 'takePicture')
		if (this.curMode === CameraMode.MODE_VIDEO) {
		this.curMode = CameraMode.MODE_PHOTO
		}
		let photoSettings = {
		rotation: camera.ImageRotation.ROTATION_0,
		quality: camera.QualityLevel.QUALITY_LEVEL_MEDIUM,
		location: { // 位置信息,经纬度
			latitude: 12.9698,
			longitude: 77.7500,
			altitude: 1000
		},
		mirror: false
		}
		await this.photoOutPut.capture(photoSettings)
		Logger.debug(this.tag, 'takePicture done')
		AppStorage.Set('isRefresh', true)
	}

	async startVideo() {
		Logger.debug(this.tag, 'startVideo begin')
		await this.captureSession.stop()
		await this.captureSession.beginConfig()
		if (this.curMode === CameraMode.MODE_PHOTO) {
		this.curMode = CameraMode.MODE_VIDEO
		if (this.photoOutPut) {
			await this.captureSession.removeOutput(this.photoOutPut)
			this.photoOutPut.release()
		}
		} else {
		if (this.videoOutput) {
			await this.captureSession.removeOutput(this.videoOutput)
		}
		}
		if (this.videoOutput) {
		await this.captureSession.removeOutput(this.videoOutput)
		await this.videoOutput.release()
		}
		this.fileAsset = await this.mediaUtil.createAndGetUri(mediaLibrary.MediaType.VIDEO)
		this.fd = await this.mediaUtil.getFdPath(this.fileAsset)
		this.videoRecorder = await media.createVideoRecorder()
		this.videoConfig.url = `fd://${this.fd}`
		await this.videoRecorder.prepare(this.videoConfig)
		let videoId = await this.videoRecorder.getInputSurface()
		let videoProfile = this.cameraOutputCapability.videoProfiles[0];
		this.videoOutput = await this.cameraManager.createVideoOutput(videoProfile, videoId)
		await this.captureSession.addOutput(this.videoOutput)
		await this.captureSession.commitConfig()
		await this.captureSession.start()
		await this.videoOutput.start()
		await this.videoRecorder.start()
		Logger.debug(this.tag, 'startVideo end')
	}

	async stopVideo() {
		Logger.debug(this.tag, 'stopVideo called')
		await this.videoRecorder.stop()
		await this.videoOutput.stop()
		await this.videoRecorder.release()
		await this.fileAsset.close(this.fd)
	}

	async releaseCamera() {
		Logger.debug(this.tag, 'releaseCamera')
		if (this.cameraInput) {
		await this.cameraInput.close()
		}
		if (this.previewOutput) {
		await this.previewOutput.release()
		}
		if (this.photoOutPut) {
		await this.photoOutPut.release()
		}
		if (this.videoOutput) {
		await this.videoOutput.release()
		}
		if (this.captureSession) {
		await this.captureSession.release()
			}
		}
	}
3.3 Code Compilation
Tips
The detailed process of code compilation can be seen in:Hello World application and deployment in the second part (building part of the first page)
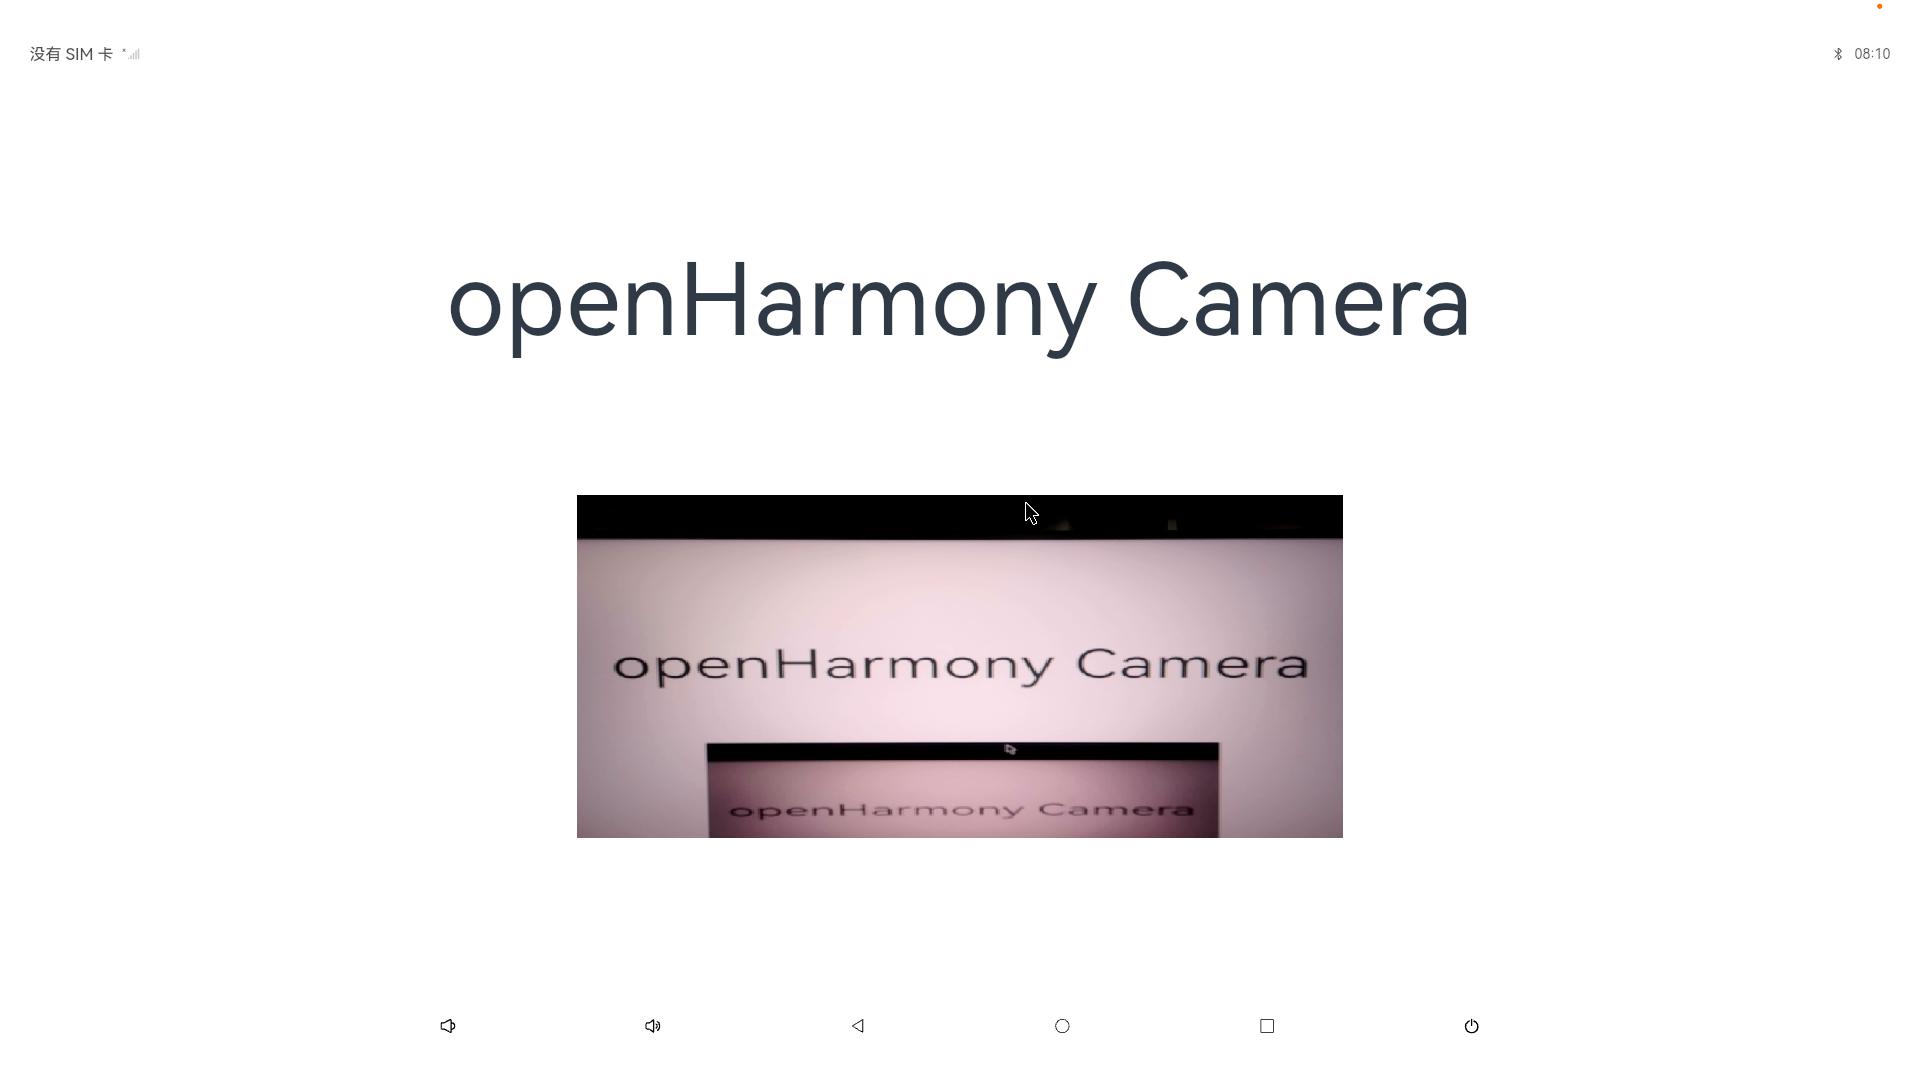
3.4 Code running effect
Use the above standard API interface to implement Camera Demo, as shown in the following figure: