Host driver and software installation
1 USB driver installation and device connection
- Make sure the event camera is connected to the computer via the USB 3.0 interface.
- Power on the device and wait for the system to recognize the hardware.
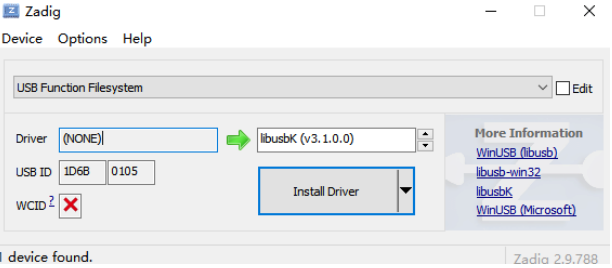
Install the driver
- Run
USB Function Filesystemthe installation program to automatically complete the driver deployment. - If the driver is not automatically installed, restart the computer and enter the mode that disables driver signature enforcement :
Settings → Update & Security → Recovery → Restart now → Troubleshoot → Advanced options → Startup Settings → Disable driver signature enforcement
- Run
Verify Installation
- Open Device Manager and confirm
USB Function Filesystemthat it shows as Enabled.。
- Open Device Manager and confirm
2. Software Operation Guide
2.1 Software Interface Overview
Run the software MultiVision.exe, the main interface is divided into two areas:
Display area : Displays event streams or denoised images in real time.
Function area : Contains device control, parameter configuration and firmware upgrade modules.

2.2 Preview event flow
Click
Device → Opento start event stream capture.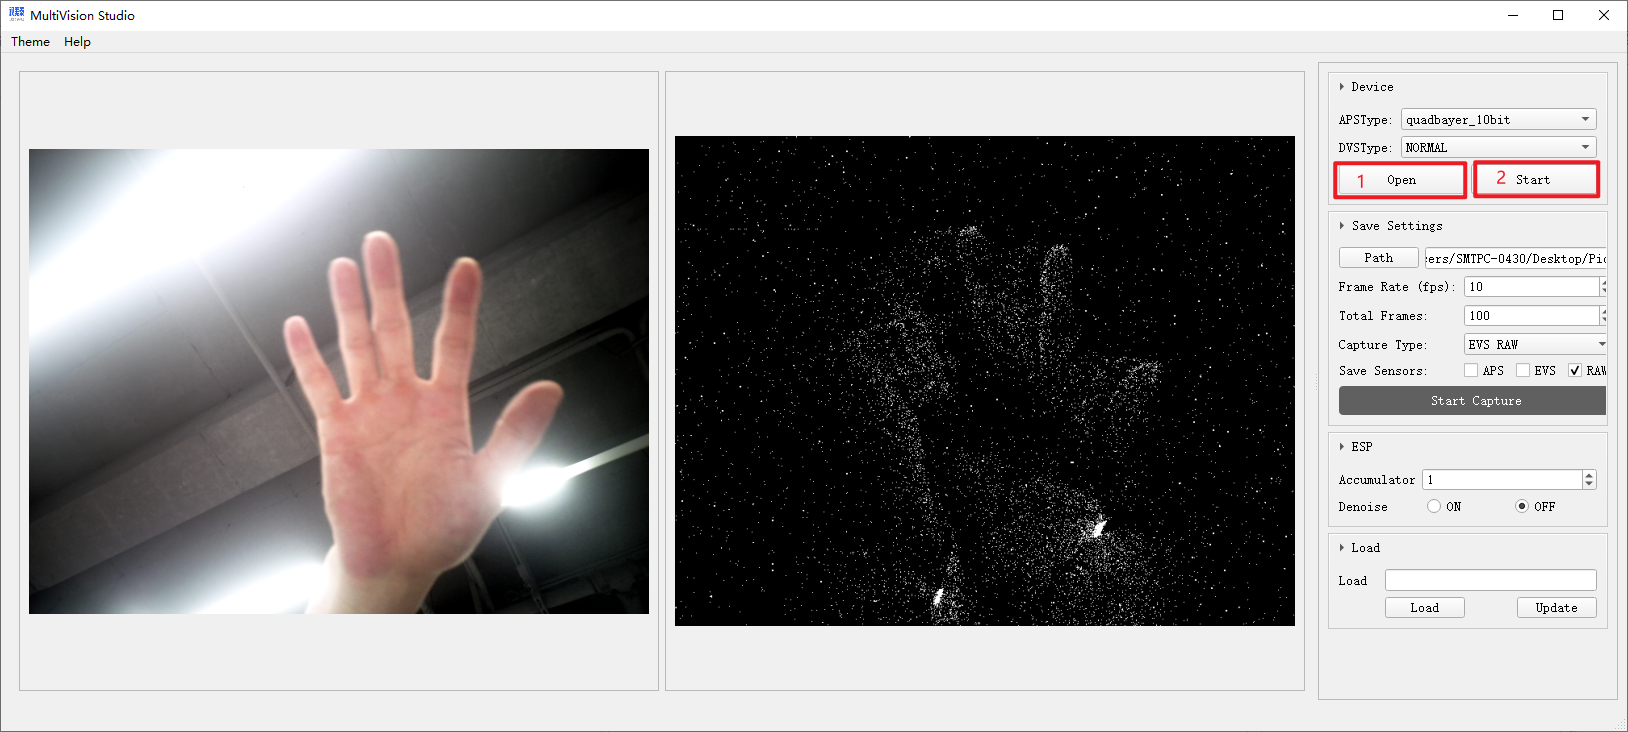
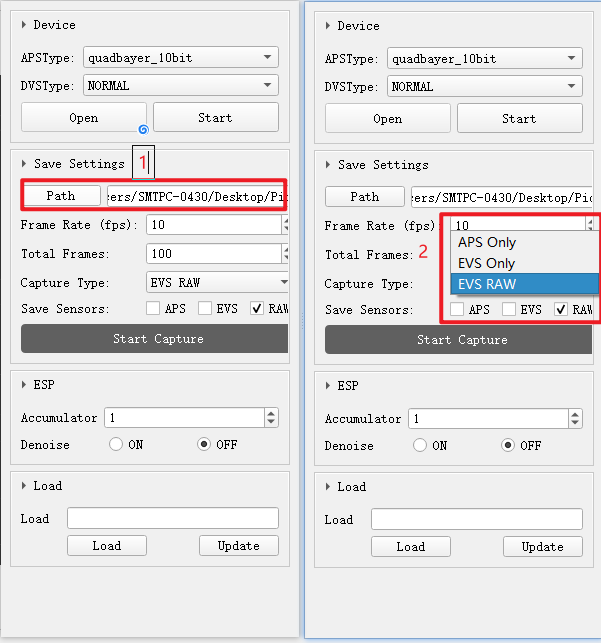
2.3 Save Settings
Set the image save path
Set the acquisition frame rate and number of frames and the type of saved images, and click to start saving the image to the specified path.
2.4 ESP (Event Signal Processing)
- Function: Enable/disable denoising algorithm (Denoise) to optimize event stream quality
- Operation: Select
ESPthe checkbox to fill in the noise reduction intensity 1-3, and view the noise reduction effect in real time
2.5 Firmware Update
- Click
Updatethe function area and select the firmware file (.imgformat) - Keep the device connected and do not power off during the upgrade process .
- After the upgrade is complete, the device automatically restarts to take effect