Firmware Upgrade
1. Preparation
- 1x microSD card (capacity >= 16GB, minimum read/write speed class10, formatted as FAT32), the content needs to be empty
- 1x microSD card reader
- 12V power adapter (install the system image in the whole machine, the whole machine is powered by 12V)
- A USB type-A to type-C data cable (for log output printing)
2. Upgrade process
- Please click the firmware download website to download the card upgrade package
Tips
Download path: ShimetaPi AI智能硬件 > GM-1684XBASE-32T > 01-系统镜像 > sdcard_1012.tar.gz
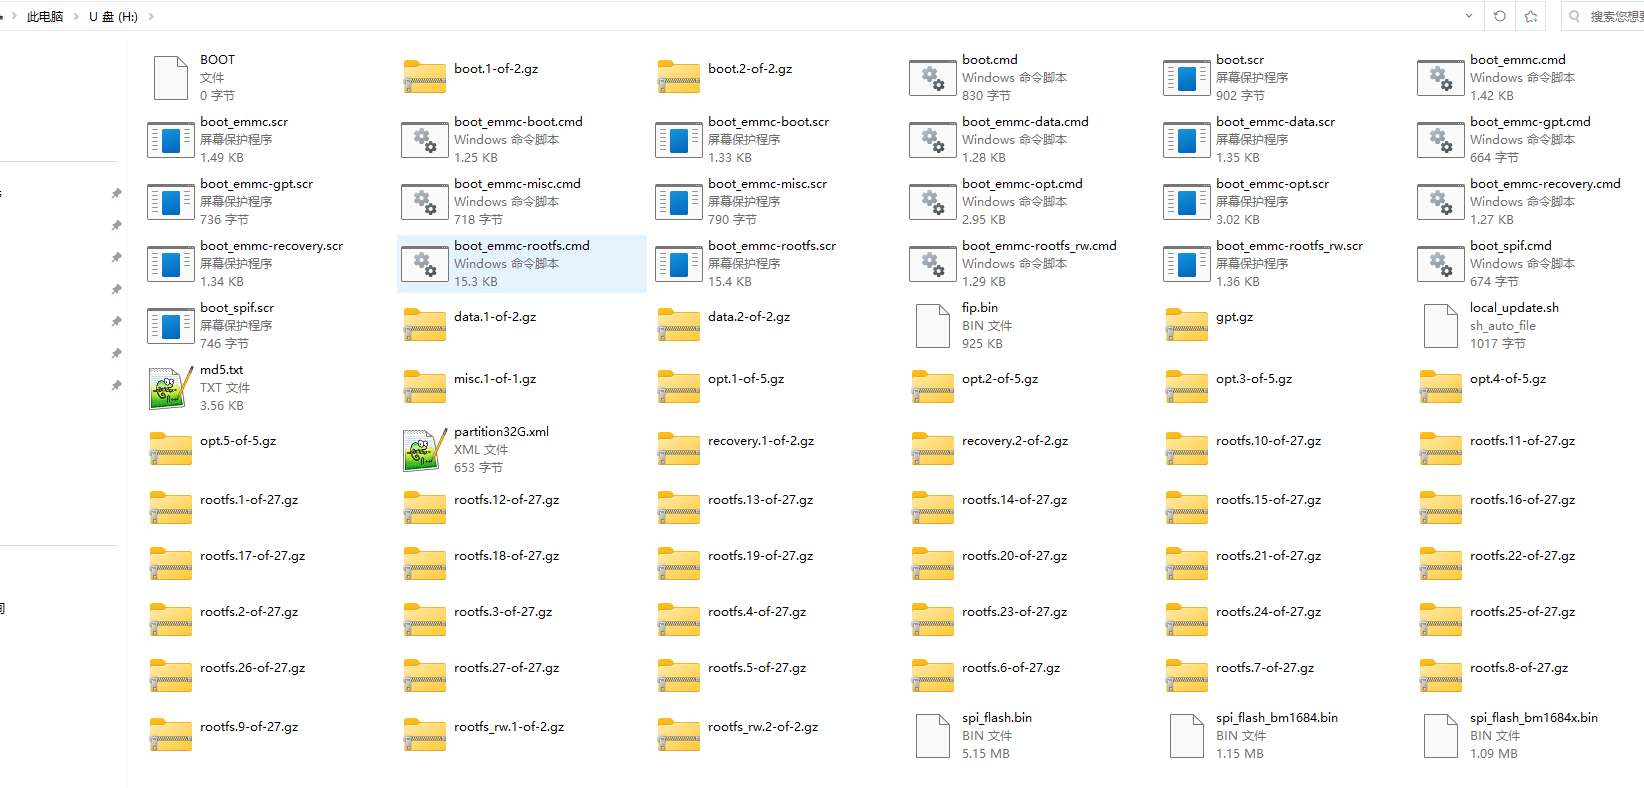
- Unzip the compressed package on the local computer and then copy it to the root directory of the SD card (/mnt is the root directory of the SD card)
- Insert the SD card into the card slot, power on, and press the power button. If the following log is observed in the serial port, it means that the firmware is being flashed. The process takes about 3 to 5 minutes.
    MMC write: dev # 0, block # 0, count 34 ... 34 blocks written: OK

    fs reading //boot_emmc-boot.scr
    1362 bytes read in 10 ms (132.8 KiB/s)
    ## Executing script at 300040000
    fs reading //boot.1-of-2.gz
    25748902 bytes read in 3202 ms (7.7 MiB/s)

    Uncompressed size: 102760448 = 0x6200000


    MMC write: dev # 0, block # 8192, count 200704 ... 200704 blocks written: OK

    fs reading //boot.2-of-2.gz
    30566 bytes read in 13 ms (2.2 MiB/s)

    Uncompressed size: 31457280 = 0x1E00000


    MMC write: dev # 0, block # 208896, count 61440 ... 61440 blocks written: OK

    fs reading //boot_emmc-recovery.scr
    1374 bytes read in 10 ms (133.8 KiB/s)
    ## Executing script at 300040000
    fs reading //recovery.1-of-2.gz
    6470860 bytes read in 813 ms (7.6 MiB/s)

Uncompressed size: 102760448 = 0x6200000- After the flashing is completed, you will see the red LED light is always on, and the log will prompt you to unplug the SD card, and then power off and on to restart
    eMMC update done
    bm savelog 449 bytes written in 10 ms (43 KiB/s)
    all done
    Please remove the installation medium, then reboot
    Please remove the installation medium, then reboot
    Please remove the installation medium, then reboot
    Please remove the installation medium, then reboot
    Please remove the installation medium, then reboot
    Please remove the installation medium, then reboot
    Please remove the installation medium, then reboot
    Please remove the installation medium, then reboot
    Please remove the installation medium, then reboot
    Please remove the installation medium, then reboot
    Please remove the installation medium, then reboot
    Please remove the installation medium, then reboot
    Please remove the installation medium, then reboot
    Please remove the installation medium, then reboot
    Please remove the installation medium, then reboot
    Please remove the installation medium, then reboot
    Please remove the installation medium, then reboot
    Please remove the installation medium, then reboot
    Please remove the installation medium, then reboot
    Please remove the installation medium, then reboot
    Please remove the installation medium, then reboot
3. Important Tips
Warning
If the burning process fails, it is generally caused by the overheating of the chip. In this case, please wait until the chip cools down to a certain extent, then power it on again and enter the flashing process.