第三章 应用编译以及部署
1. 应用以及部署构建第一个ArkTS应用(Stage模型)
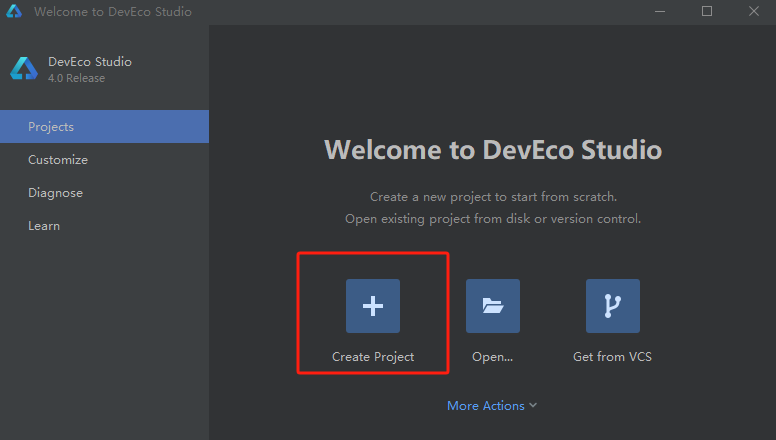
1)若首次打开DevEco Studio,请点击Create Project创建工程。如果已经打开了一个工程,请在菜单栏选择File > New > Create Project来创建一个新工程。
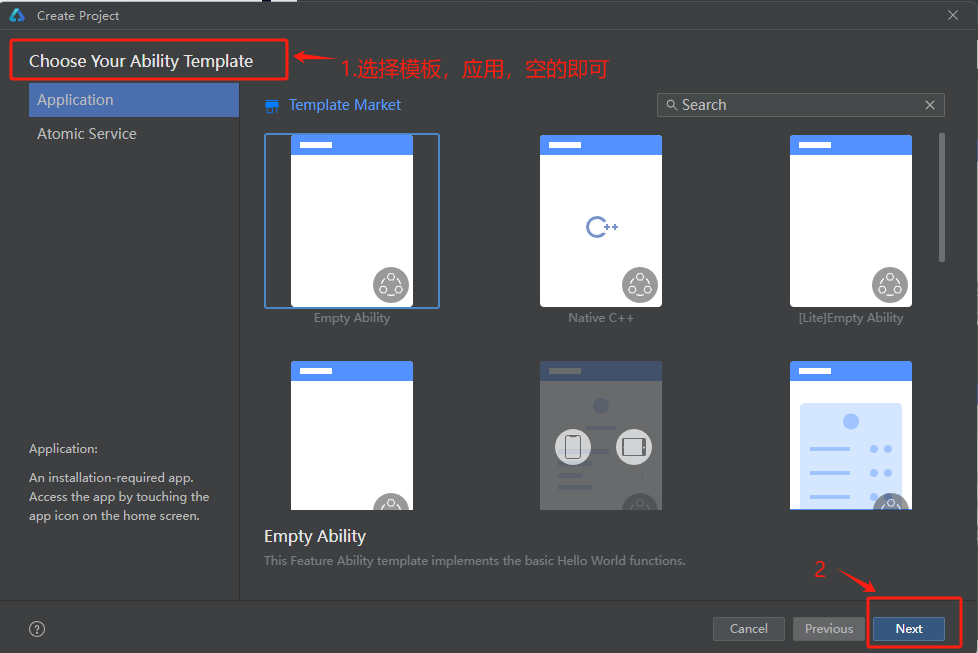
2)选择Application应用开发(本文以应用开发为例,Atomic Service对应为原子化服务开发),选择模板“[OpenHarmony]Empty Ability”,点击Next进行下一步配置
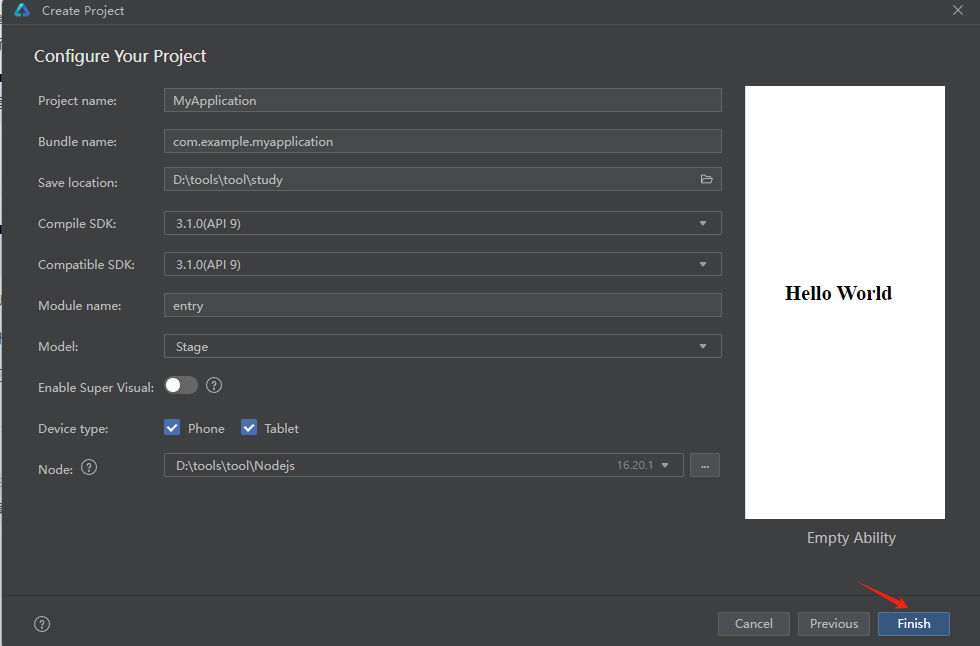
3)进入配置工程界面,修改一下工程存放的位置,其他参数保持默认设置即可,点击【finish】,其中Node用来配置当前工程运行的Node.js版本,可选择使用已有的Node.js或下载新的Node.js版本
4)工程初始化界面如下:
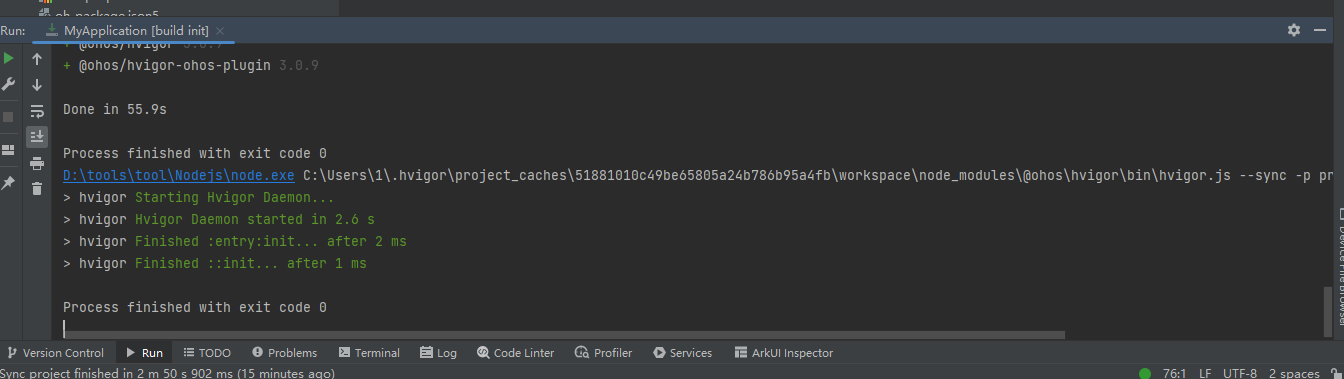
5)这里等一会,看到红色的运行提示结束,运行完毕后就是最终状态了
2. 构建第一个页面
1)使用文本组件
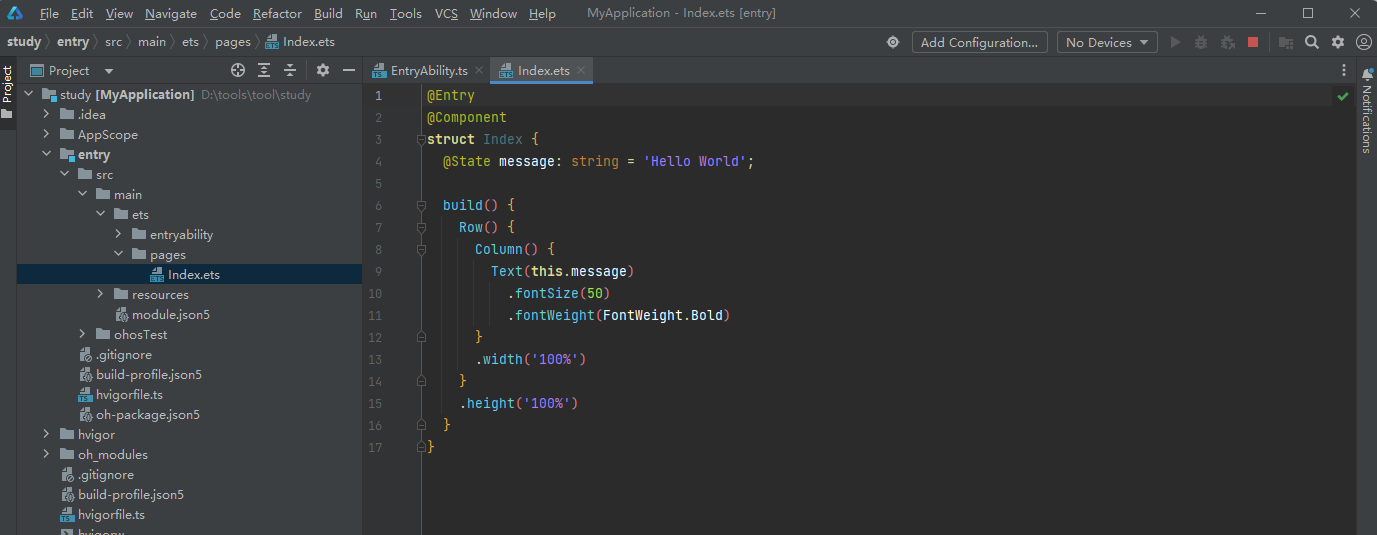
工程同步完成后,在“Project”窗口,点击“entry > src > main > ets > pages”,打开“Index.ets”文件,可以看到页面由Text组件组成。“Index.ets”文件的示例如下:
// Index.ets
@Entry
@Component
struct Index {
  @State message: string = 'Hello World';

  build() {
    Row() {
      Column() {
        Text(this.message)
          .fontSize(50)
          .fontWeight(FontWeight.Bold)
      }
      .width('100%')
    }
    .height('100%')
  }
}
2)添加按钮
在默认页面基础上,我们添加一个Button组件,作为按钮响应用户点击,从而实现跳转到另一个页面。“Index.ets”文件的示例如下:
// Index.ets
@Entry
@Component
struct Index {
  @State message: string = 'Hello World';

  build() {
    Row() {
      Column() {
        Text(this.message)
          .fontSize(50)
          .fontWeight(FontWeight.Bold)
        // 添加按钮,以响应用户点击
        Button() {
          Text('Next')
            .fontSize(30)
            .fontWeight(FontWeight.Bold)
        }
        .type(ButtonType.Capsule)
        .margin({
          top: 20
        })
        .backgroundColor('#0D9FFB')
        .width('40%')
        .height('5%')
      }
      .width('100%')
    }
    .height('100%')
  }
}
3)运行HarmonyOS应用可以使用远程模拟器和物理真机设备,区别在于使用远程模拟器运行应用不需要对应用进行签名。接下来将以物理真机设备为例,介绍HarmonyOS应用的运行方法:
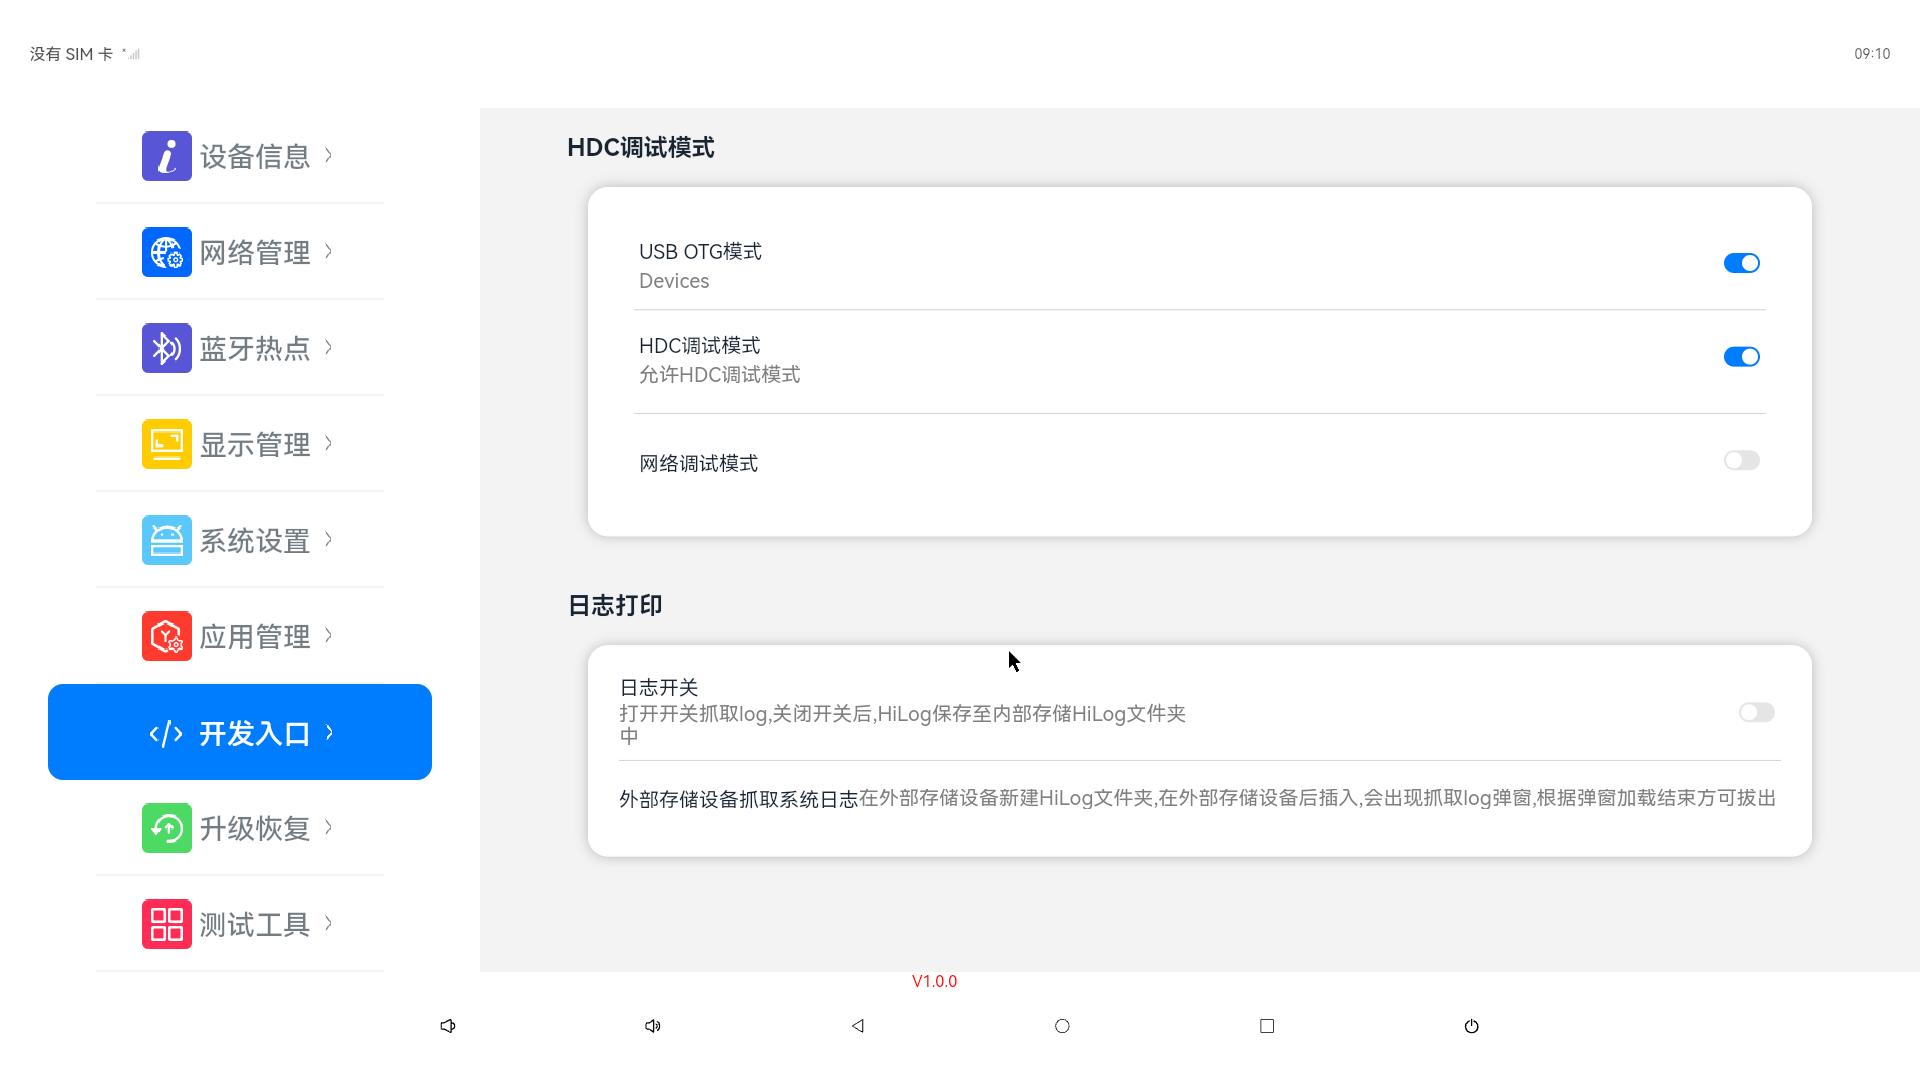
①将搭载HarmonyOS系统的真机A与电脑通过双头USB线与OTG口连接,需要确认系统开机后OsTools--开发入口中,USB OTG模式和HDC调试模式为打开状态:
②查看工具界面会显示连接设备3568A的序列号,如下:

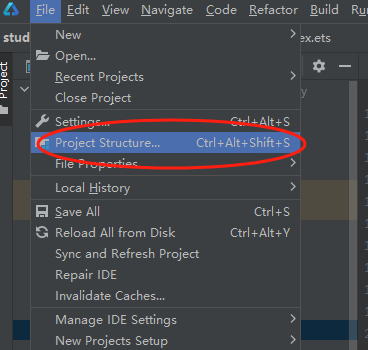
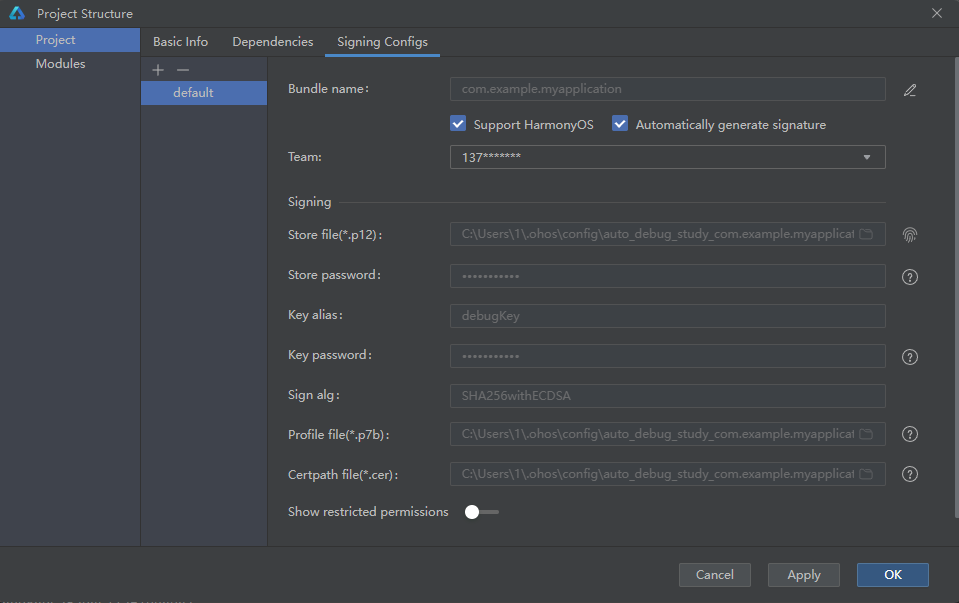
③系统签名:点击File > Project Structure… > Project > SigningConfigs界面勾选“Support HarmonyOS”和“Automatically generate signature”,点击界面提示的“Sign In”,使用华为帐号登录。等待自动签名完成后,点击“OK”即可。如下图所示:


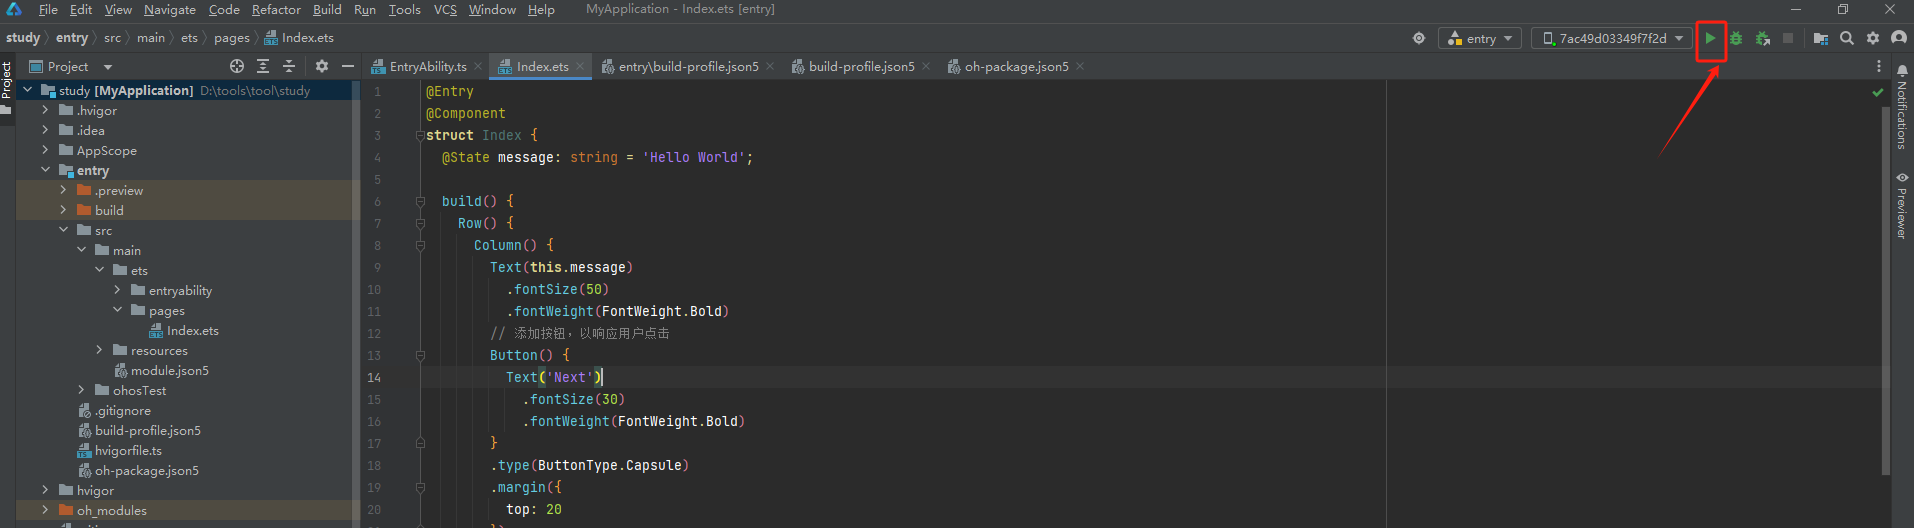
④在编辑窗口右上角的工具栏,点击  按钮运行。效果如下图所示:
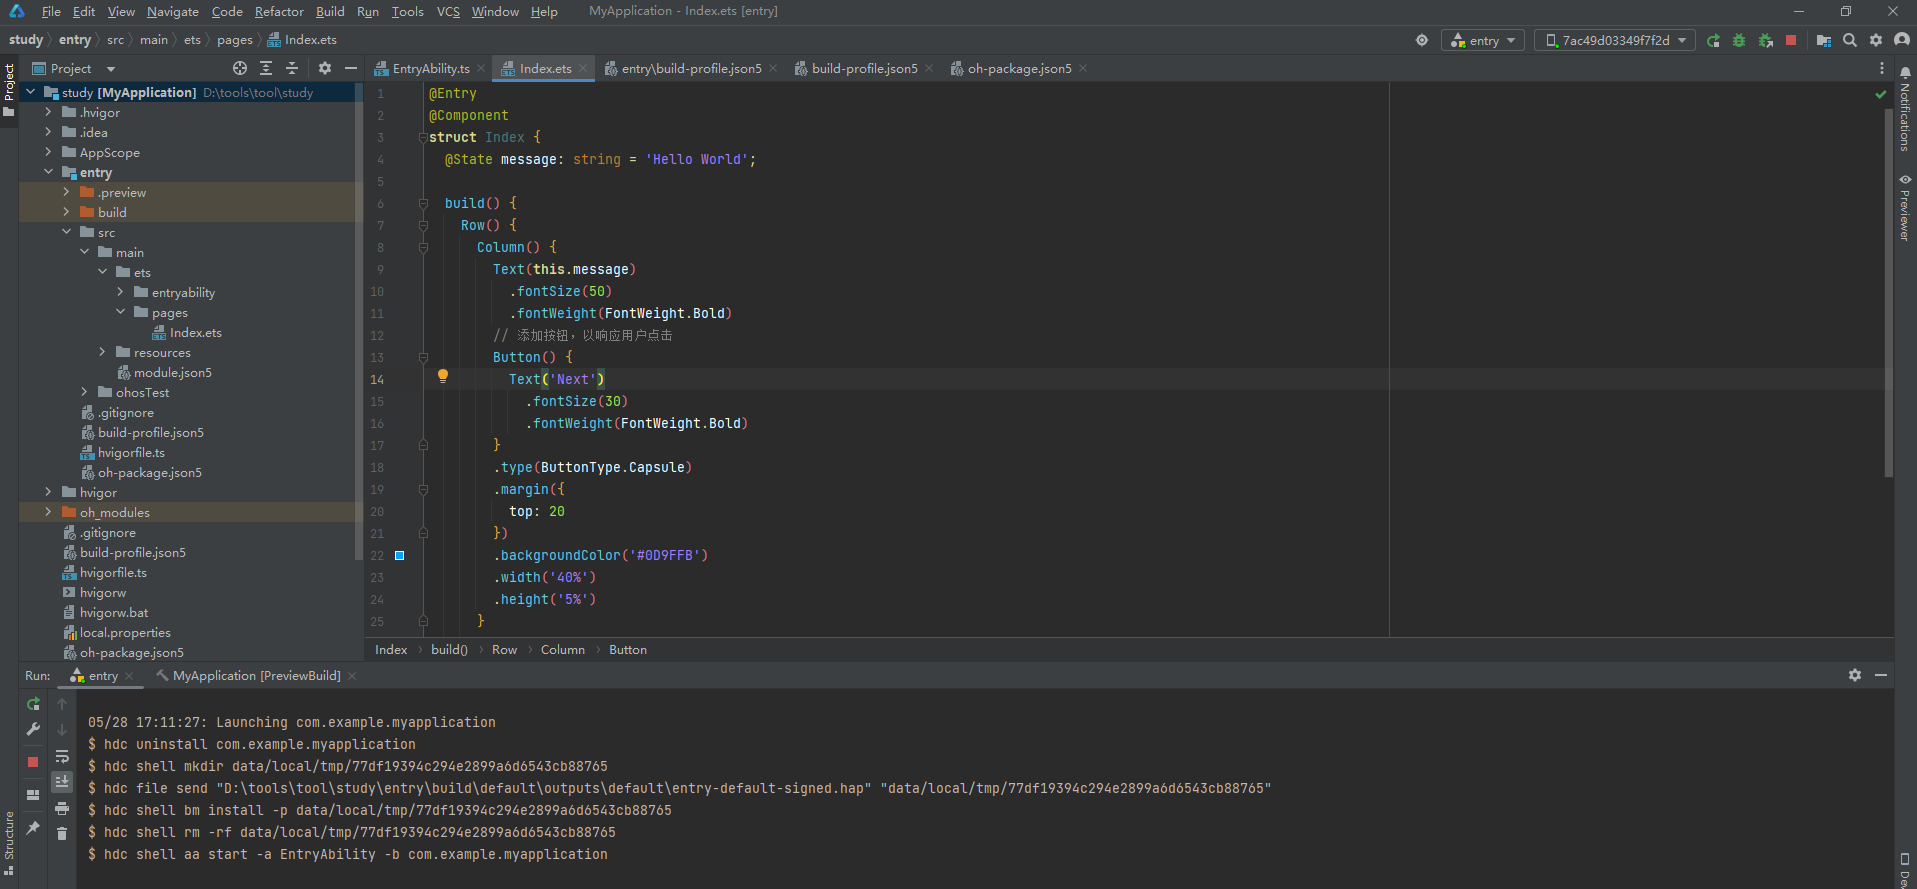
⑤等待运行结束后工具界面如下:
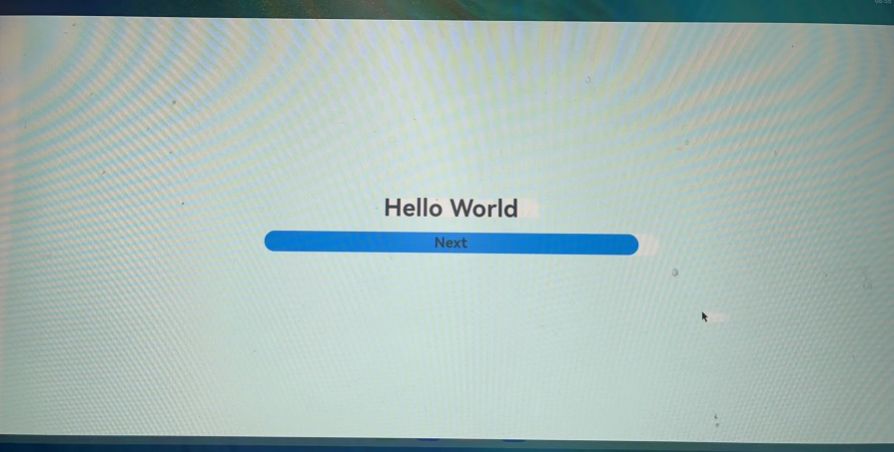
真机界面效果如下:
备注:
恭喜你已经使用ArkTS语言开发(Stage模型)完成第一个HarmonyOS应用,快来探索更多的HarmonyOS功能吧