HOME
  • GM-3568JHF
  • M4-R1
  • M5-R1
  • SC-3568HA
  • M-K1HSE
  • CF-NRS1
  • CF-CRA2
  • 1684XB-32T
  • 1684X-416T
  • C-3568BQ
  • C-3588LQ
  • GC-3568JBAF
  • C-K1BA
Shop
  • English
  • 简体中文
HOME
  • GM-3568JHF
  • M4-R1
  • M5-R1
  • SC-3568HA
  • M-K1HSE
  • CF-NRS1
  • CF-CRA2
  • 1684XB-32T
  • 1684X-416T
  • C-3568BQ
  • C-3588LQ
  • GC-3568JBAF
  • C-K1BA
Shop
  • English
  • 简体中文
  • SC-3568HA

    • Introduction

      • SC-3568HA Overview
    • Quick Start Guide

      • OpenHarmony Overview
      • Image Flashing
      • Setting Up the Development Environment
      • Hello World Application and Deployment
    • Application Development

      • ArkUI

        • Chapter 1 Introduction to ArkTS Language
        • Chapter 2 Introduction to UI Components and Practical Applications (Part 1)
        • Chapter 3 Introduction to UI Components and Practical Applications (Part 2)
        • Chapter 4 Introduction to UI Components and Practical Applications (Part 3)
      • Expand

        • Chapter 1 Getting Started Guide
        • Chapter 2 Referencing and Using Third-Party Libraries
        • Chapter 3: Application Compilation and Deployment
        • Chapter 4: Command-Line Factory Reset
        • Chapter 5: System Debugging -- HDC (Huawei Device Connector) Debugging
        • Chapter 6 APP Stability Testing
        • Chapter 7 Application Testing
    • Device Development

      • Chapter 1 Environment Setup
      • Chapter 2 Download Source Code
      • Chapter 3 Compiling Source Code
    • Peripheral And Iinterface

      • Raspberry Pi interface
      • GPIO Interface
      • I2C Interface
      • SPI communication
      • PWM (Pulse Width Modulation) control
      • Serial port communication
      • TF Card
      • Display Screen
      • Touch
      • Audio
      • RTC
      • Ethernet
      • M.2
      • MINI-PCIE
      • Camera
      • WIFI&BT
      • Raspberry Pi expansion board
    • Frequently Asked Questions

      • Resource Downloads
  • M-K1HSE

    • Introduction

      • M-K1HSE Introduction
    • Quick Start

      • Development environment construction
      • Source code acquisition
      • Compilation Notes
      • Burning Guide
    • Peripherals and interfaces

      • 01 Audio
      • 02 RS485
      • 03 Display
    • System customization development

      • System transplant
      • System customization
      • Driver Development
      • System Debugging
      • OTA Update

Image Flashing

1. RK USB Driver Installation

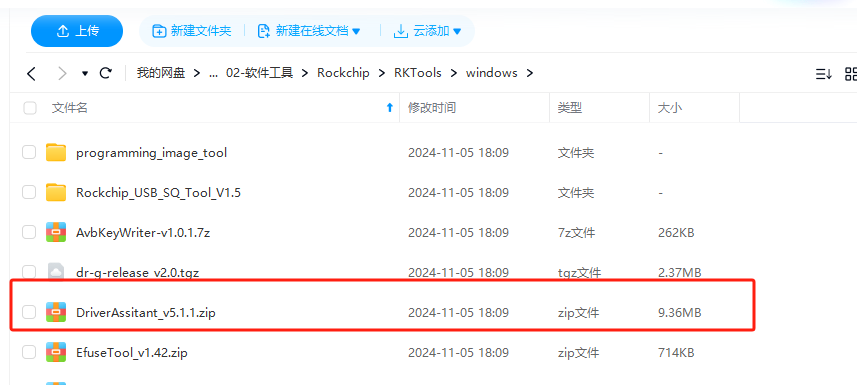
a. Download the Rockchip USB driver package (DriverAssitant_v5.1.1) from Baidu Netdisk

Link: https://pan.baidu.com/s/1ZUn2BNg-Sb6M-fWhDqAFMw?pwd=smcc

Extraction Code: smcc

TOOL

Notes

Tool Path: ShimetaPi开源鸿蒙资料>02-软件工具>Rockchip>RKTools>windows>DriverAssitant_v5.1.1.zip

b. After extracting the compressed package, navigate to the extracted folder and run DriverInstall.exe to install the driver.

2. RK Upgrade Tool Usage Instructions

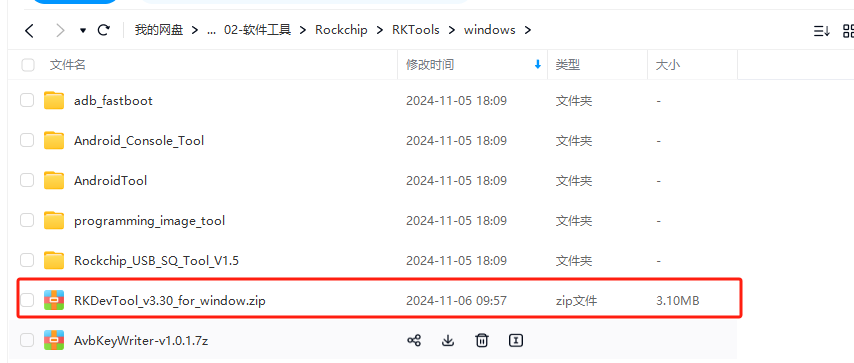
a. Standalone Upgrade Tool (RKDevTool_Release_v2.84)

Link: https://pan.baidu.com/s/1ZUn2BNg-Sb6M-fWhDqAFMw?pwd=smcc

Extraction Code: smcc

TOOL

Notes

Tool Path: ShimetaPi开源鸿蒙资料>02-软件工具>Rockchip>RKTools>windows>RKDevTool_v3.30_for_window.zip

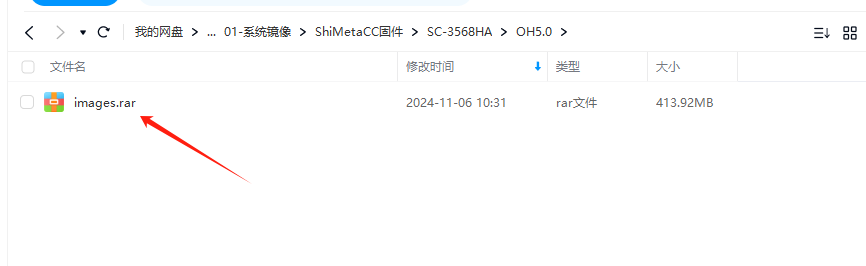
b. Download the image to your local PC

Download the corresponding system firmware from Baidu Netdisk to your local device,Tool Path:ShimetaPi开源鸿蒙资料>01-系统镜像>ShiMetaPi固件>SC-3568HA>OH5.0>images.rar

TOOL

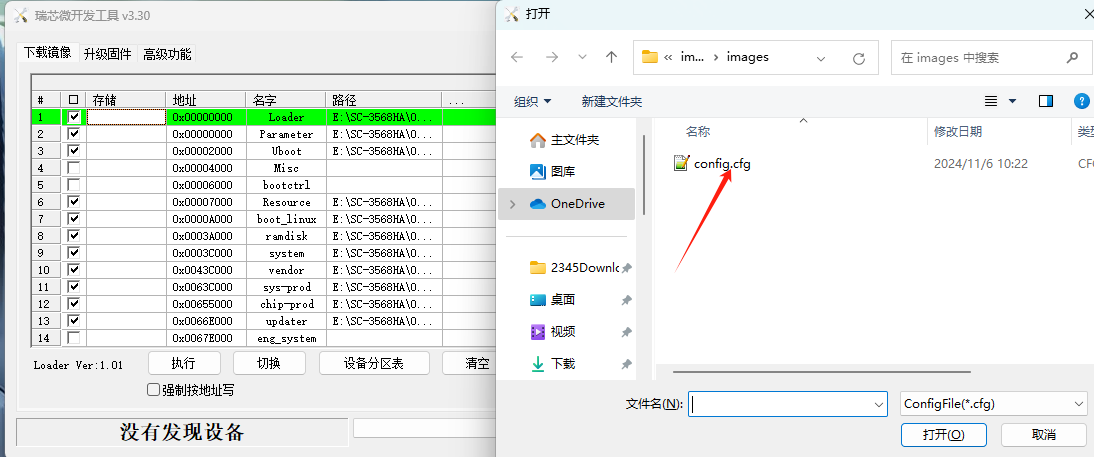
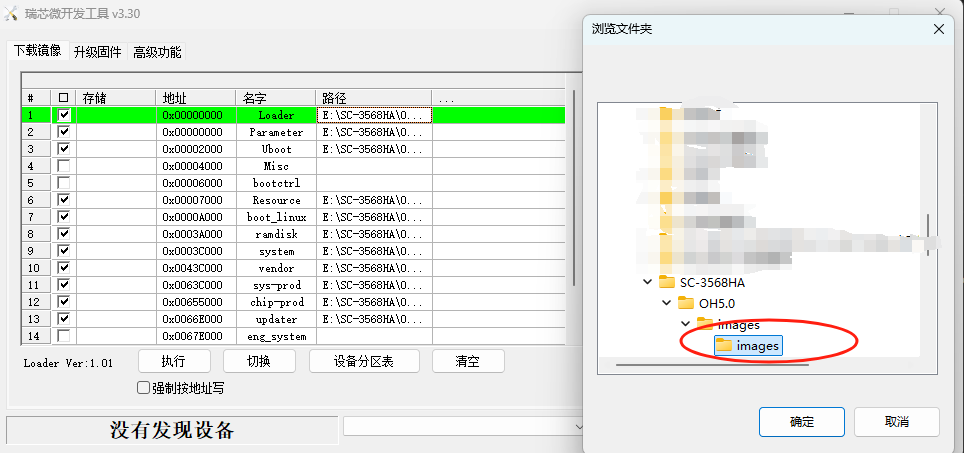
c. Extract the upgrade tool zip file, double-click RKDevTool.exe to launch the tool, right-click on an empty area in the interface, and select "Import Configuration".

Notes

During the import process, selecting your designated folder will automatically load the corresponding configuration file.

TOOL

d. After selecting the config.cfg file in the corresponding folder, right-click and choose 'Path Conversion', then select the respective target folder.

TOOLTOOL

Notes

The paths specified in the configuration file must match the firmware file paths exactly.

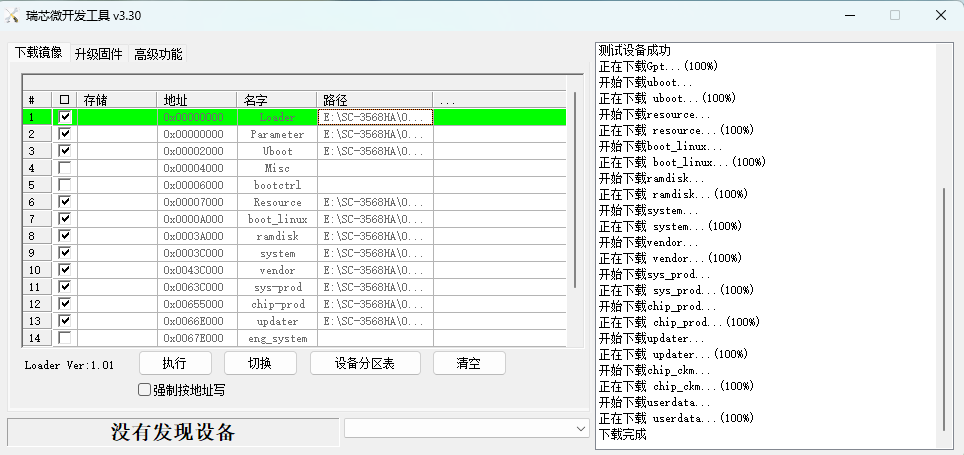
e. Use a male-to-male USB cable to connect one end to your computer's USB port and the other to the mainboard's OTG-USB port. While holding down the Uboot button, connect the 12V power supply. Once the upgrade tool detects "A LQADER device found", release the Uboot button and click "Execute".

f. After a successful upgrade, the device will automatically restart and boot up after approximately 10 seconds, with the display screen showing the system desktop.

TOOL

Notes

RK Platform Tools: The flashing methods for Android, Linux, and HarmonyOS systems are consistent. For detailed flashing procedures, please refer to the above introduction.


Edit this page on GitHub
Last Updated:
Contributors: zsl, zwhuang
Prev
OpenHarmony Overview
Next
Setting Up the Development Environment