Setting Up the Development Environment
1. Purpose
This document is designed for beginners in OpenHarmony application development. By building a simple application with page navigation/return functionality (as illustrated below), users can quickly familiarize themselves with the main files in the project directory and understand the OpenHarmony application development workflow.
2. Tool Preparation
Install the latest version of DevEco Studio:
Tool Path: https://developer.huawei.com/consumer/cn/deveco-studio/
a. Download DevEco Studio from Baidu Cloud Disk to your local computer and specify the installation path as:

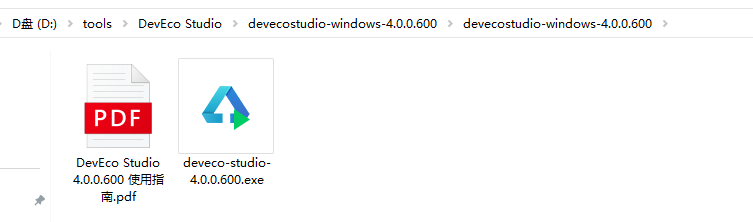
b. Extract the compressed file to your local directory. It contains an executable (.exe) file and a PDF document:
Notes
Use a shorter path to avoid exceeding the 1024-character limit, which may cause errors in subsequent operations.
c. Double-click the .exe file. After a short wait, the installation prompt will appear. Click [Next].

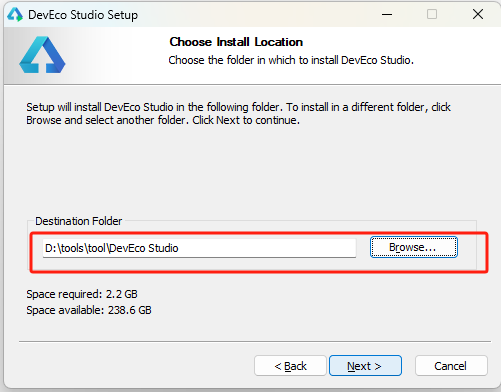
d. Select an installation location. Choose the drive with the most free space (e.g., drive D). Create a new empty folder for installation to avoid errors.
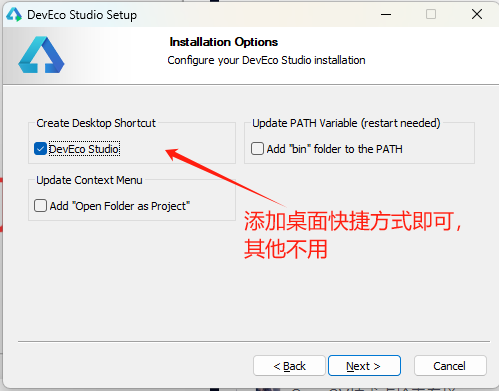
e. Check the box to create a desktop shortcut
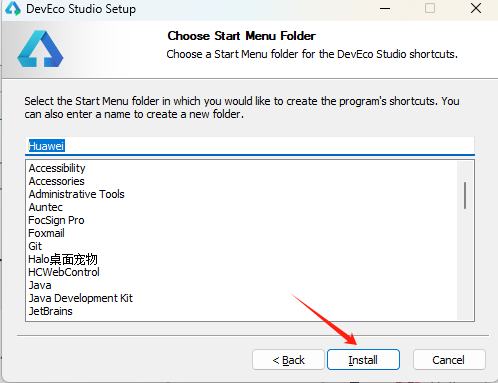
f. Click [Install] to start the installation.
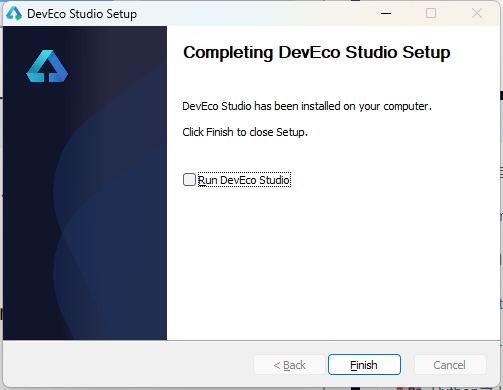
g. The installation is complete when you see the following message:
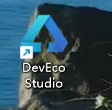
h. At this point, you can find the shortcut for 【DevEco Studio】 on your desktop.
3. [DevEco Studio] Initial Setup
a. Double-click the 【DevEco Studio】 shortcut icon on your desktop to launch it.

b. You may see some declarations here. Simply click [Agree] to confirm your acceptance.
c. After completing the previous steps, you may encounter configuration options. Since no specific settings have been adjusted yet, simply click [OK] to apply the default settings.
d. This process requires a local Node.js environment and Ohpm. However, since these are typically not pre-installed, you should select [Install] if they are missing. Before proceeding, create dedicated folders named "Nodejs" and "Ohpm" in the installation directory to organize these tools.
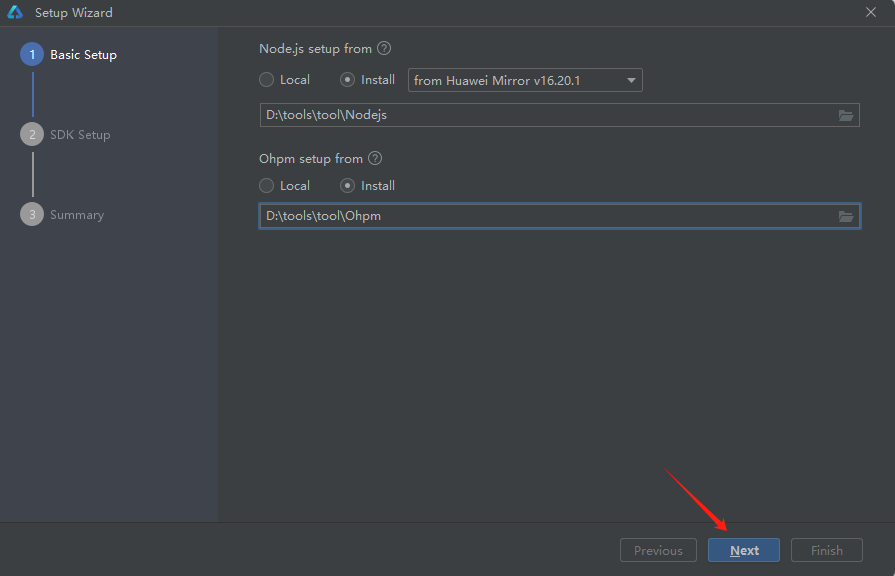
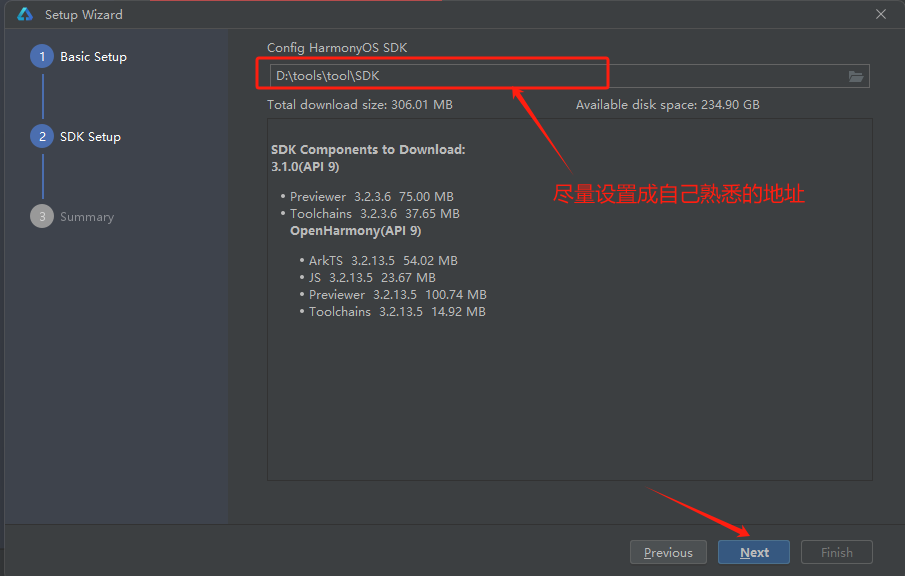
e. After specifying the SDK download location, click [Next] to proceed.
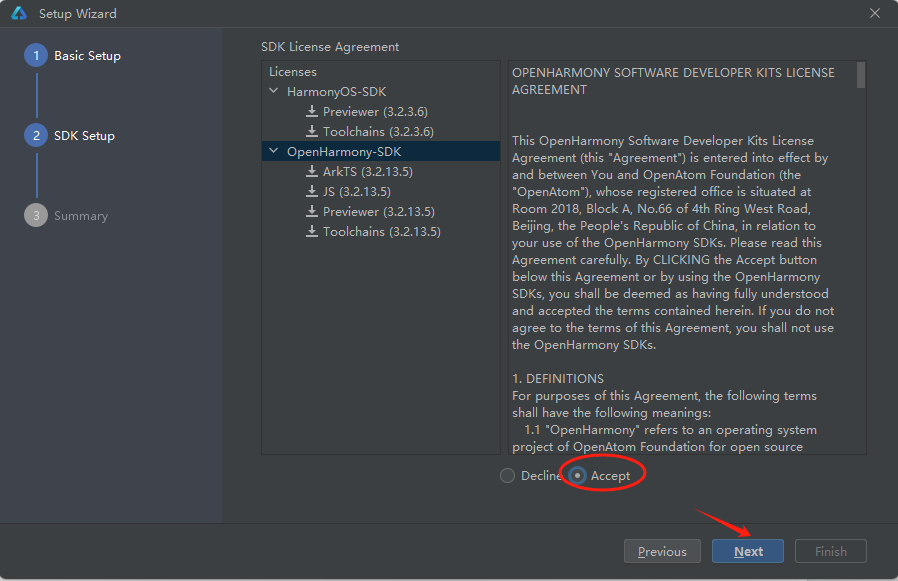
f. After clicking [Accept], proceed by clicking [Next] two more times.
g. Wait during installation.
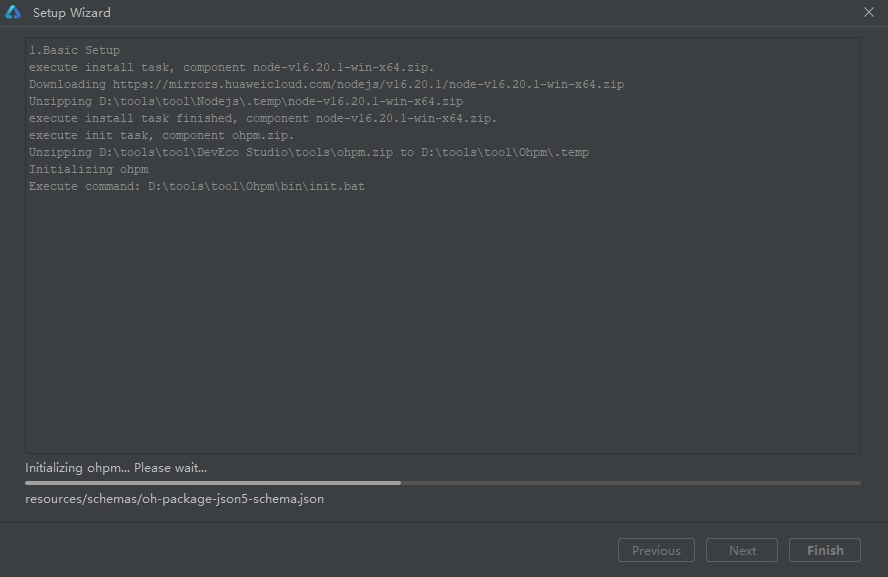
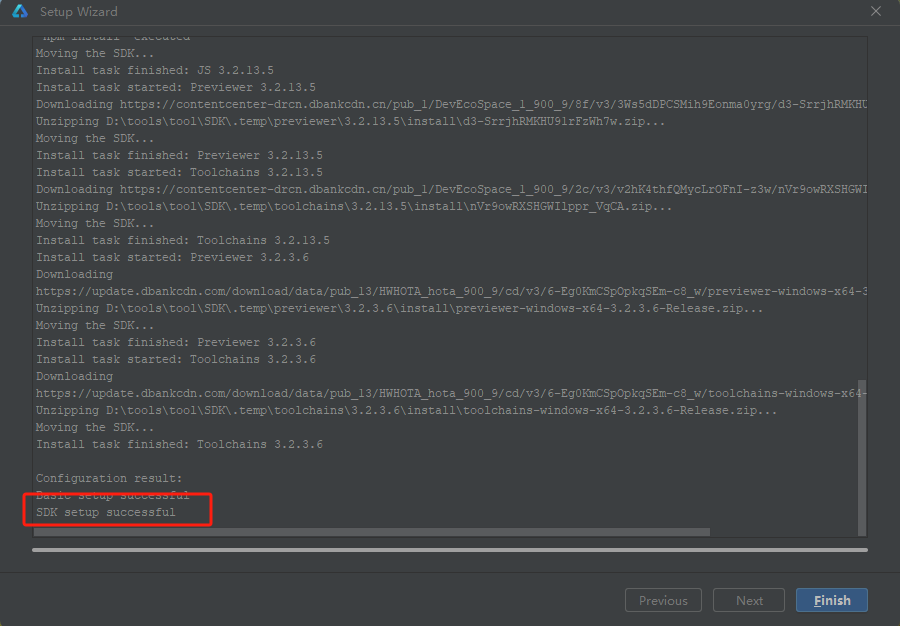
h. Post-download verification: The presence of "successful" in the completion message confirms full installation success.