Hello World Application and Deployment
1. Hello World Application and Deployment: Building the First ArkTS Application (Stage Model)
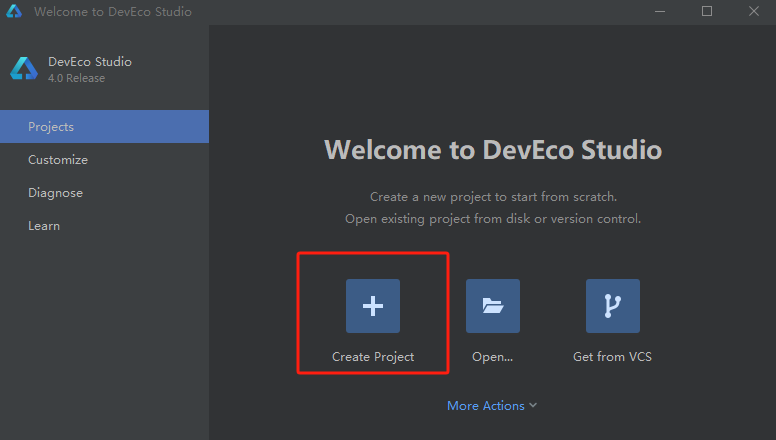
a. If this is your first time opening DevEco Studio, click [Create Project] to start a new project. If a project is already open, navigate to the menu bar and select File > New > Create Project to create a new one.
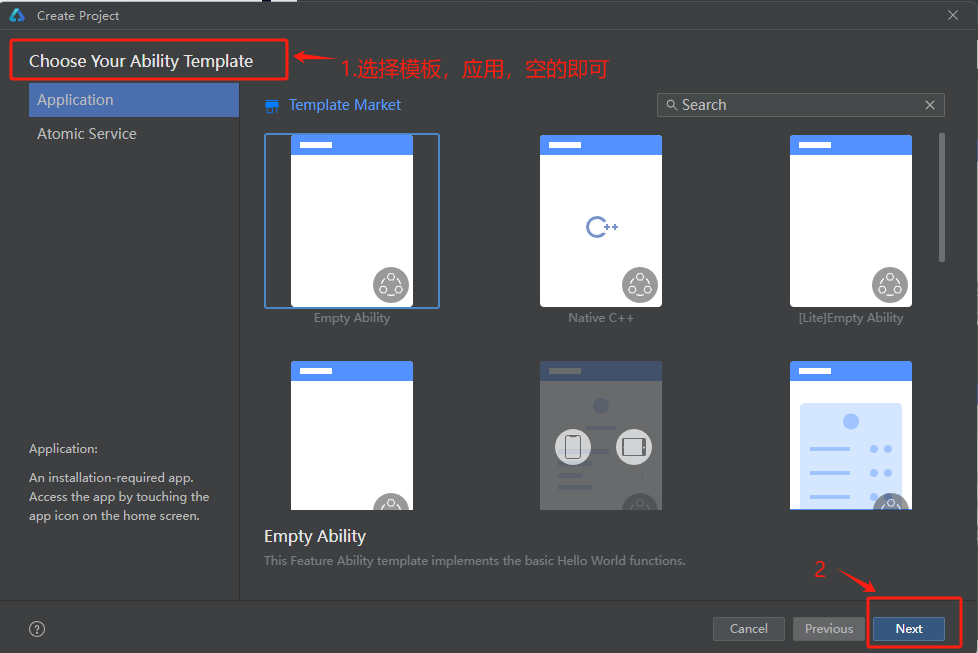
b. Select Application Development (this article uses application development as an example, with Atomic Service corresponding to atomic service development), choose the template "[OpenHarmony]Empty Ability", and click [Next] to proceed with configuration.
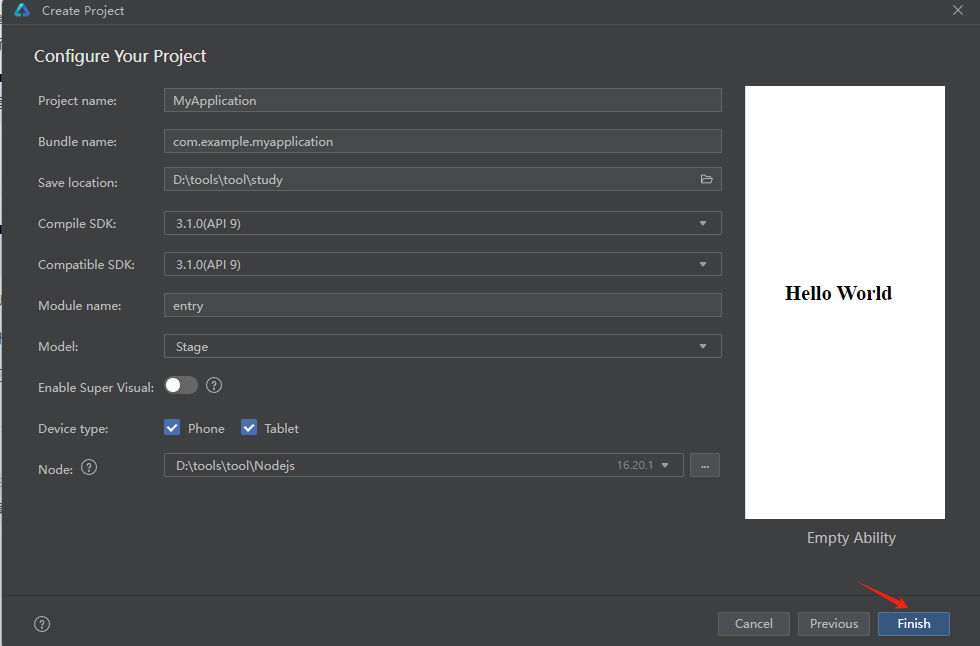
c. Access the project configuration interface, adjust the project storage location as needed, leave other parameters at their default settings, and click [Finish] to complete the setup.
The Node configuration specifies the Node.js version for the current project. You can choose to use an existing Node.js installation or download a new version.
d. The project initialization interface is shown below:
e. Wait here briefly until the red progress indicator stops. Once the process completes, the final state will be achieved.
2. Build the First Page
a. Use a Text Component
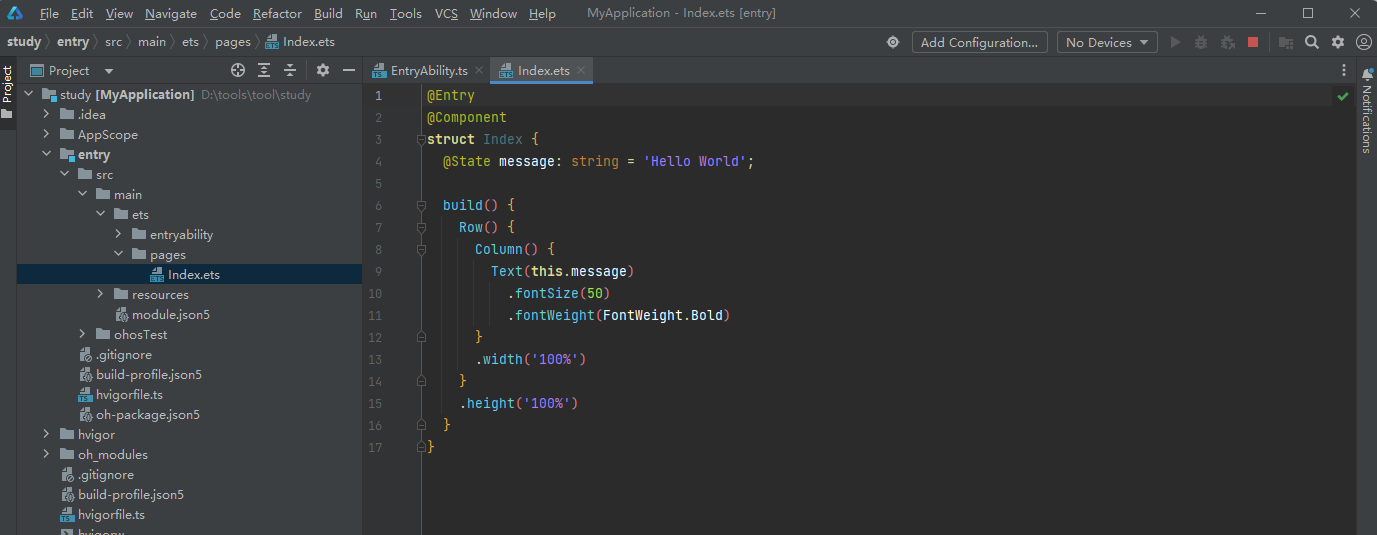
After project synchronization completes, navigate to "entry > src > main > ets > pages" in the "Project" window, open the "Index.ets" file, and observe that the page is composed of Text components. An example of the "Index.ets" file content is shown below:
// Index.ets
   @Entry
   @Component
   struct Index {
   @State message: string = 'Hello World';

   build() {
      Row() {
         Column() {
         Text(this.message)
            .fontSize(50)
            .fontWeight(FontWeight.Bold)
         }
         .width('100%')
      }
      .height('100%')
   }
   }
b. Add a Button
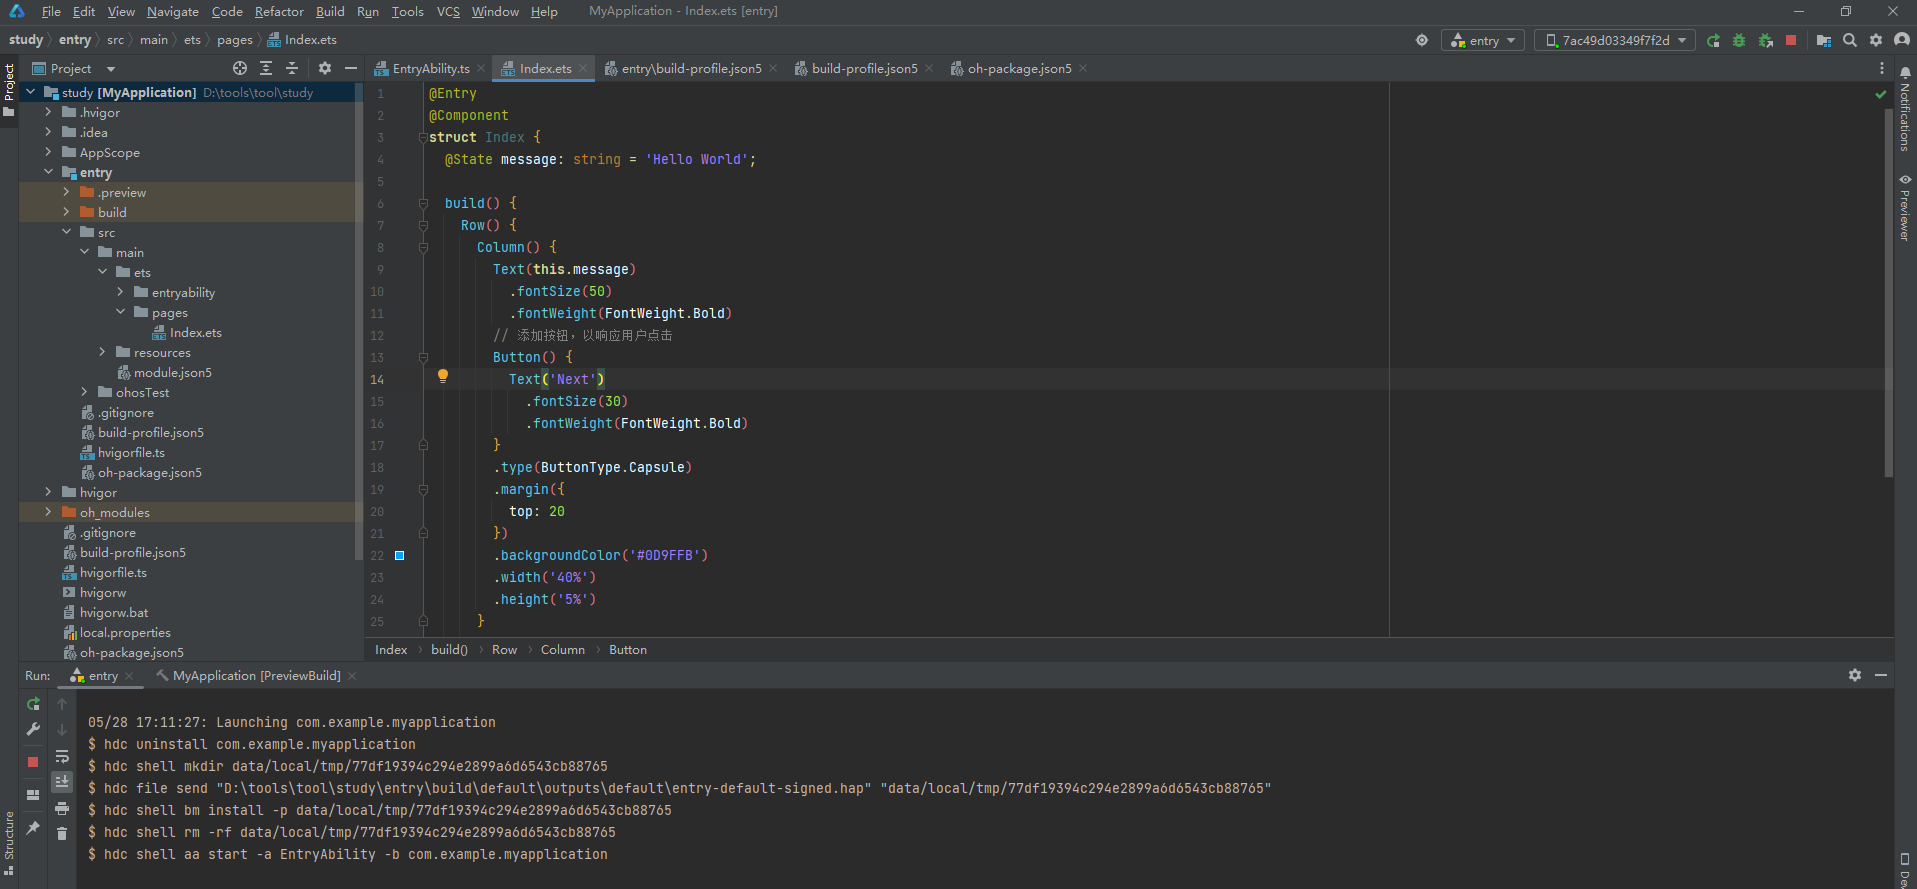
Based on the default page, we add a Button component that responds to user clicks to navigate to another page. An example of the "Index.ets" file content is shown below:
// Index.ets
   @Entry
   @Component
   struct Index {
   @State message: string = 'Hello World';

   build() {
      Row() {
         Column() {
         Text(this.message)
            .fontSize(50)
            .fontWeight(FontWeight.Bold)
         // 添加按钮,以响应用户点击
         Button() {
            Text('Next')
               .fontSize(30)
               .fontWeight(FontWeight.Bold)
         }
         .type(ButtonType.Capsule)
         .margin({
            top: 20
         })
         .backgroundColor('#0D9FFB')
         .width('40%')
         .height('5%')
         }
         .width('100%')
      }
      .height('100%')
   }
   }
c. HarmonyOS apps can be run using either remote emulators or physical devices. The key difference is that running apps via remote emulators does not require code signing. Below, we will demonstrate the process of running a HarmonyOS app using a physical device as an example:
1.Connect the HarmonyOS-powered physical device SC-3568HA to a computer using a dual-ended USB cable via the OTG port, with the device defaulting to debugging mode.
2.The tool interface will display the serial number of the connected device SC-3568HA as follows:

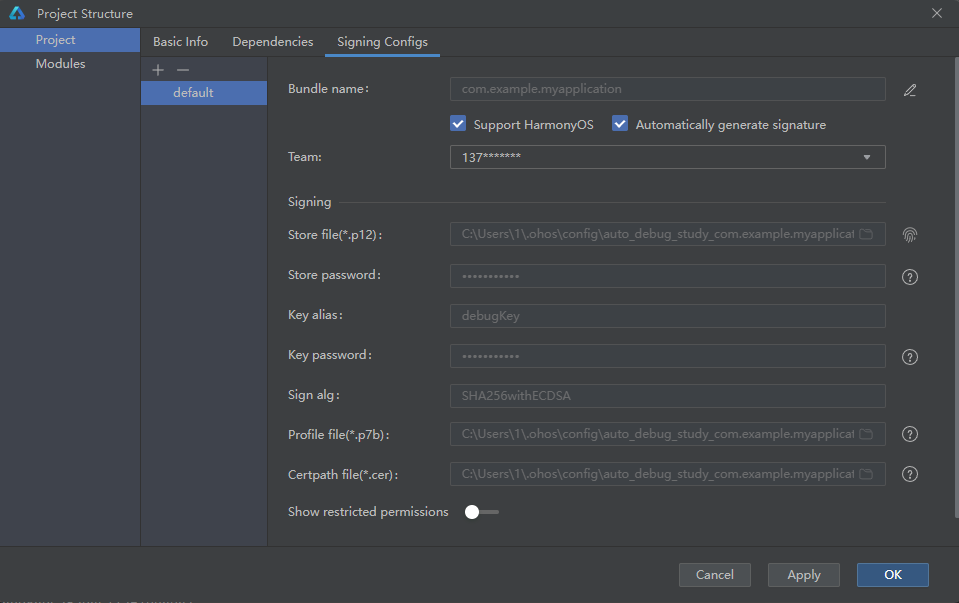
3.System Signing:
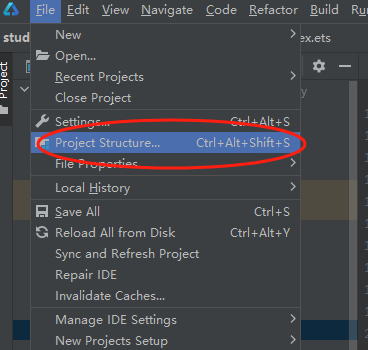
Navigate to File > Project Structure… > Project > SigningConfigs.
Check the options "Support HarmonyOS" and "Automatically generate signature".
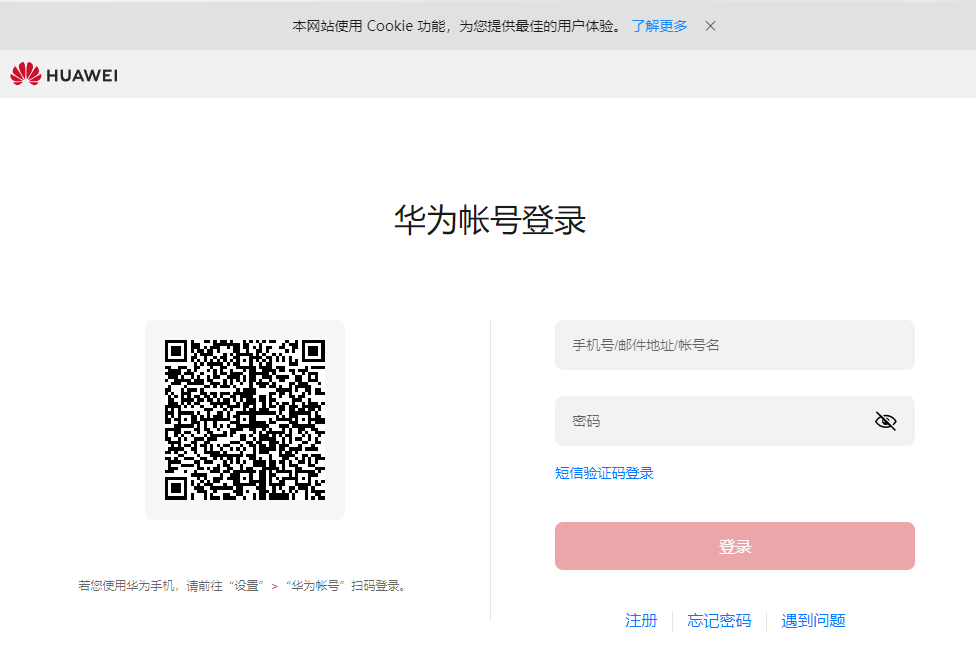
Click "Sign In" as prompted, then log in with your Huawei account.

Wait for the automatic signing process to complete, then click "OK".
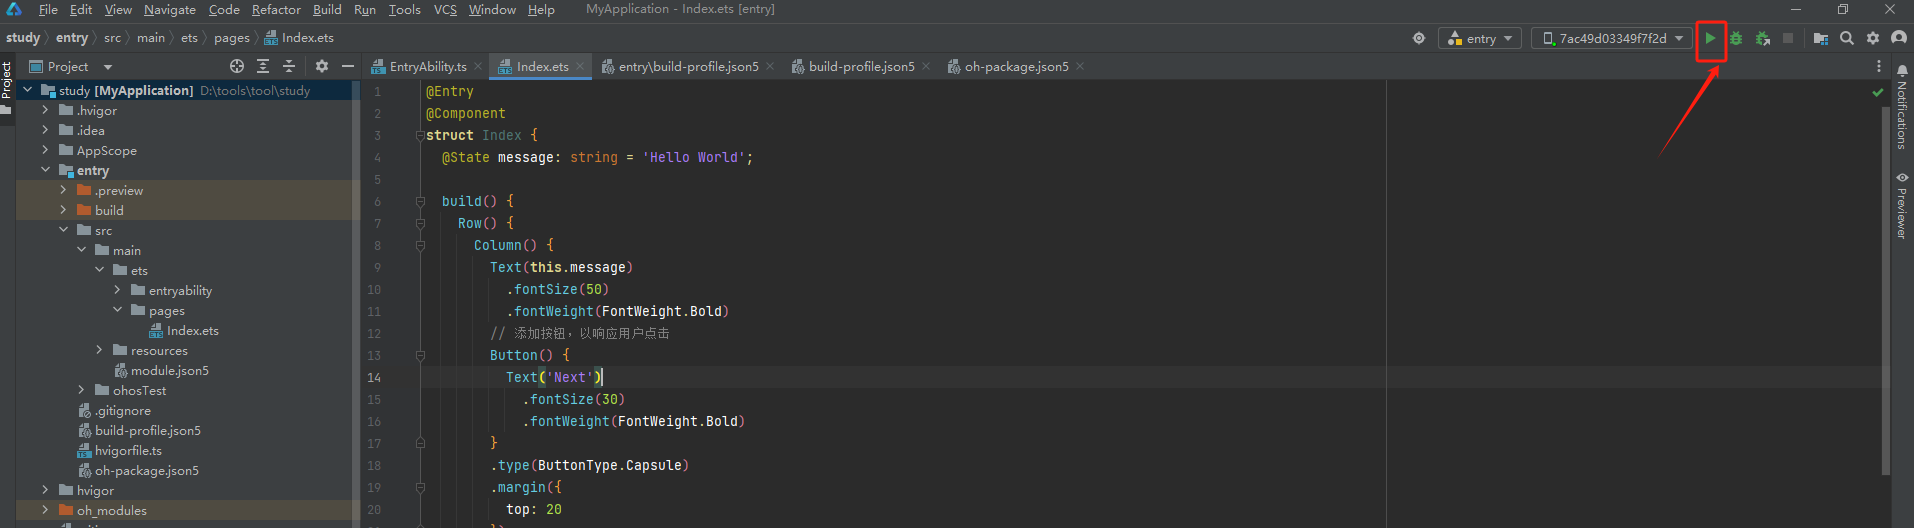
4.In the toolbar at the top-right corner of the editing window, click the  button to execute the project. The result is displayed as follows:
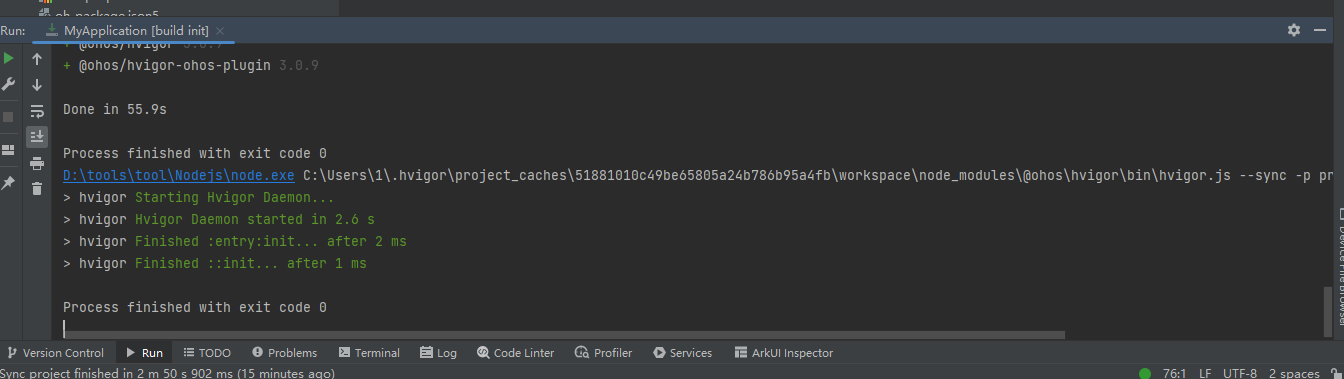
5.After the execution completes, the tool interface will display as follows:
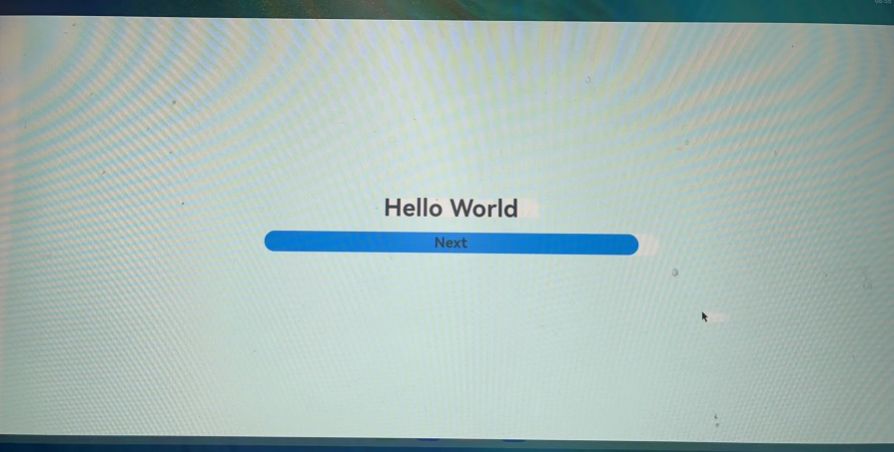
The real device interface of SC-3568HA is displayed as follows:
Congratulations!
You've successfully built your first HarmonyOS app using ArkTS (Stage model). Now, dive into exploring more HarmonyOS capabilities!