01 ARM64 cross compiler environment construction
Case Introduction
The QT executable file compiled on the PC side is of x86 architecture and cannot be run on an ARM-based development board. It is necessary to deploy a cross-compilation environment on the PC side to compile an executable file of the ARM architecture.
PC environment:
PC system: Ubutu20.04 (x86_64 architecture) (VMware and Ubutu image files are in the 05-Development Materials\03-QT Development Materials directory)
Qt version: Qt5.12.9 (GCC 9.4.0, 64bit)
Cross compiler: aarch64-linux-gnu-gcc (Ubuntu 9.4.0-1ubuntu1~20.04.2) 9.4.0
Cross-compiling
First install the cross compiler on Ubuntu.
sudo apt install gcc-aarch64-linux-gnu g++-aarch64-linux-gnu
#查看是否安装,版本号--9.4.0
aarch64-linux-gnu-gcc --version
Copy the qt-everywhere-src-5.12.9.tar compressed package in the 05-Development Materials\03-QT Development Materials directory to the Ubuntu home directory and decompress it.
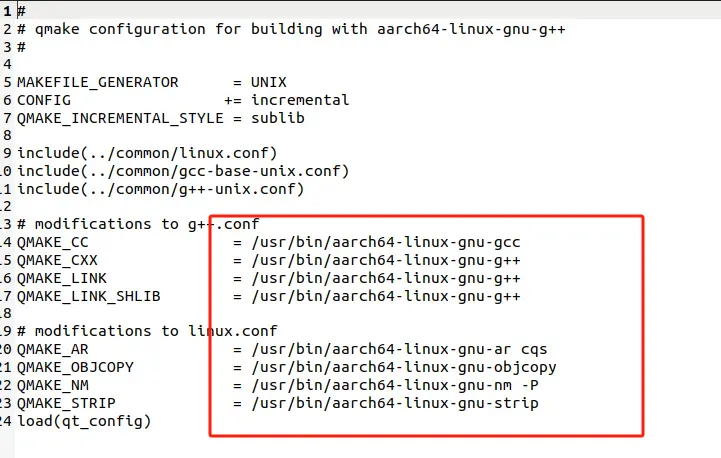
tar -xvf qt-everywhere-src-5.12.9.tarOpen qt-everywhere-src-5.12.8/qtbase/mkspecs/linux-aarch64-gnu-g++/qmake.conf, change the compiler path in the red box to the compiler path just downloaded (sudo apt install gcc-aarch64-linux-gnu) (the compiler downloaded using the command is usually in the path /usr/bin), and save after modification.
Right click in the main directory and create two new directories, "Qt-5.12.9-build" and "Qt-5.12.9-arm64"
Enter the Qt-5.12.9-build directory and execute the following instructions to generate the Makefile file.
./../qt-everywhere-src-5.12.9/configure -prefix /home/ubuntu/Qt-5.12.9-arm64 -make libs -xplatform linux-aarch64-gnu-g++ -skip qtdeclarative -no-opengl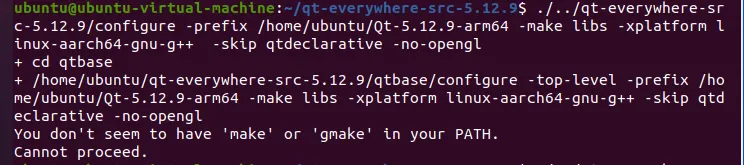
If the error shown in the above picture appears, execute the command.
sudo apt update
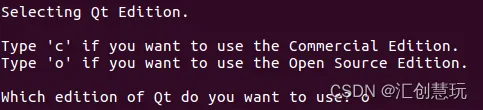
sudo apt install build-essentialThere will be two inputs in the process, input "o" and "y" respectively. After the end, you can see that the Makefile file is generated in the directory.
Continue to execute the following instructions in the Qt-5.12.9-build directory to start compiling, which takes about 10 minutes.
make -j4 2>&1 | tee build.logAfter the compilation is complete, continue to execute the instructions in the Qt-5.12.9-build directory.
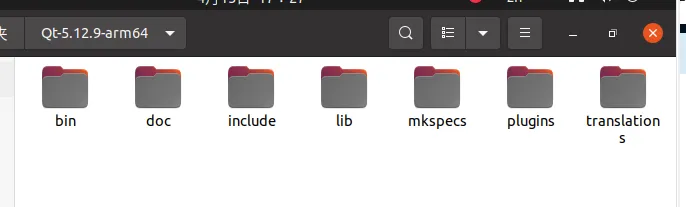
make installAfter the completion, you can open the Qt-5.12.9-arm64 directory, and qmake is in the bin subdirectory.
Install and configure the environment
Copy the qt-opensource-linux-x64-5.12.9.run file in the 05-Development Materials\03-QT Development Materials directory to the Ubuntu home directory, enter the home directory in the terminal, and execute the following command to enter the installation interface.
chmod +x qt-opensource-linux-x64-5.12.9.run
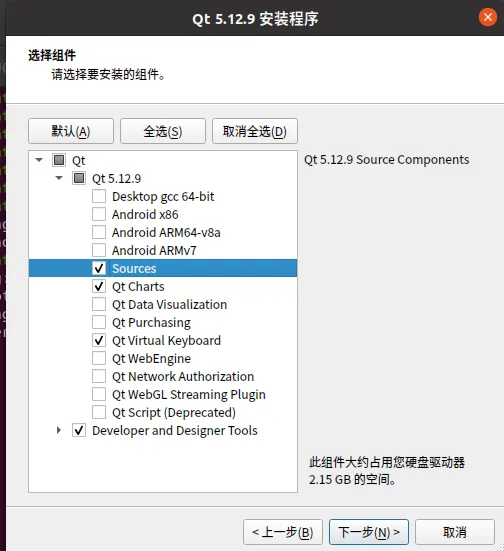
./ qt-opensource-linux-x64-5.12.9.runIf you need to log in to your account, you can log out after disconnecting from the Internet, and then re-execute the above command to install without logging in. Enter the installation directory and select the installation configuration as needed.
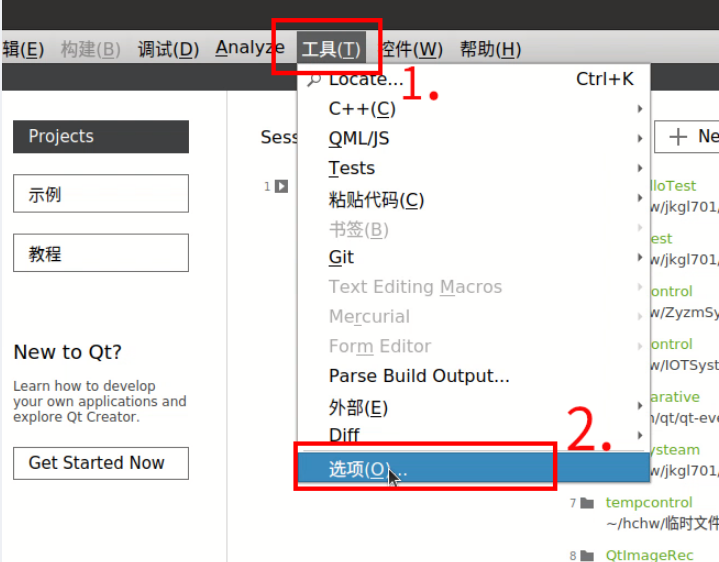
After the installation is complete, open QT and follow the steps below to configure the environment.
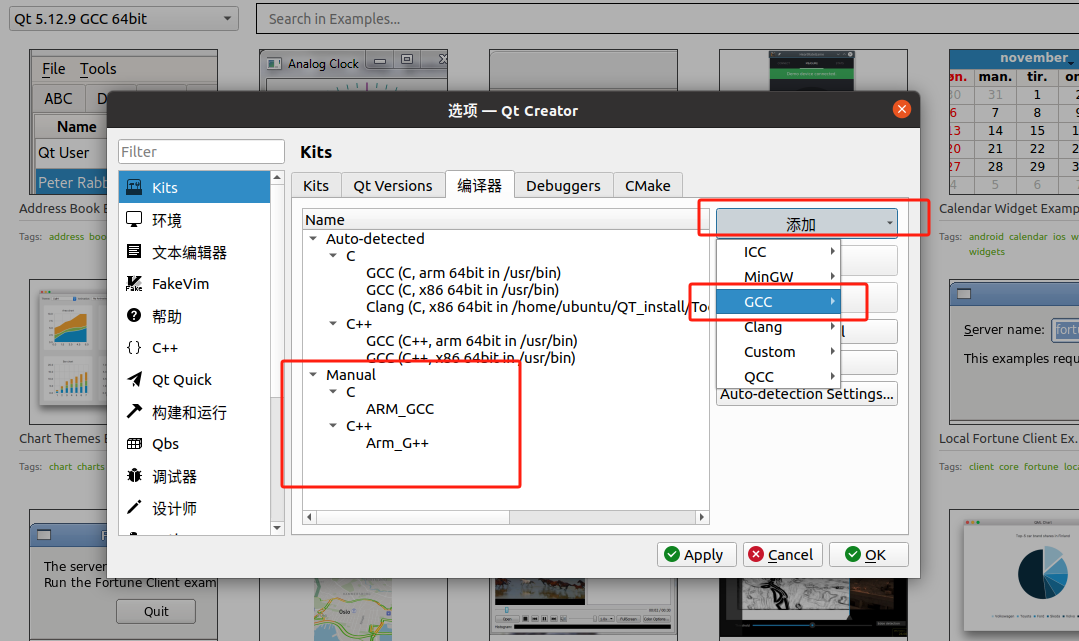
Click Add GCC-C/GCC-C++, and add the cross-compilation tools aarch64-linux-gnu-gcc and aarch64-linu-gnu-g++ you just downloaded. Those downloaded using sudo are usually in /usr/bin.
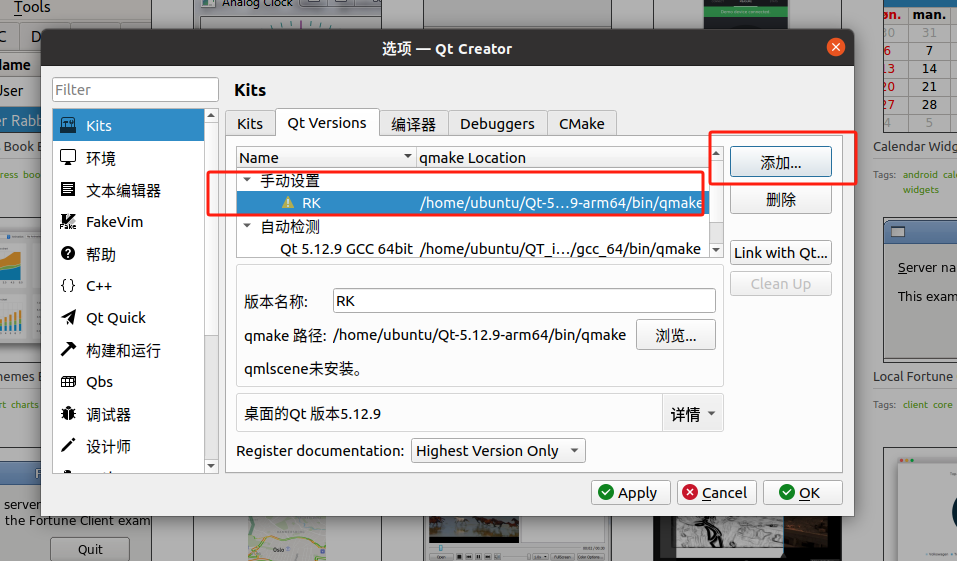
Click QT-Version, click Add, add the qmake file (in bin) just compiled, and add a version name. Warnings can be ignored.
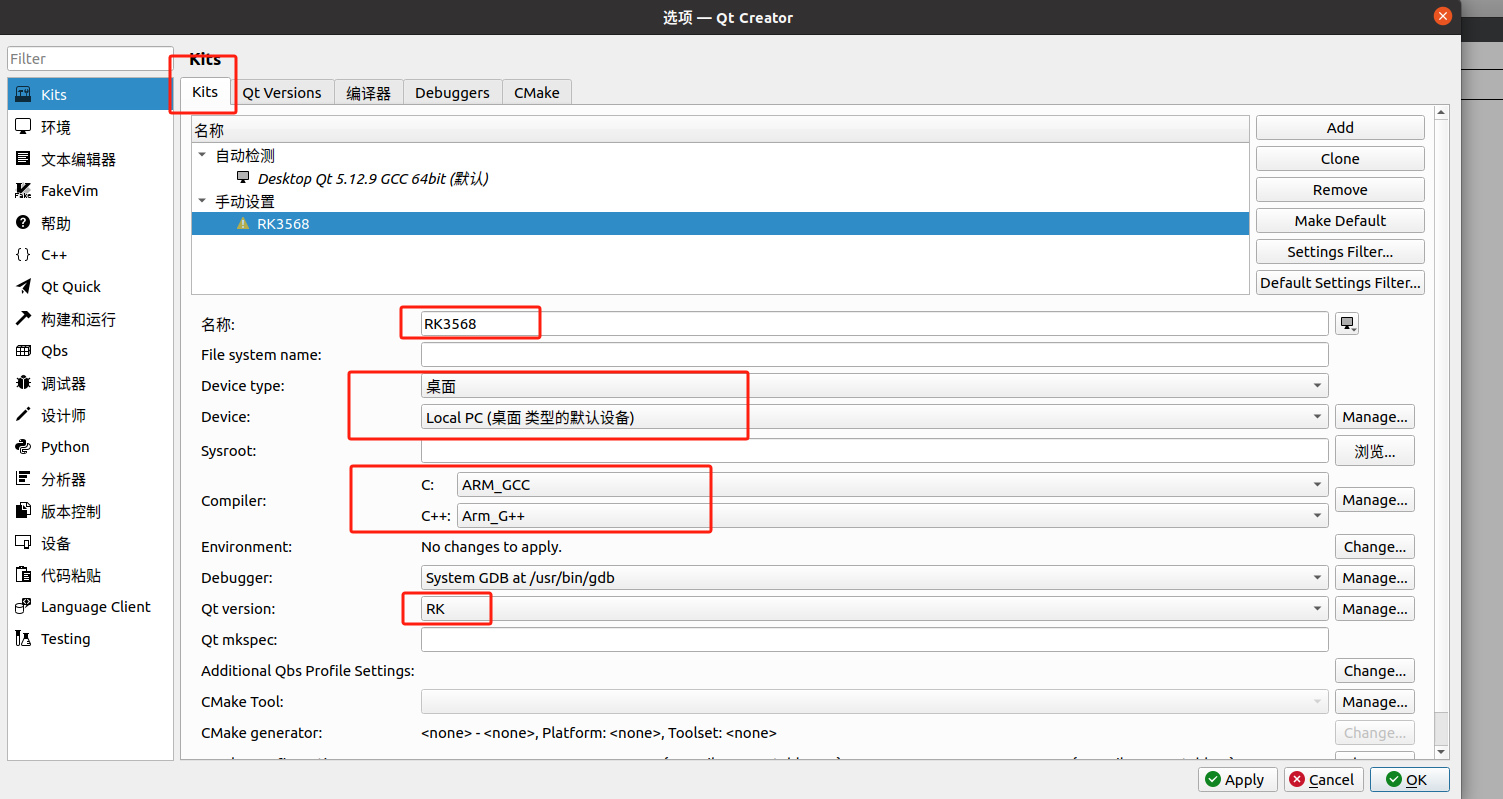
Click Kit, name it whatever you want, select the compiler you just added for C and C++, and select the QT version added in the previous step for QT version.
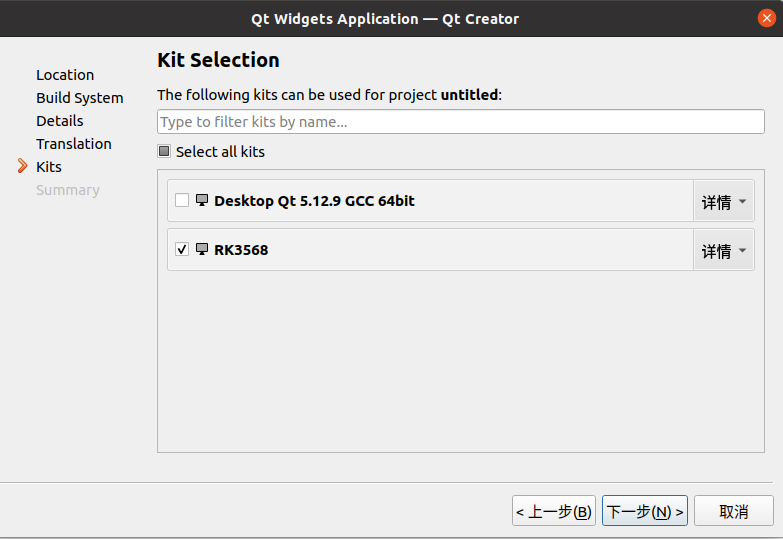
Create a new project and select the compiled environment that has been configured.
Compiling the project will generate an executable file for the ARM architecture. The QT environment has been deployed on RK3568. Simply copy the executable file to the development board, modify the permissions, and run it in the terminal. You can also double-click it to open it.