
RTSP 推流
在 RK3588 上把摄像头的画面用硬编后通过 RTSP 网络推送出去。支持本地 USB/MIPI 摄像头和测试源。
整体框图
摄像头(V4L2) → MPP 硬编(H.264) → RTSP 服务器 → 网络 → VLC/ffplay/客户端1. 装好依赖
sudo apt update
sudo apt install -y \
  gstreamer1.0-rockchip1 \
  gstreamer1.0-plugins-good \
  gstreamer1.0-plugins-bad \
  gstreamer1.0-rtsp \
  python3-gst-1.0 \
  gir1.2-gst-rtsp-server-1.0 \
  libgstrtspserver-1.0-0 \
  ffmpeg
装完确认:
gst-inspect-1.0 mpph264enc 2>&1 | grep -E "Long-name|Version"
# 期望:Rockchip Mpp H264 Encoder / Version 1.14.4

python3 -c "import gi; gi.require_version('GstRtspServer','1.0'); \
  from gi.repository import GstRtspServer; print('OK')"
# 期望:OK
2. 快速测试(测试源)
2.1 使用现有例程
系统已包含完整的 RTSP 推流例程:
cd /home/linaro/rtsp-push
python3 src_camera.py 8554 /live/src
服务启动后显示:
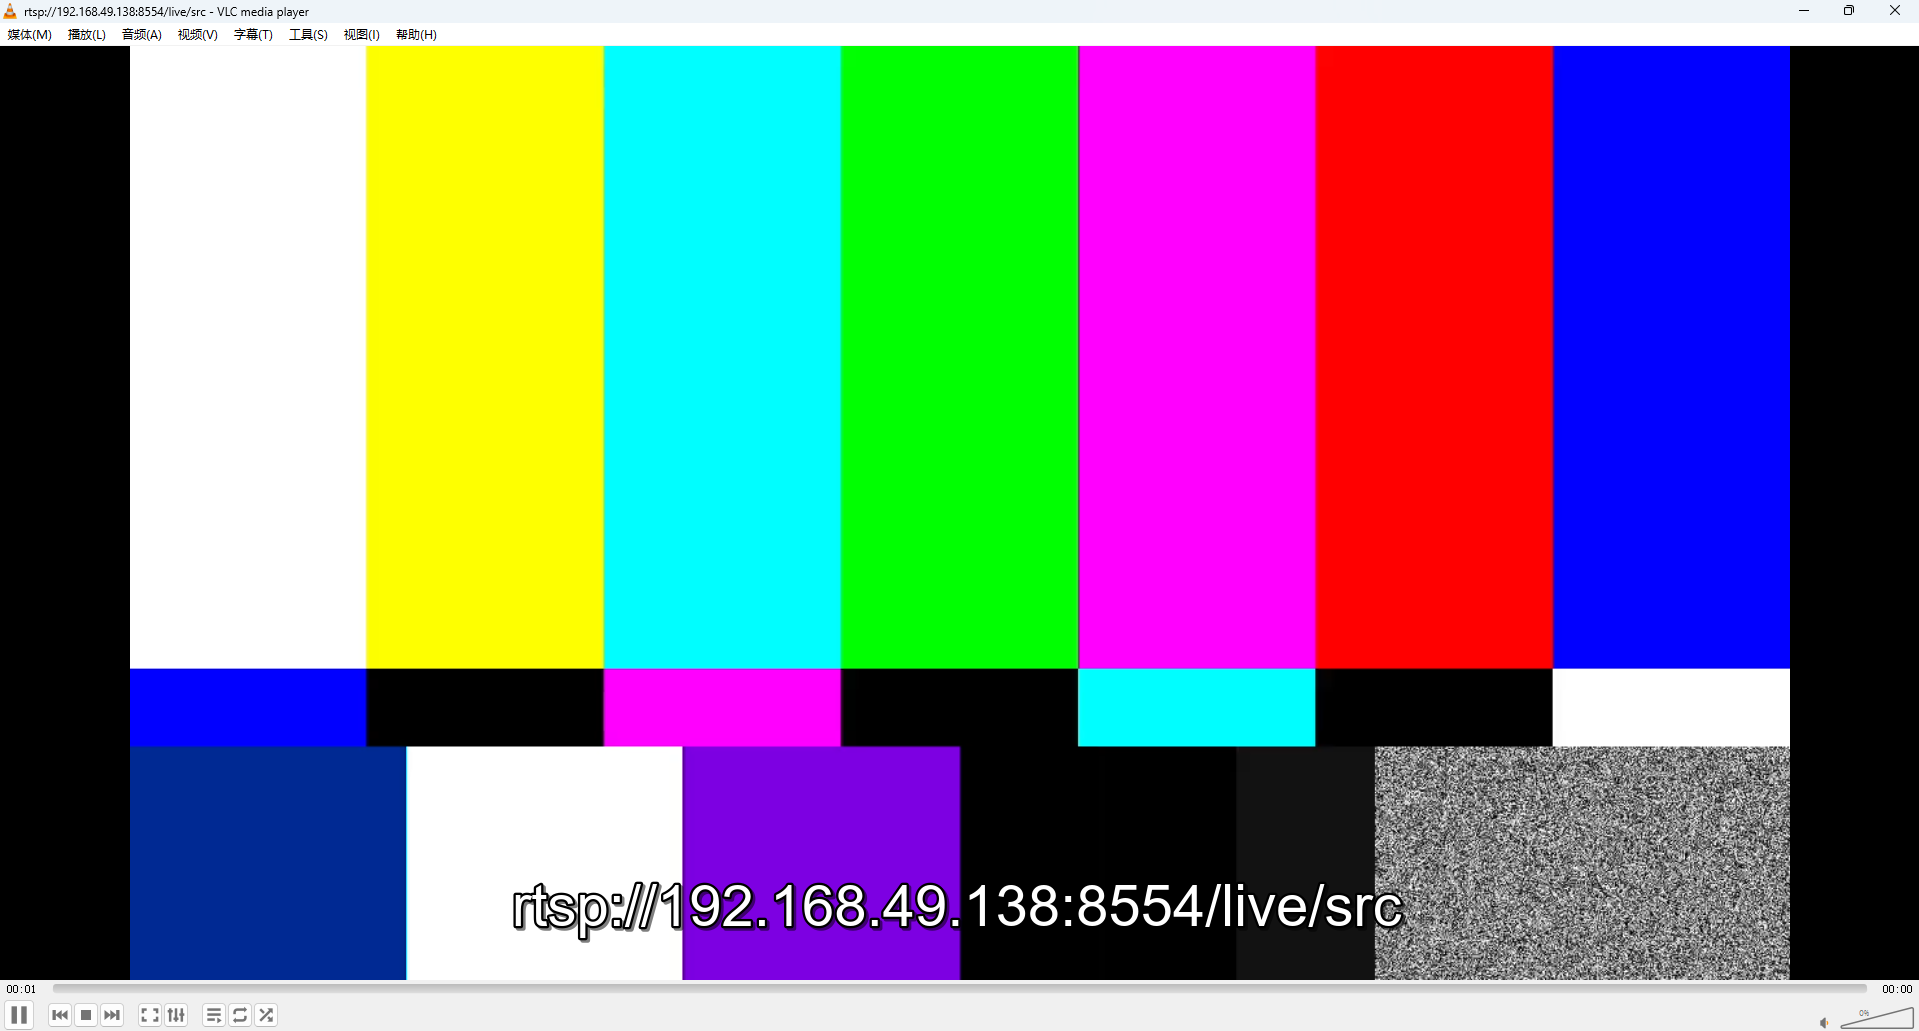
[src_camera] ready at rtsp://127.0.0.1:8554/live/src快速测试输出结果:

2.2 客户端连接测试
PC 端连接:
# 获取板子 IP
hostname -I | awk '{print $1}'

# 在 PC 端执行(假设板子 IP 为 192.168.49.138)
ffplay -rtsp_transport tcp rtsp://192.168.49.138:8554/live/src

# 或使用 VLC 媒体播放器
# Ctrl+N → 网络串流 → rtsp://192.168.49.138:8554/live/src
板端本地测试:
ffplay -rtsp_transport tcp rtsp://127.0.0.1:8554/live/src3. 摄像头配置
3.1 本地摄像头(USB)
查看可用摄像头:
ls -la /dev/video*修改 src_camera.py 使用本地摄像头:
# 将 videotestsrc 改为 v4l2src
factory.set_launch(
    '( v4l2src device=/dev/video11 io-mode=mmap ! '
    '  video/x-raw,format=NV12,width=1280,height=720,framerate=30/1 ! '
    '  mpph264enc bps=2000000 gop=30 profile=high ! '
    '  h264parse ! rtph264pay name=pay0 pt=96 )'
)
3.2 网络摄像头(IP Camera)
支持直接接入网络摄像头的 RTSP 流:
# 启动网络摄像头RTSP推流
cd /home/linaro/rtsp-push
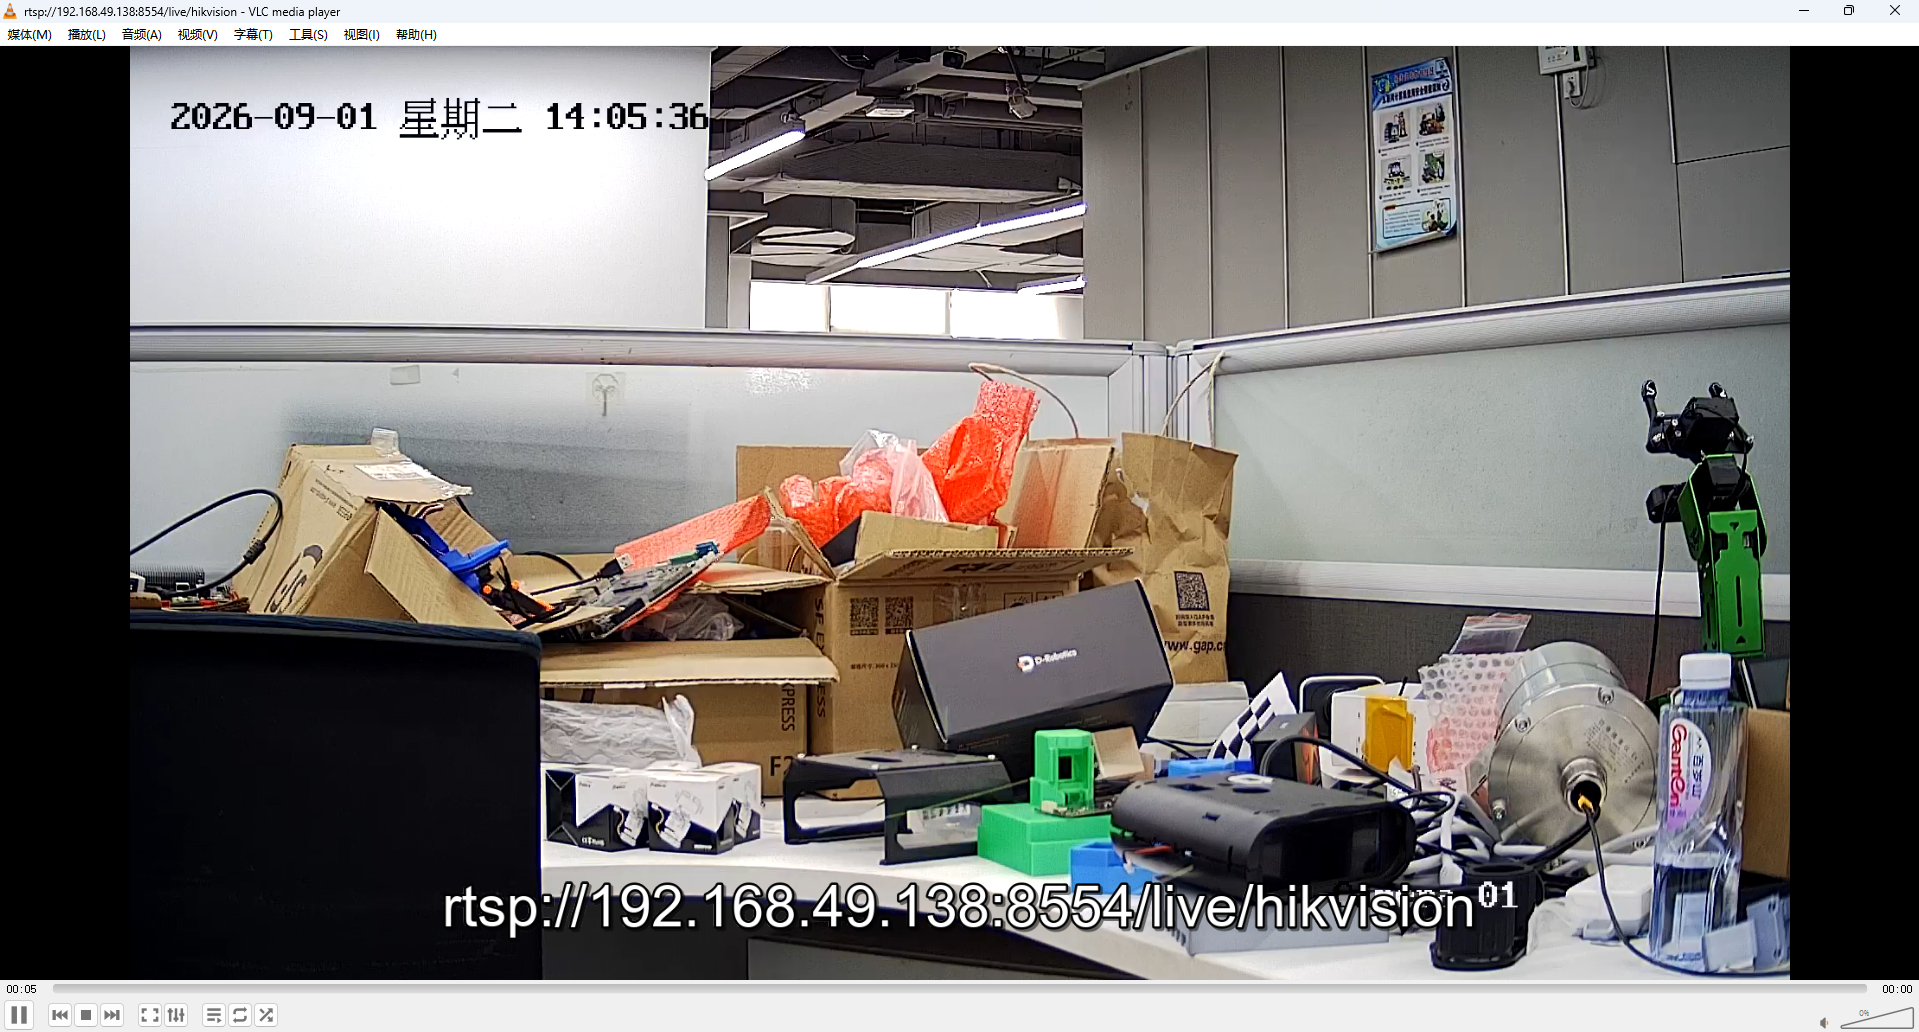
python3 src_camera.py 8554 /live/camera "rtsp://admin:password@192.168.49.38:554/Streaming/Channels/101"
PC端查看:
ffplay -rtsp_transport tcp rtsp://192.168.49.138:8554/live/camera网络摄像头推流输出结果:
常见网络摄像头RTSP地址格式:
# 海康威视
rtsp://admin:password@192.168.1.100:554/Streaming/Channels/101  # 主码流
rtsp://admin:password@192.168.1.100:554/Streaming/Channels/102  # 子码流

# 大华
rtsp://admin:password@192.168.1.100:554/cam/realmonitor?channel=1&subtype=0

# 通用格式
rtsp://192.168.1.100:554/live/main
rtsp://192.168.1.100:554/stream1
4. 测试图案选择
修改测试图案:
factory.set_launch(
    '( videotestsrc is-live=true pattern=smpte ! '  # 改为 smpte
    '  video/x-raw,format=NV12,width=1280,height=720,framerate=30/1 ! '
    '  mpph264enc bps=2000000 gop=30 profile=high ! '
    '  h264parse ! rtph264pay name=pay0 pt=96 )'
)
5. 编码参数优化
5.1 mpph264enc 常用参数
| 参数 | 含义 | 推荐值 | 说明 |
|---|---|---|---|
bps | 码率(bps) | 2000000~4000000 | 2-4Mbps,平衡质量和带宽 |
gop | I 帧间隔 | 30/60 | 数值越小延迟越低 |
profile | H264 profile | high/main/baseline | high 质量最好,baseline 延迟最低 |
bps-max/bps-min | 码率上下限 | 0 | 0 表示自动调整 |
5.2 低延迟配置
factory.set_launch(
    '( videotestsrc is-live=true pattern=smpte ! '
    '  video/x-raw,format=NV12,width=1280,height=720,framerate=30/1 ! '
    '  mpph264enc bps=2000000 gop=15 profile=baseline ! '  # 降低延迟
    '  h264parse ! rtph264pay config-interval=1 pt=96 )'
)
factory.set_latency(0)  # 设置最低延迟
6. 完整的 RTSP 服务脚本
基于实际测试,推荐的完整脚本:
#!/usr/bin/env python3
"""RTSP 服务:支持测试源、本地摄像头

使用方法:
python3 src_camera.py [端口] [路径] [输入源]

示例:
python3 src_camera.py                    # 默认测试图案(SMPTE彩条)
python3 src_camera.py 8554 /live/src    # 指定端口和路径
python3 src_camera.py 8554 /cam1 /dev/video11  # 本地摄像头

发布地址:rtsp://0.0.0.0:8554/live/src
"""
import sys
import gi
gi.require_version('Gst', '1.0')
gi.require_version('GstRtspServer', '1.0')
from gi.repository import Gst, GstRtspServer, GLib

Gst.init(None)

# 参数配置
port = int(sys.argv[1]) if len(sys.argv) > 1 else 8554
path = sys.argv[2] if len(sys.argv) > 2 else '/live/src'
input_source = sys.argv[3] if len(sys.argv) > 3 else None

server = GstRtspServer.RTSPServer.new()
server.set_service(str(port))

factory = GstRtspServer.RTSPMediaFactory.new()

if input_source and input_source.startswith('/dev/video'):
    # 本地摄像头模式
    factory.set_launch(
        f'( v4l2src device={input_source} io-mode=mmap ! '
        f'  video/x-raw,format=NV12,width=1280,height=720,framerate=30/1 ! '
        f'  mpph264enc bps=2000000 gop=30 profile=high ! '
        f'  h264parse ! rtph264pay name=pay0 pt=96 )'
    )
    print(f'[本地摄像头模式] 设备: {input_source}')
else:
    # 测试图案模式
    pattern = input_source if input_source else 'smpte'
    factory.set_launch(
        f'( videotestsrc is-live=true pattern={pattern} ! '
        f'  video/x-raw,format=NV12,width=1280,height=720,framerate=30/1 ! '
        f'  mpph264enc bps=2000000 gop=30 profile=high ! '
        f'  h264parse ! rtph264pay name=pay0 pt=96 )'
    )
    print(f'[测试图案模式] 图案: {pattern}')

factory.set_shared(True)
factory.set_latency(0)

server.get_mount_points().add_factory(path, factory)
server.attach(None)

print(f'📹 RTSP 服务启动中...')
print(f'📹 地址: rtsp://0.0.0.0:{port}{path}')
print(f'📹 按Ctrl+C停止服务')
GLib.MainLoop().run()
7. 客户端连接方式
7.1 ffplay(推荐)
# 实时播放
ffplay -rtsp_transport tcp -fflags nobuffer -flags low_delay \
       rtsp://板子IP:8554/live/src

# 查看流信息
ffprobe -v error -show_streams rtsp://板子IP:8554/live/src
7.2 VLC 媒体播放器
- 打开 VLC media player
- 媒体 → 打开网络串流 (Ctrl+N)
- 输入:
rtsp://板子IP:8554/live/src - 点击播放
7.3 GStreamer
gst-launch-1.0 rtspsrc location=rtsp://板子IP:8554/live/src \
                latency=0 protocols=tcp ! \
             rtph264depay ! h264parse ! decodebin ! fakesink
7.4 移动端 APP
- VLC mobile:支持 RTSP 播放
- iVMS:专业监控软件
- ffplay mobile:移动版 ffplay
8. 性能参数
8.1 分辨率和帧率配置
| 场景 | 分辨率 | 帧率 | 码率 | 用途 |
|---|---|---|---|---|
| 高清监控 | 1920×1080 | 25/30 | 4-6Mbps | 主要监控区域 |
| 标清监控 | 1280×720 | 25/30 | 2-3Mbps | 一般监控 |
| 低延迟 | 640×480 | 30/60 | 1-2Mbps | 实时性要求高 |
| 网络优化 | 720×576 | 15/25 | 512K-1Mbps | 低带宽环境 |
8.2 延迟优化
| 优化项 | 默认值 | 低延迟值 | 效果 |
|---|---|---|---|
| GOP | 30 | 15/10 | 延迟降低 30-50% |
| Profile | high | baseline | 兼容性更好 |
| Latency | 默认 | 0 | 消除缓冲延迟 |
| 协议 | TCP | UDP | 传输延迟更低 |
9. 常见问题排查
9.1 连接问题
现象: PC 端无法连接 RTSP 流
排查步骤:
# 1. 检查服务状态
ps aux | grep src_camera
netstat -tuln | grep 8554

# 2. 检查板子 IP
hostname -I

# 3. 测试本地连接
ffprobe rtsp://127.0.0.1:8554/live/src

# 4. 测试网络连接
ping 板子IP
telnet 板子IP 8554
9.2 画面质量问题
现象: 画面卡顿、模糊、花屏
解决方案:
- 调整码率:
bps=3000000 - 调整 GOP:
gop=15 - 调整 Profile:
profile=main - 检查网络带宽
9.3 编码问题
现象: 推流启动失败
检查依赖:
gst-inspect-1.0 mpph264enc
gst-inspect-1.0 rtph264pay
gst-inspect-1.0 h264parse
10. 高级应用
10.1 多路推流
支持同时推流多个摄像头:
# 启动多个服务实例
python3 src_camera.py 8554 /cam1 /dev/video11 &
python3 src_camera.py 8555 /cam2 /dev/video12 &
10.2 录像存储
同时推流和录像:
ffmpeg -rtsp_transport tcp -i rtsp://127.0.0.1:8554/live/src \
  -c copy -f segment -segment_time 60 -segment_format mp4 \
  -strftime 1 /tmp/recording_%Y%m%d_%H%M%S.mp4
11. 部署建议
11.1 生产环境配置
# 生产环境推荐参数
factory.set_launch(
    '( videotestsrc is-live=true ! '
    '  video/x-raw,format=NV12,width=1920,height=1080,framerate=25/1 ! '
    '  mpph264enc bps=4000000 gop=25 profile=high ! '
    '  h264parse ! rtph264pay config-interval=1 pt=96 )'
)
11.2 系统服务配置
创建 systemd 服务:
# /etc/systemd/system/rtsp-push.service
[Unit]
Description=RTSP Push Service
After=network.target

[Service]
Type=simple
User=linaro
WorkingDirectory=/home/linaro/rtsp-push
ExecStart=/usr/bin/python3 src_camera.py 8554 /live/src
Restart=on-failure
RestartSec=10

[Install]
WantedBy=multi-user.target
启用开机自启:
sudo systemctl enable rtsp-push
sudo systemctl start rtsp-push
12. 性能基准
基于 RK3588 + RK1828 平台测试:
| 分辨率 | 帧率 | 编码方式 | CPU 占用 | 内存占用 | 网络带宽 |
|---|---|---|---|---|---|
| 1920×1080 | 30fps | 硬编码 H.264 | 15-20% | 150MB | 4-6Mbps |
| 1280×720 | 30fps | 硬编码 H.264 | 8-12% | 100MB | 2-3Mbps |
| 640×480 | 30fps | 硬编码 H.264 | 5-8% | 80MB | 1-2Mbps |
相关文档
- RTSP + AI 分析 — RTSP + RKNN 推理 + 检测框叠加
- YOLOv5 目标检测 — YOLOv5s 检测例程
- MPP 概述 — 多媒体框架
- VPU 编解码 — 硬件编解码