SAM (Universal Image Segmentation Foundation Model)
1. Introduction
SAM is a promptable segmentation model proposed by Meta. It was trained on 11 million images with over 1 billion masks, achieving powerful zero-sample generalization and breaking segmentation boundaries. This example ports the models and algorithms from the SAM Official Open Source Repository so that they can run inference tests on SOPHON BM1684X.
1. Features
- Supports BM1684X (x86 PCIe, SoC, riscv PCIe)
- Image compression (embedding) part supports FP16 1batch (BM1684X) model compilation and inference
- Image inference (mask_decoder) part supports FP32 1batch, FP16 1batch (BM1684X) model compilation and inference
- Supports Python inference based on OpenCV
- Supports model inference with single point and box input, outputting the highest confidence mask or top three confidence masks
- Supports image testing
- Supports automatic image mask generation without point or box input
Note: This example divides image compression (embedding) and image inference (mask_decoder) into two bmodel runs; the last layer resize of the image inference part is not compiled into the bmodel
2. Project Directory
The author made many changes to the demo. It is recommended to directly copy the author's files to the /data directory.
SAM
├─datasets ##Weby and python case image storage
│ dog.jpg
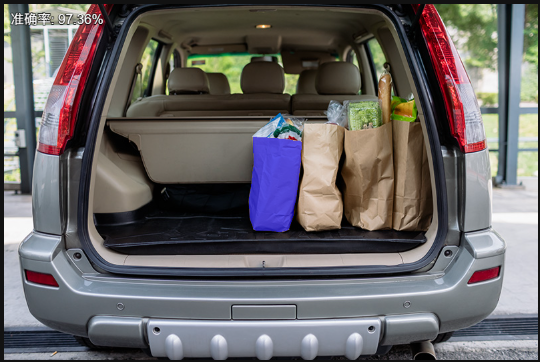
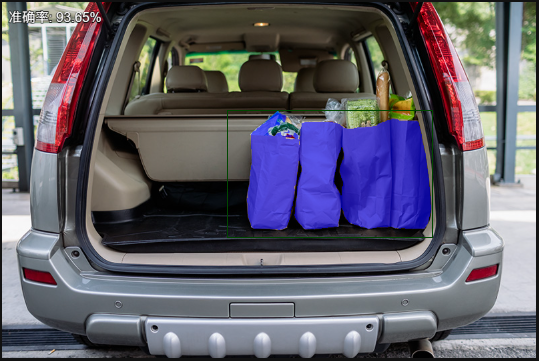
│ groceries.jpg
│ truck.jpg
│
├─docs ##Help documentation
│ │ boxShare_PC_Wifi.md
│ │ sam.md
│ │
│ └─image ##Images displayed in documentation
│ eth.png
│ ipv4.png
│ ping.png
│ regedit.png
│ result_0.jpg
│ result_auto.jpg
│ result_box_0.jpg
│ result_box_1.jpg
│ result_box_2.jpg
│ t2.png
│ t3.png
│ terminal.png
│ ui.png
│ uib.png
│ uip.png
│ wlan.png
│
├─models ##Model files
│ └─BM1684X ##1684x model weight files
│ ├─decode_bmodel
│ │ SAM-ViT-B_auto_multi_decoder_fp32_1b.bmodel
│ │ SAM-ViT-B_decoder_multi_mask_fp16_1b.bmodel
│ │ SAM-ViT-B_decoder_multi_mask_fp32_1b.bmodel
│ │ SAM-ViT-B_decoder_single_mask_fp16_1b.bmodel
│ │ SAM-ViT-B_decoder_single_mask_fp32_1b.bmodel
│ │
│ └─embedding_bmodel
│ SAM-ViT-B_embedding_fp16_1b.bmodel
│
├─python ##Python scripts
│ amg.py
│ automatic_mask_generator.py
│ backend.py
│ predictor.py
│ sam_encoder.py
│ sam_model.py
│ sam_opencv.py
│ transforms.py
│
└─web_ui Web example files
│ index.html
│
├─components
│ drawBox.png
│ firstPage.png
│ frontPage.png
│ singlePoint.png
│
├─css
│ styles.css
│
├─images
│ dog.jpg
│ groceries.jpg
│ truck.jpg
│
└─scripts
main.js2. Running Steps
Check network environment: Because the interactive web page uses a fixed IP, here we use the development board to share the computer's network via ethernet cable. For detailed operations, refer to the Network Connection Documentation
1. Environment Preparation
Configure Python Environment
Modify the .bashrc file to introduce Sophon's Python environment
sudo vim ~/.bashrcAdd the following at the end of the file
export PYTHONPATH=$PYTHONPATH:/opt/sophon/libsophon-current/lib:/opt/sophon/sophon-opencv-latest/opencv-python/Save and exit with :wq, then reload the terminal
source ~/.bashrcYou can check with echo $PYTHONPATH to see if it corresponds to the field.
In addition, the runtime environment also needs the following Python libraries
pip3 install torch
##If torchvision installation is too slow, specify Tsinghua source
pip3 install torchvision -i https://pypi.tuna.tsinghua.edu.cn/simple
pip3 install matplotlib
pip3 install flask flask-cors ##Required for running web interactive examples, can be installed optionally
After installation, you can check with pip show package name
2. Python Example Testing
2.1 Parameter Description
The Python example mainly runs the sam_opencv.py file. The parameters are described as follows:
usage: sam_opencv.py [--input_image INPUT_PATH] [--input_point INPOINT_POINT]
                     [--embedding_bmodel EMBEDDING_BMODEL] [--bmodel BMODEL]
                     [--auto bool][--dev_id DEV_ID]

--input_image: Test image path, need to input image path;
--input_point: Input point coordinates, input format is x,y; or input box coordinates, format is x1,y1,x2,y2
--embedding_bmodel: bmodel path for image compression (embedding);
--decode_bmodel: bmodel path for inference (mask_decode);
--dev_id: TPU device id for inference;
--auto: Whether to enable automatic segmentation, bool, default 0 not enabled, 1 enabled;

'''The following are adjustable parameters for automatic masks generator, which can control the density of sampling points and thresholds for removing low-quality or duplicate masks'''
--points_per_side: Number of points sampled along one side of the image. Total points = points_per_side^2. Default value is 32;
--points_per_batch: Number of points the model detects simultaneously. Larger numbers may be faster but use more GPU memory. Default value is 64;
--pred_iou_thresh: Filtering threshold in [0,1], model's predicted mask quality. Default value is 0.88;
--stability_score_thresh: Filtering threshold in [0,1] (stability of mask when cutoff value changes) for binarizing the model's mask predictions. Default value is 0.95;
--stability_score_offset: The amount to offset the cutoff value when calculating stability score. Default value is 1.0;
--box_nms_thresh: Non-maximum suppression box IoU cutoff for filtering duplicate masks. Default value is 0.7;
--crop_nms_thresh: Box IoU cutoff for non-maximum suppression to filter duplicate masks between different objects. Default value is 0.7;
--crop_overlap_ratio: The degree of object overlap. In the first crop layer, crops will overlap this portion of the image length. This overlap is reduced in later layers with more objects. Default value is 512 / 1500;
--crop_n_points_downscale_factor: The number of points sampled per side in layer n is downscaled by "crop_n_points_downscale_factor"^n. Default value is 1;
--min_mask_region_area: If >0, post-processing will be applied to remove masks with area less than "min_mask_region_area" to break connected regions and holes. Requires opencv. Default is 0;
--output_mode: Mask output mode. Can be binary_mask, uncompressed_rle, or coco_rle, coco_rle requires pycocotools. For high resolution, binary_mask may consume a lot of memory. Default is 'binary_mask';
2.2 Test Images
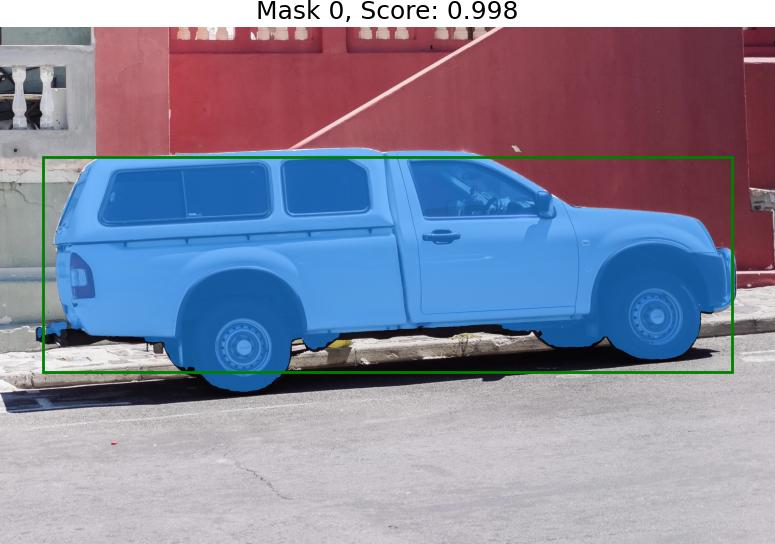
2.2.1 Point Input Testing
cd /data/SAM
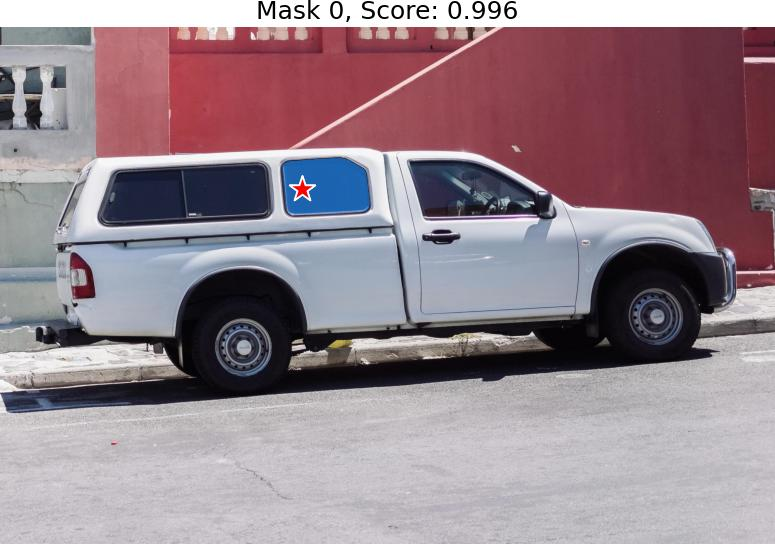
python3 python/sam_opencv.py --input_image datasets/truck.jpg --input_point 700,375 --embedding_bmodel models/BM1684X/embedding_bmodel/SAM-ViT-B_embedding_fp16_1b.bmodel --decode_bmodel models/BM1684X/decode_bmodel/SAM_decoder_single_mask_fp-ViT-B16_1b.bmodel --dev_id 0Results are as follows:
Terminal:
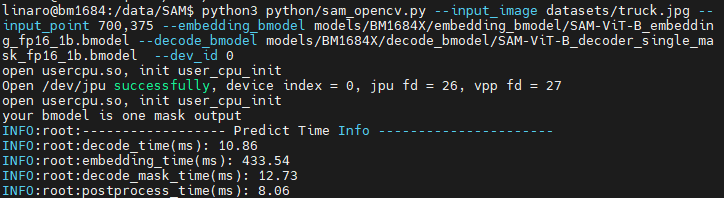
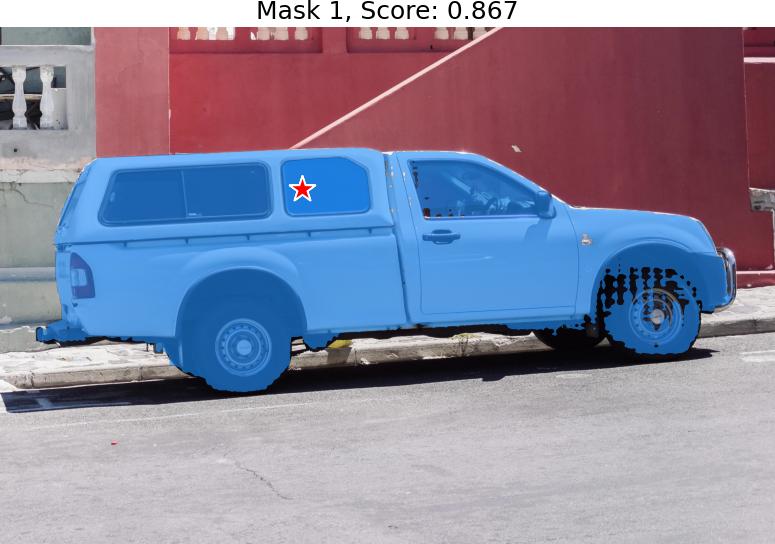
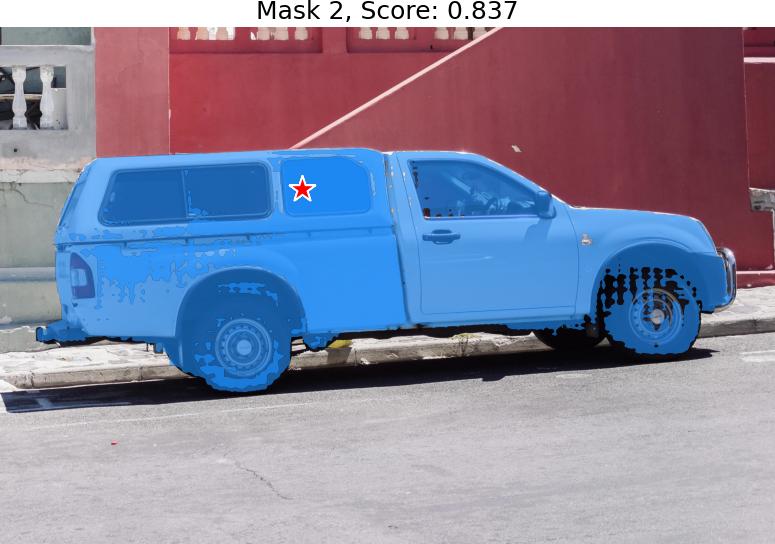
Image: The image is located in results/ under the SAM directory
2.2.2 Box Input
python3 python/sam_opencv.py --input_image datasets/truck.jpg --input_point 100,300,1700,800 --embedding_bmodel models/BM1684X/embedding_bmodel/SAM-ViT-B_embedding_fp16_1b.bmodel --decode_bmodel models/BM1684X/decode_bmodel/SAM-ViT-B_decoder_multi_mask_fp16_1b.bmodel --dev_id 0The effect and location are similar to point
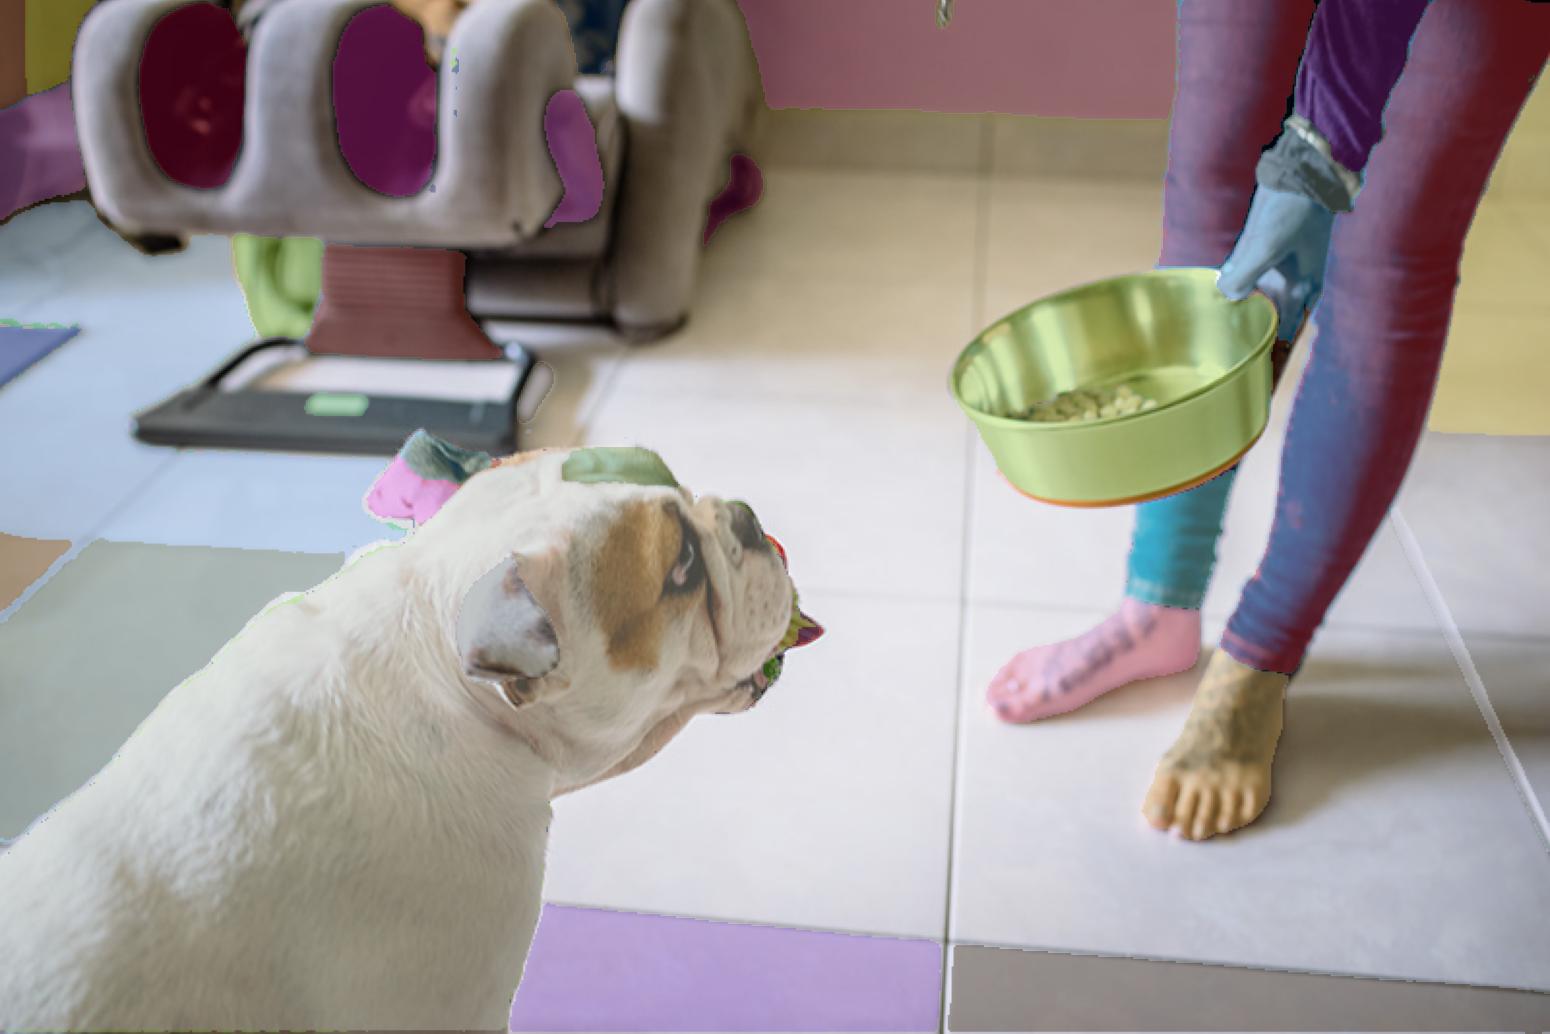
2.2.3 Automatic Segmentation
If you want to use automatic mask generation without point and box input, you need to set the input parameter auto to 1, and set --bmodel to the auto bmodel. Operation is as follows:
python3 python/sam_opencv.py --input_image datasets/dog.jpg --embedding_bmodel models/BM1684X/embedding_bmodel/SAM-ViT-B_embedding_fp16_1b.bmodel --decode_bmodel models/BM1684X/decode_bmodel/SAM-ViT-B_auto_multi_decoder_fp32_1b.bmodel --dev_id 0 --auto 1 --pred_iou_thresh 0.86After running, the result image will be saved in results/, and inference time and other information will be printed.

3. Web Example
The interactive image files are stored in the SAM/web_ui/images directory. The program will automatically read all *.jpg images in the directory and display the image names in the dropdown box on the front-end page.
3.1 Start the Backend Program
The backend program is located in SAM/python/, the script is named backend.py. This web_ui Python example does not need to be compiled and can be run directly.
3.1.1 Parameter Description
usage: backend.py [--embedding_bmodel EMBEDDING_BMODEL] [--bmodel BMODEL] [--dev_id DEV_ID]
--embedding_bmodel: bmodel path for image compression (embedding);
--bmodel: bmodel path for inference (mask_decode);
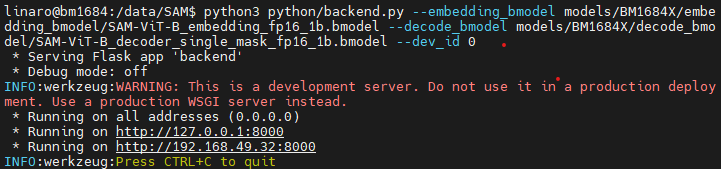
--dev_id: TPU device id for inference;3.1.2 Running Example
cd /data/SAM
python3 python/backend.py --embedding_bmodel models/BM1684X/embedding_bmodel/SAM-ViT-B_embedding_fp16_1b.bmodel --decode_bmodel models/BM1684X/decode_bmodel/SAM-ViT-B_decoder_single_mask_fp16_1b.bmodel --dev_id 0
If the following content appears, the backend has started
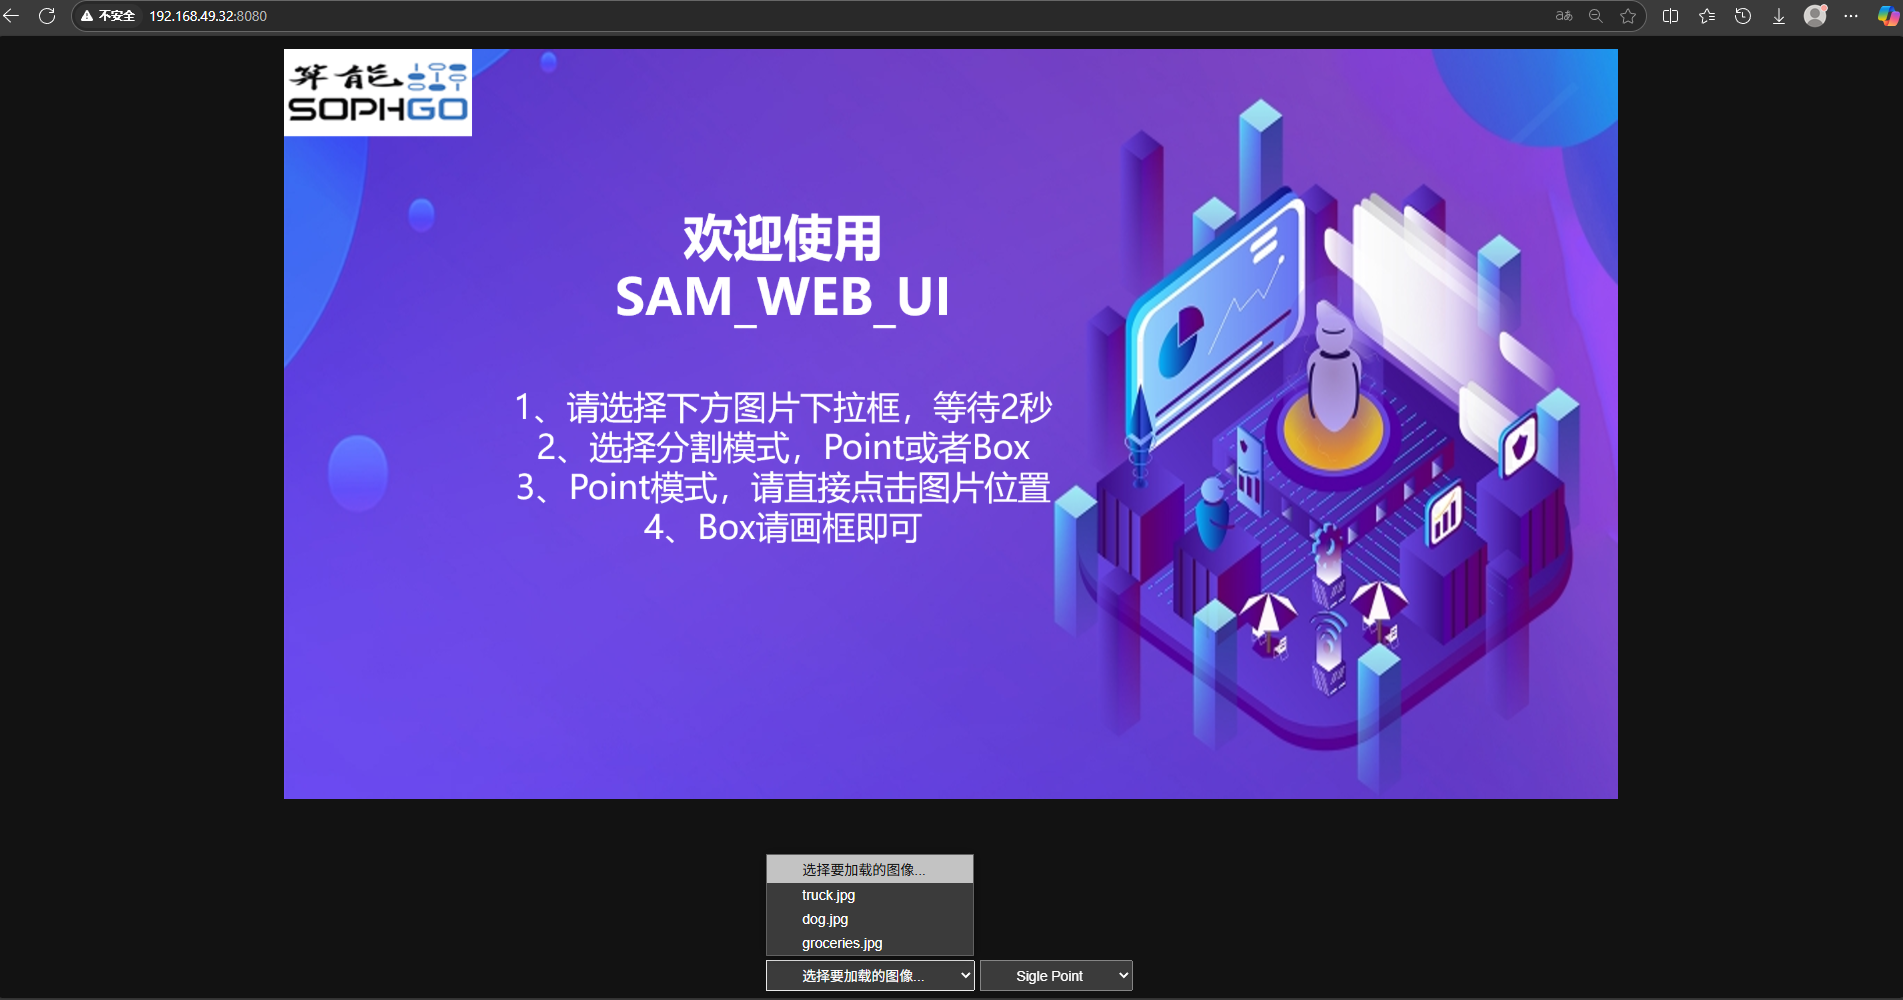
3.2 Start the Frontend Service
The frontend program is in /data/SAM/web_ui. It can be started with Python.
Keep the backend session window open, open a new session window for the frontend
cd /data/SAM/web_ui/
python3 -m http.server 8080
Open the PC browser, enter 192.168.49.32:8080 in the URL to enter the interactive interface. Click the dropdown box of "select image to load..." to select preset images. Select "Single Point" to enter click mode, "Draw BOX" to enter box selection mode
3.2.1 Click Mode
After the image loads successfully, click on the area of interest. Wait 1-2 seconds, the page will draw the mask result.
3.2.2 Box Selection Mode
After the image loads successfully, click and drag the mouse to box select the area of interest. Wait 1-2 seconds, the page will draw the mask result.
PS: You can check the running status of backend and frontend in the original terminal. Frontend status can also be checked in the browser developer tools.