音频
音频接口介绍
开发板上几种音频接口:
- 音频输入接口:耳机,MIC
- 音频输出接口:耳机,喇叭,HDMI

声卡设备
获取录音设备
root@linaro-alip:/# arecord -l
**** List of CAPTURE Hardware Devices ****
card 0: rockchipes8388 [rockchip-es8388], device 0: dailink-multicodecs ES8388 HiFi-0 [dailink-multicodecs ES8388 HiFi-0]
  Subdevices: 0/1
Subdevice #0: subdevice #0- card 0:板载音频处理芯片rockchip-es8388,该芯片引出了两个录音接口,一个为板载MIC,一个为耳机MIC
- card 0 是在Linux里注册的设备,我们可以通过应用程序调用这些接口
获取播放设备
root@linaro-alip:/# aplay -l
**** List of PLAYBACK Hardware Devices ****
card 0: rockchipes8388 [rockchip-es8388], device 0: dailink-multicodecs ES8388 HiFi-0 [dailink-multicodecs ES8388 HiFi-0]
  Subdevices: 1/1
  Subdevice #0: subdevice #0
card 1: rockchiphdmi [rockchip,hdmi], device 0: rockchip,hdmi i2s-hifi-0 [rockchip,hdmi i2s-hifi-0]
  Subdevices: 1/1
  Subdevice #0: subdevice #0
card 0 :板载音频处理芯片rockchip-es8388
card 1 :HDMI声音输出
card 0 和 card 1 是在Linux里注册的设备,我们可以通过应用程序调用这些接口
声卡驱动目录
查看声卡驱动目录
root@linaro-alip:/# ls -l /dev/snd/
total 0
drwxr-xr-x  2 root root       80 Oct 10 17:40 by-path
crw-rw----+ 1 root audio 116,  4 Oct 10 17:40 controlC0
crw-rw----+ 1 root audio 116,  6 Oct 10 17:40 controlC1
crw-rw----+ 1 root audio 116,  3 Oct 10 17:40 pcmC0D0c
crw-rw----+ 1 root audio 116,  2 Oct 10 17:40 pcmC0D0p
crw-rw----+ 1 root audio 116,  5 Oct 10 17:40 pcmC1D0p
crw-rw----+ 1 root audio 116,  1 Oct 10 17:40 seq
crw-rw----+ 1 root audio 116, 33 Oct 10 17:40 timer
controlC0:用于声卡控制,C0 表示声卡0,对应上文的板载音频处理芯片rockchip-es8388。
controlC1:用于声卡控制,C1 表示声卡1,对应上文的HDMI声音输出。
pcmC0D0p:用于播放的 pcm 设备,最后面的“p”是 playback 的缩写,表示放音。
pcmC0D0c:用于录音的 pcm 设备,最后面的“c”是 capture 的缩写,表示录音
pcmC1D0p:用于播放的 pcm 设备,最后面的“p”是 playback 的缩写,表示放音。
timer :定时器
by-path: 保存着设备的对应关系
root@lubancat:~# ls -l /dev/snd/by-path/
total 0
lrwxrwxrwx 1 root root 12 Feb 14 18:11 platform-fd880000.usb-usb-0:1.4:1.2 -> ../controlC2
lrwxrwxrwx 1 root root 12 Feb 14 18:11 platform-hdmi-sound -> ../controlC0
lrwxrwxrwx 1 root root 12 Feb 14 18:11 platform-rk809-sound -> ../controlC1
root@lubancat:~#- 可以看到每个control之间都有一个对应关系,而这些对应关系正好对应上文的 card 0 , card 1
录音与播放
命令行
录音
录音使用的是arecord命令,下面举例说明:
#获取录音设备
arecord -l
#用声卡0录制10s音频
arecord -d 10 -D hw:0,0 -r 48000 -c 2 -f S16_LE -t wav /data/test_device.wav
参数详解:
- -d 10 :设置录制时长为 10 秒。
- -D hw:0,0 :指定音频设备,hw:0,0 表示使用第一个声卡(0)的第一个设备(0)
- -r 48000 :设置采样率为 48000 Hz(即 48 kHz)
- -c 2 :设置音频通道数为 2(立体声)
- -fS16_LE :设置音频格式为 16 位有符号小端格式(Signed 16-bit Little Endian)
- -t wav :设置输出文件格式为 WAV
- /data/test_device.wav 指定输出文件的路径和名称
音频播放
#获取播放设备
aplay -l
#用声卡0播放音频5s
aplay -Dhw:1,0 -d5 /data/test_device.wav
参数详解:
- -D hw:0,0 :指定音频设备,表示使用第一个声卡(0)的第一个设备(0)
- -d 5 :设置播放时长为 5 秒
- /data/test_device.wav :指定要播放的音频文件路径
边录边播
利用arecord和aplay两个工具
#使用card 0录制并使用card 0进行播放
arecord -f cd -Dhw:0 | aplay -Dhw:0
桌面端
录音
确保连上网络后,安装录音软件
#安装软件
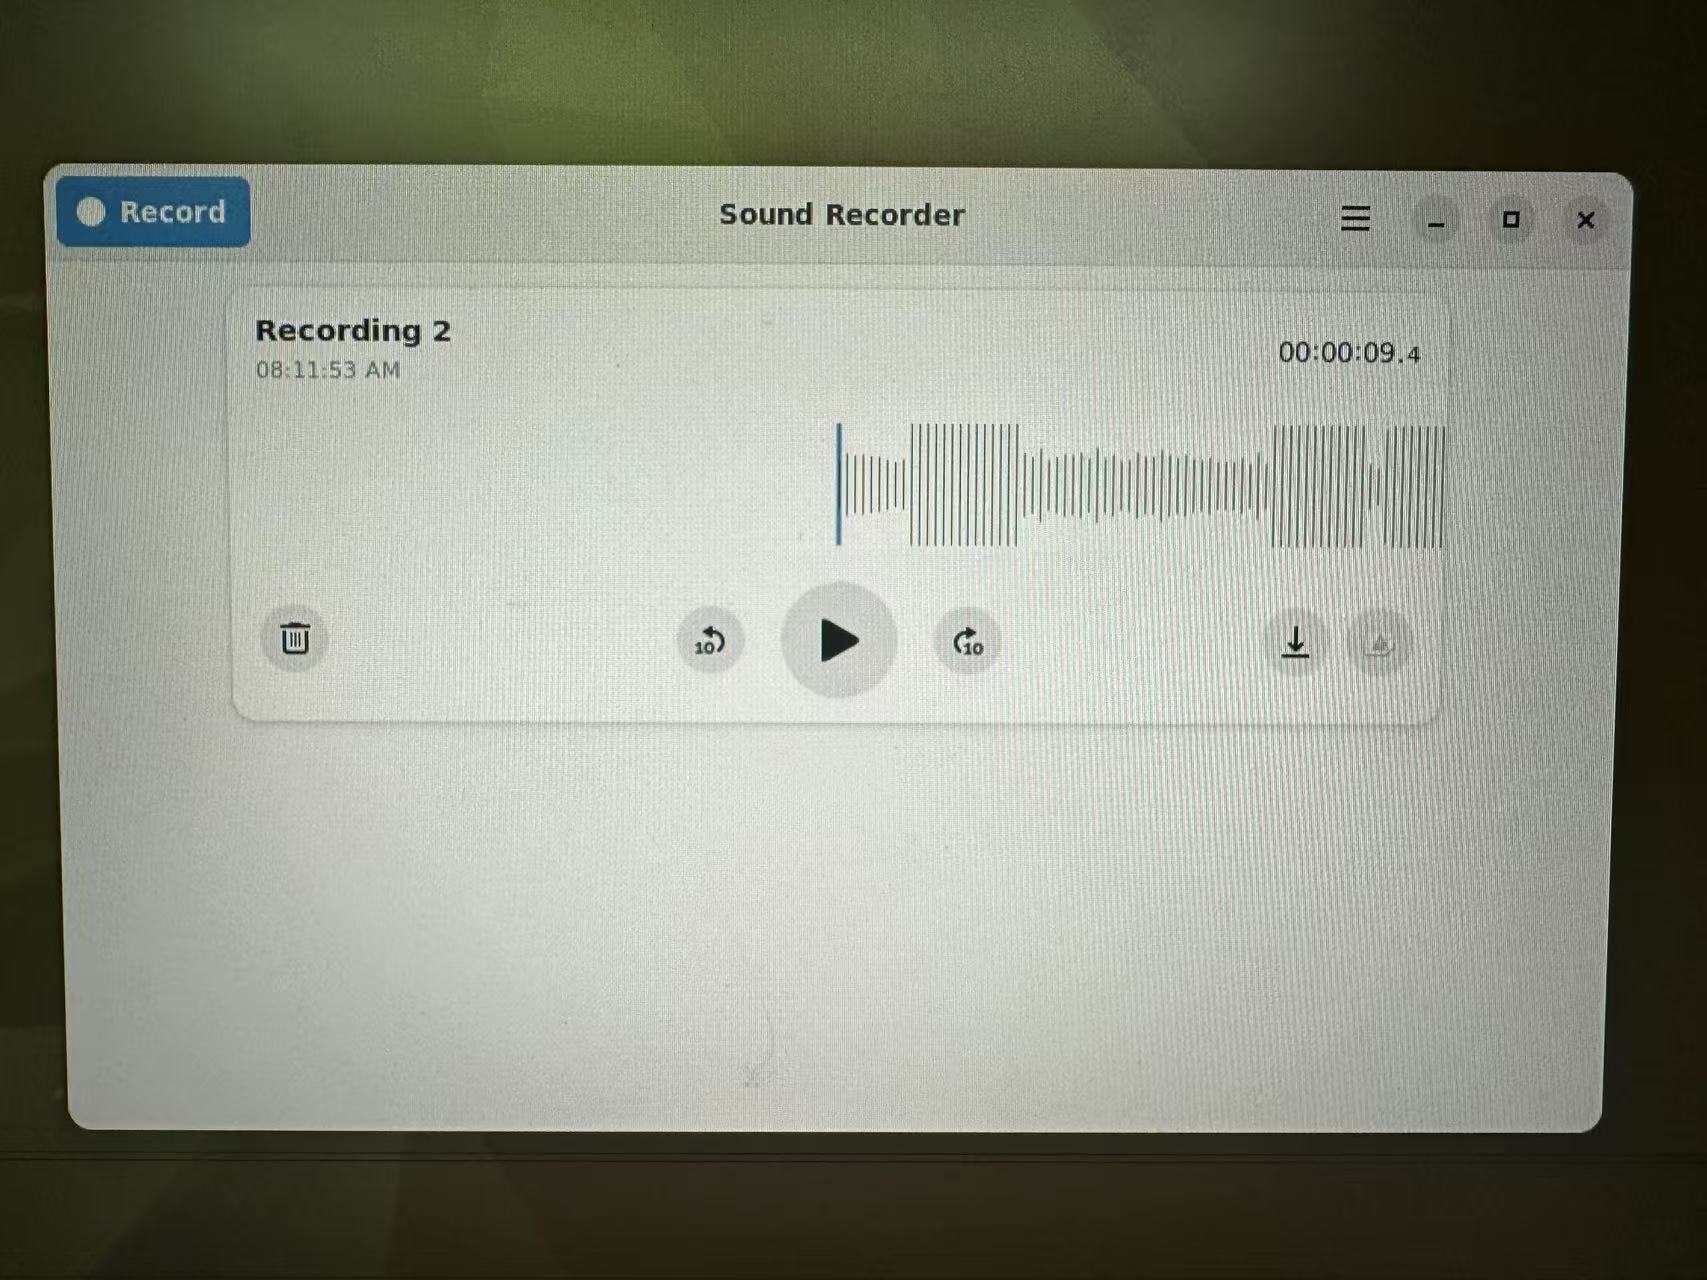
sudo apt install gnome-sound-recorder打开软件
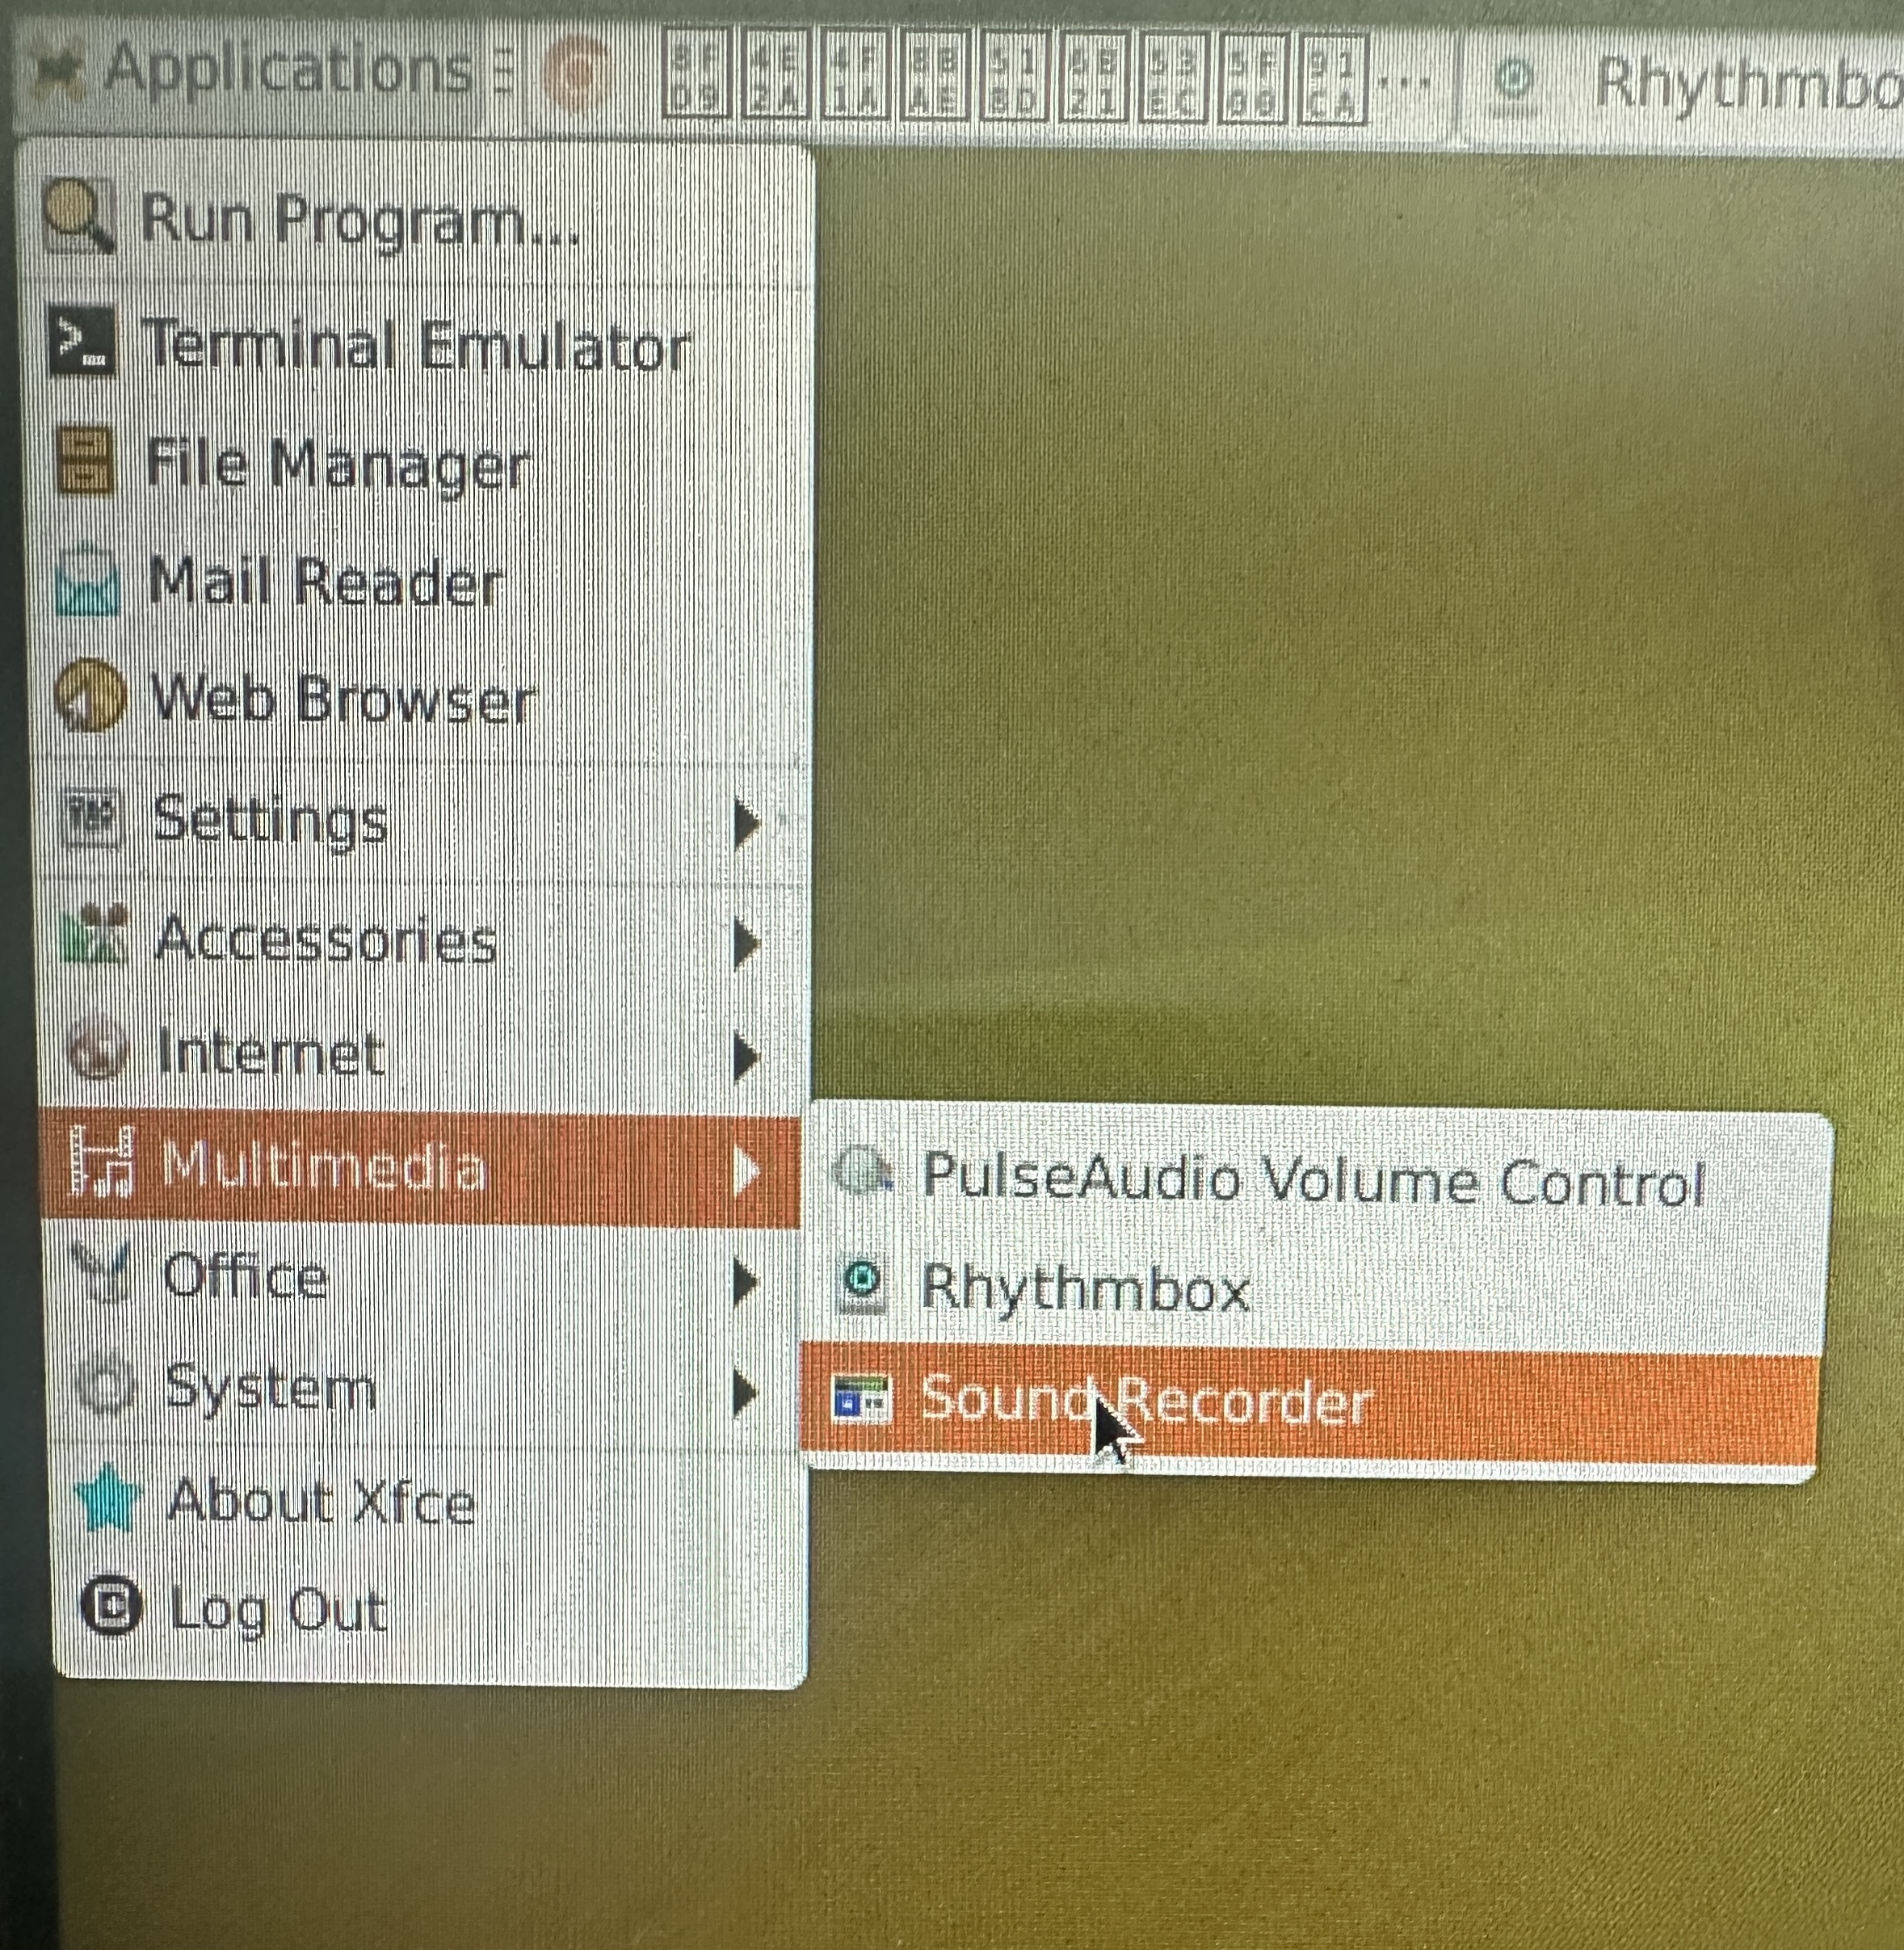
点击应用左上角的record就可以录制了,按done结束录音,录音的路径为/home/linaro/.local/share/org.gnome.SoundRecorder/,如果录制的时候波形图没有东西就要检查以下耳机是否插好。
播放音乐
系统自带的软件是Rhythmbox,若需要其他播放器可自行下载
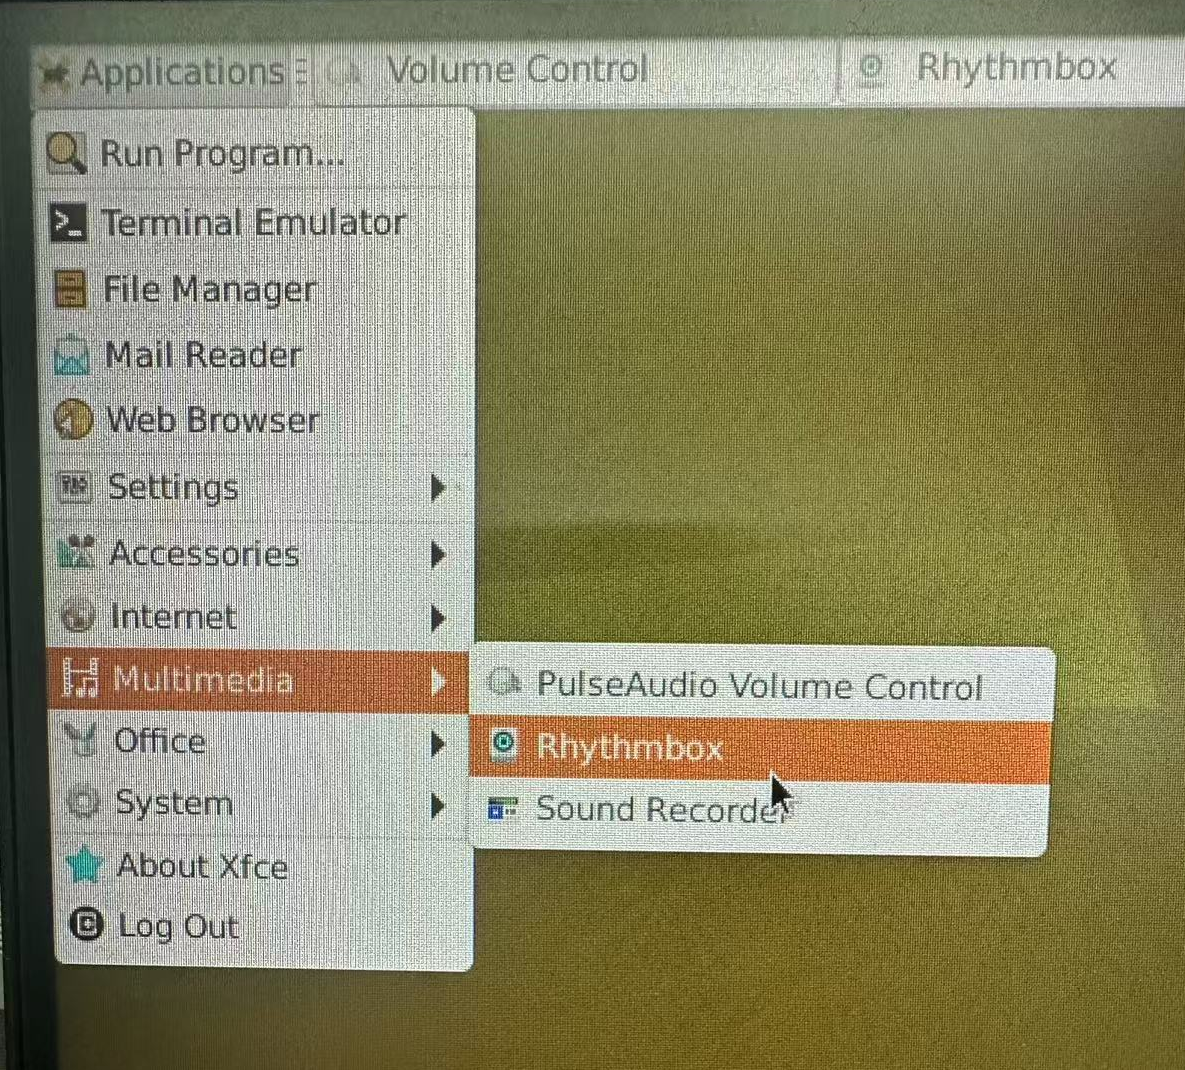
打开后需要将音频import进来,如图所示:
