Development Environment Preparation
1. Purpose
This document is for beginners in OpenHarmony application development. By building a simple application with page jump/return functionality (as shown in the image below), you can quickly understand the main files in the project directory and become familiar with the OpenHarmony application development process.
2. Tool Preparation
Install the latest version of DevEco Studio:
- Download DevEco Studio from Baidu Cloud to your local computer, path:
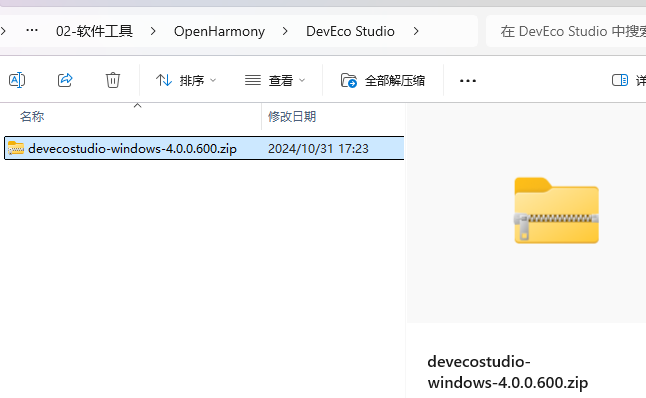
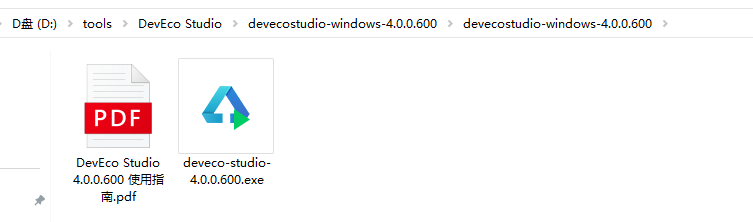
- Extract the compressed package to a local directory. The folder contains the exe file and PDF documentation:
Note:
Use a shorter path to prevent potential path 1024 character errors in subsequent operations.
- Double-click the exe file, wait a moment, and the installation prompt will appear. Click [Next].

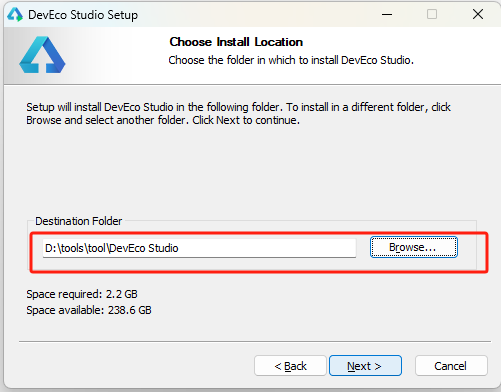
- Select the installation location. Choose the drive with the most free space. The example uses D drive. Note: Create a a new empty folder, otherwise an error will occur.
- Check the desktop shortcut option.
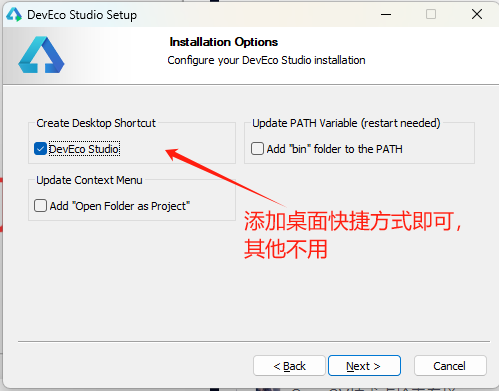
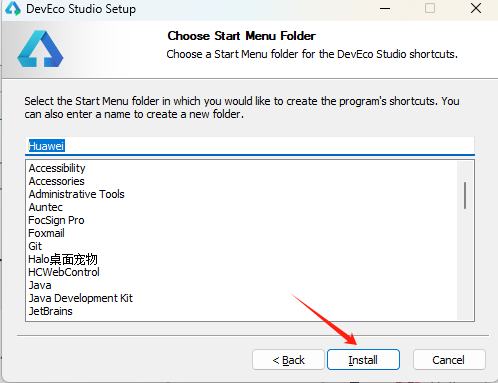
- Click [Install] to install.
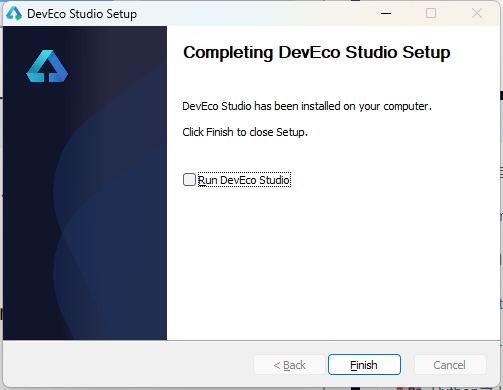
- If the following is displayed, the installation is complete:
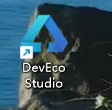
- You can now see the [DevEco Studio] shortcut on the desktop.
3. DevEco Studio Initial Configuration
- Double-click to open the [DevEco Studio] shortcut on the desktop.

You can see some statements. Click [Agree] to agree.
After completion, you will see the settings selection. Since we haven't set it yet, just click [OK] by default.
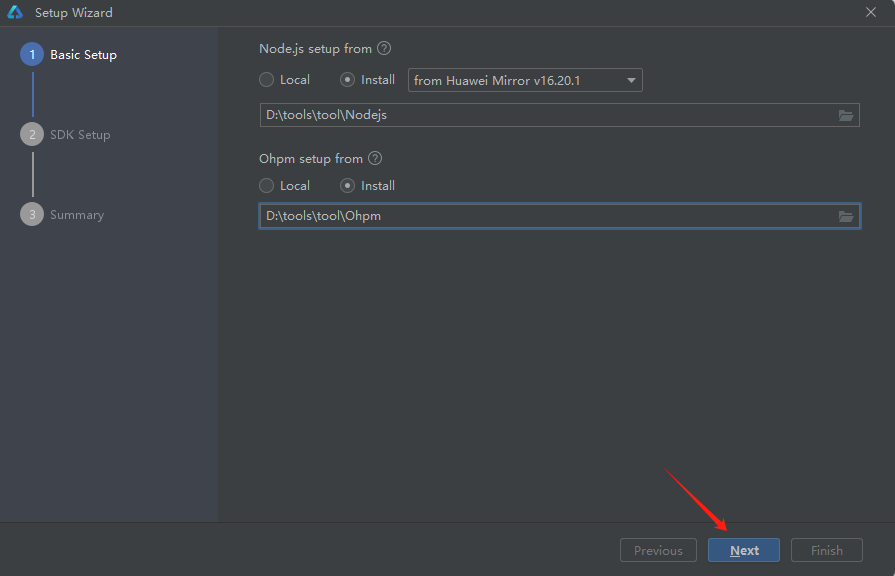
This requires local Node.js environment and Ohpm. If you don't have them, click [Install] to install. But you need to set the installation location. Just create a new Nodejs and Ohpm folder in the installation tool location:
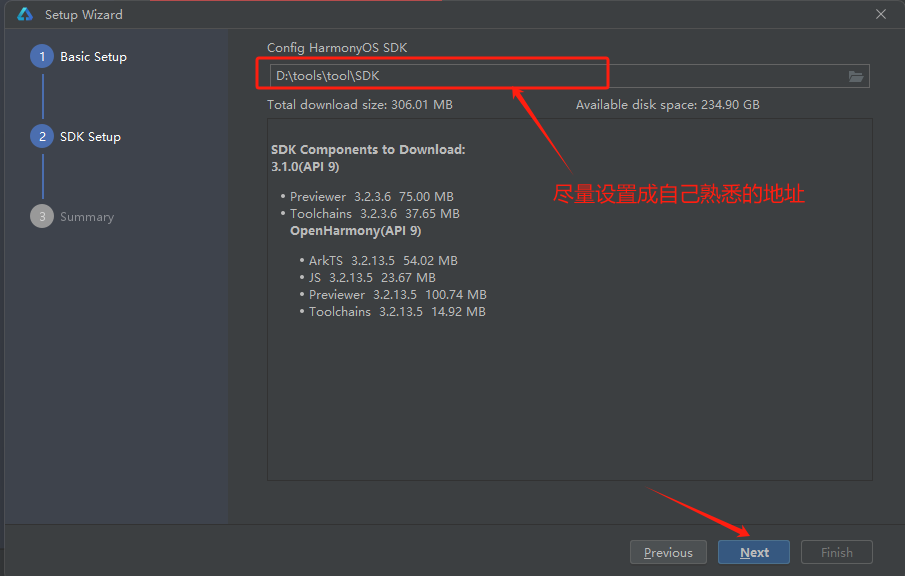
- Set the SDK download location and click [Next].
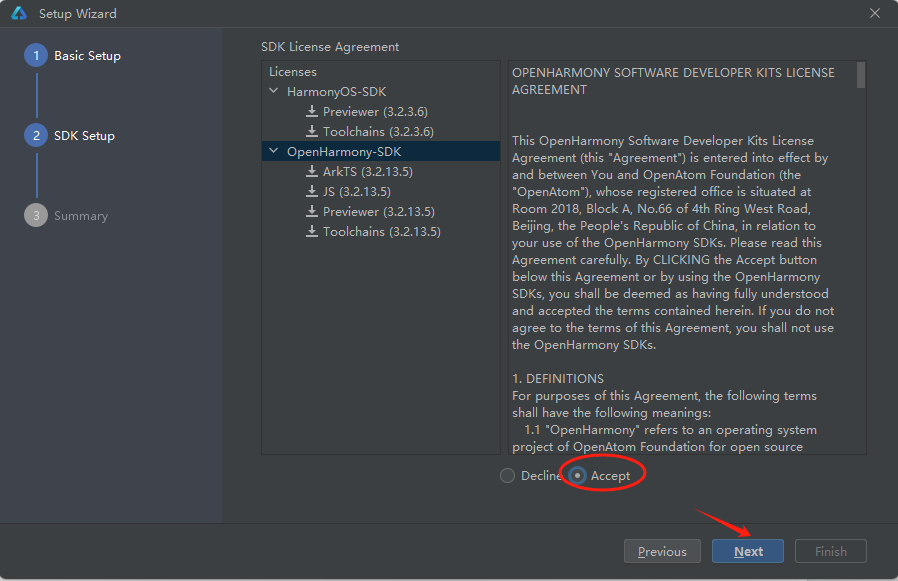
- Click [Accept], then click [Next] 2 more times.
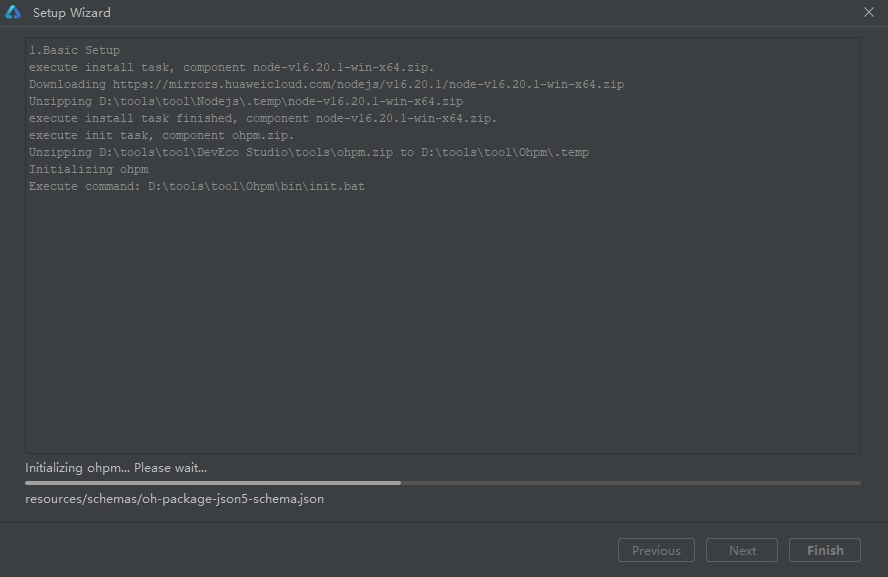
- Installing, wait for it to complete.
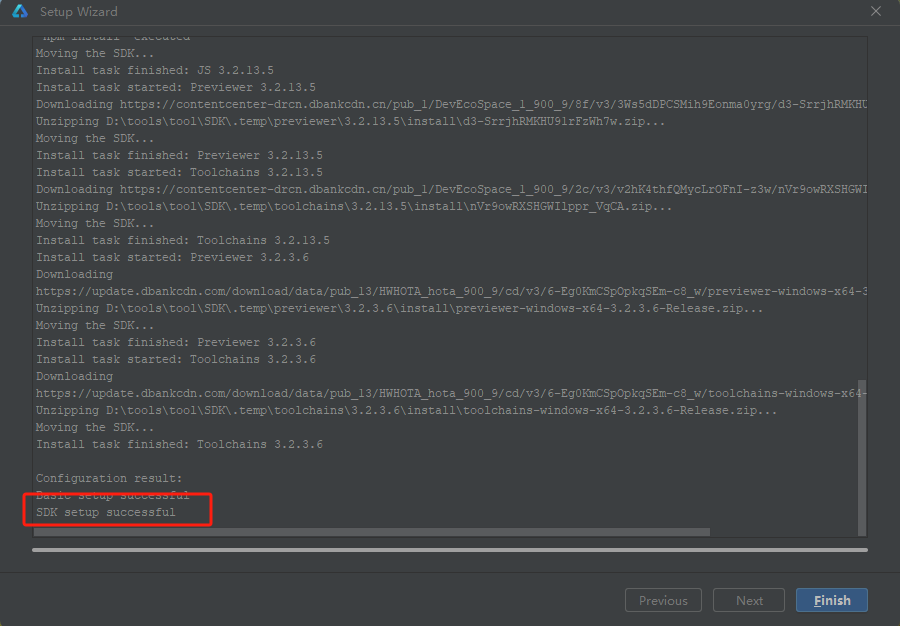
- Download complete result: "successful" indicates everything succeeded.