Experiment 4 - YOLOv5 Object Detection
Experiment Steps:
- Need to install python3, opencv, conda environment (skip if already installed, can refer to experiments 1-3 for environment setup)
- Clone YOLOv5 model, enter command in terminal:
git clone https://github.com/ultralytics/yolov5

cp -r /home/sunrise/yolov5 /home/sunrise/OPENCV/# Copy yolov5 package to the function package
cd OPENCV
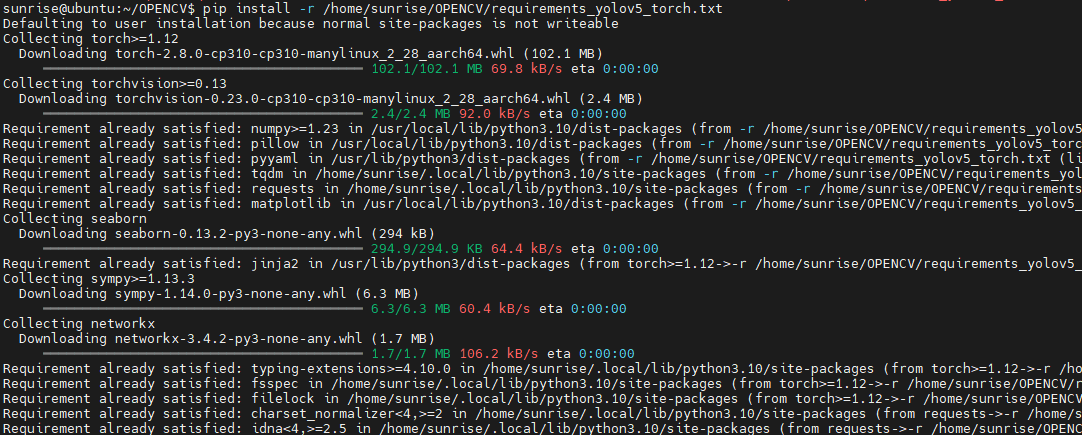
pip install -r /home/sunrise/OPENCV/requirements_yolov5_torch.txt(Install minimum dependencies for YOLOv5 to run)
source rdkx5_vision_env/bin/activate# Activate virtual environmentInstall related packages:
In the OPENCV directory:
First upgrade pip: python -m pip install --upgrade pip
Run the following commands:
pip install torch torchvision --extra-index-url https://download.pytorch.org/whl/cpu
pip install ultralytics pandas psutil thop scipy pillow tqdm
It is recommended to install together: python -m pip install pandas psutil thop pillow pyyaml requests matplotlib seaborn
(The following steps can be skipped first, try running the example file first, if version dependency is too low to run the model, then update:
Upgrade base installation tools: python -m pip install -U pip wheel setuptools==70.0.0
Install/upgrade missing dependencies: python -m pip install -U gitpython pillow==10.3.0 )
- Run:
cd yolov5
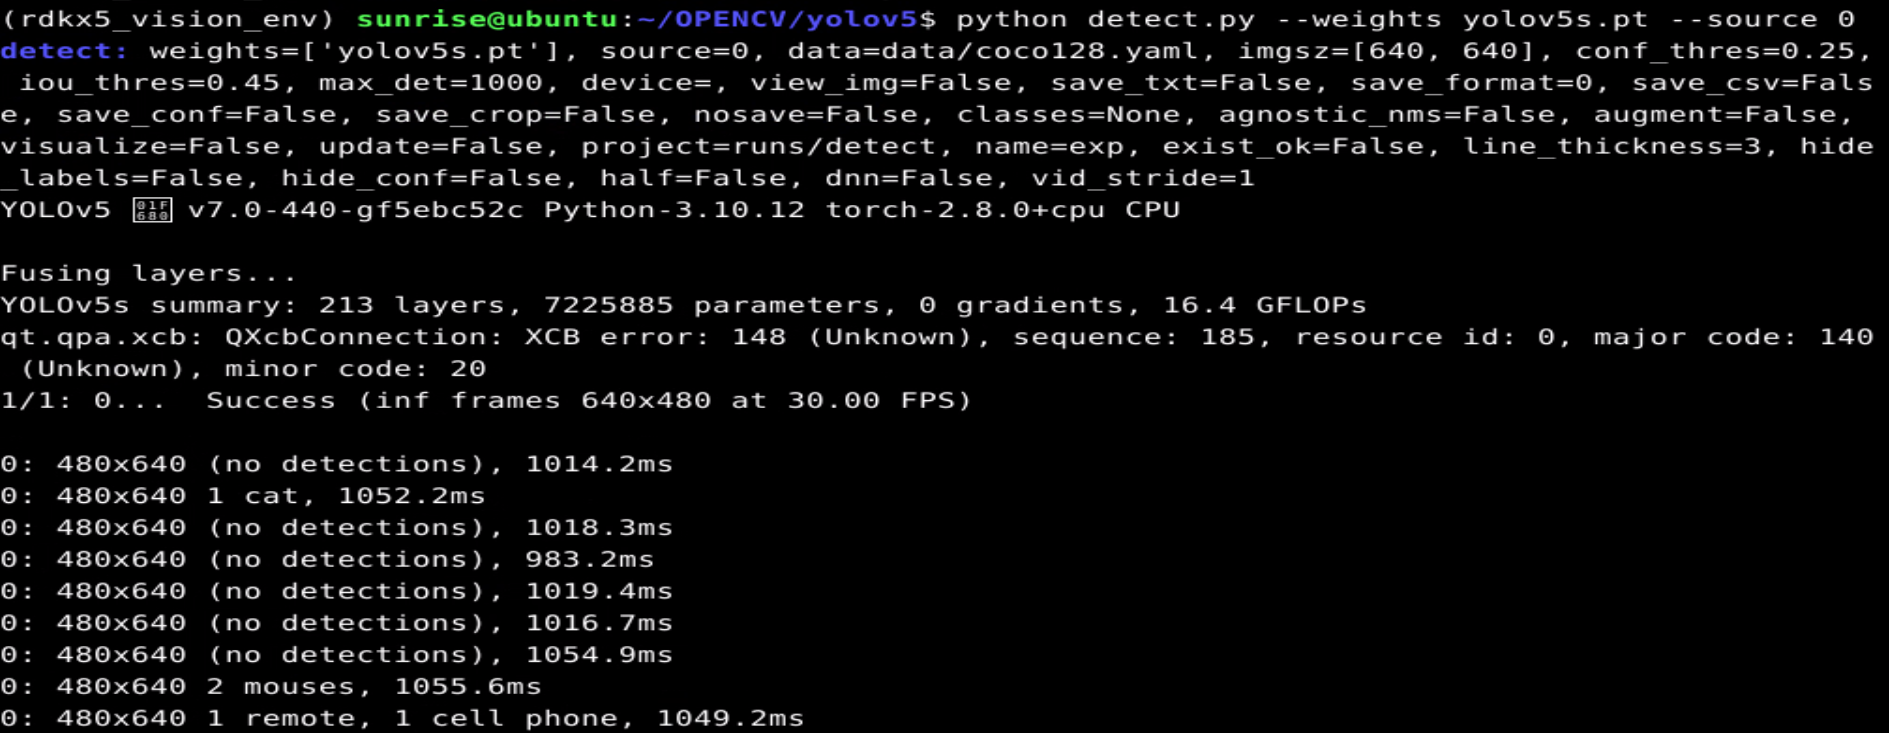
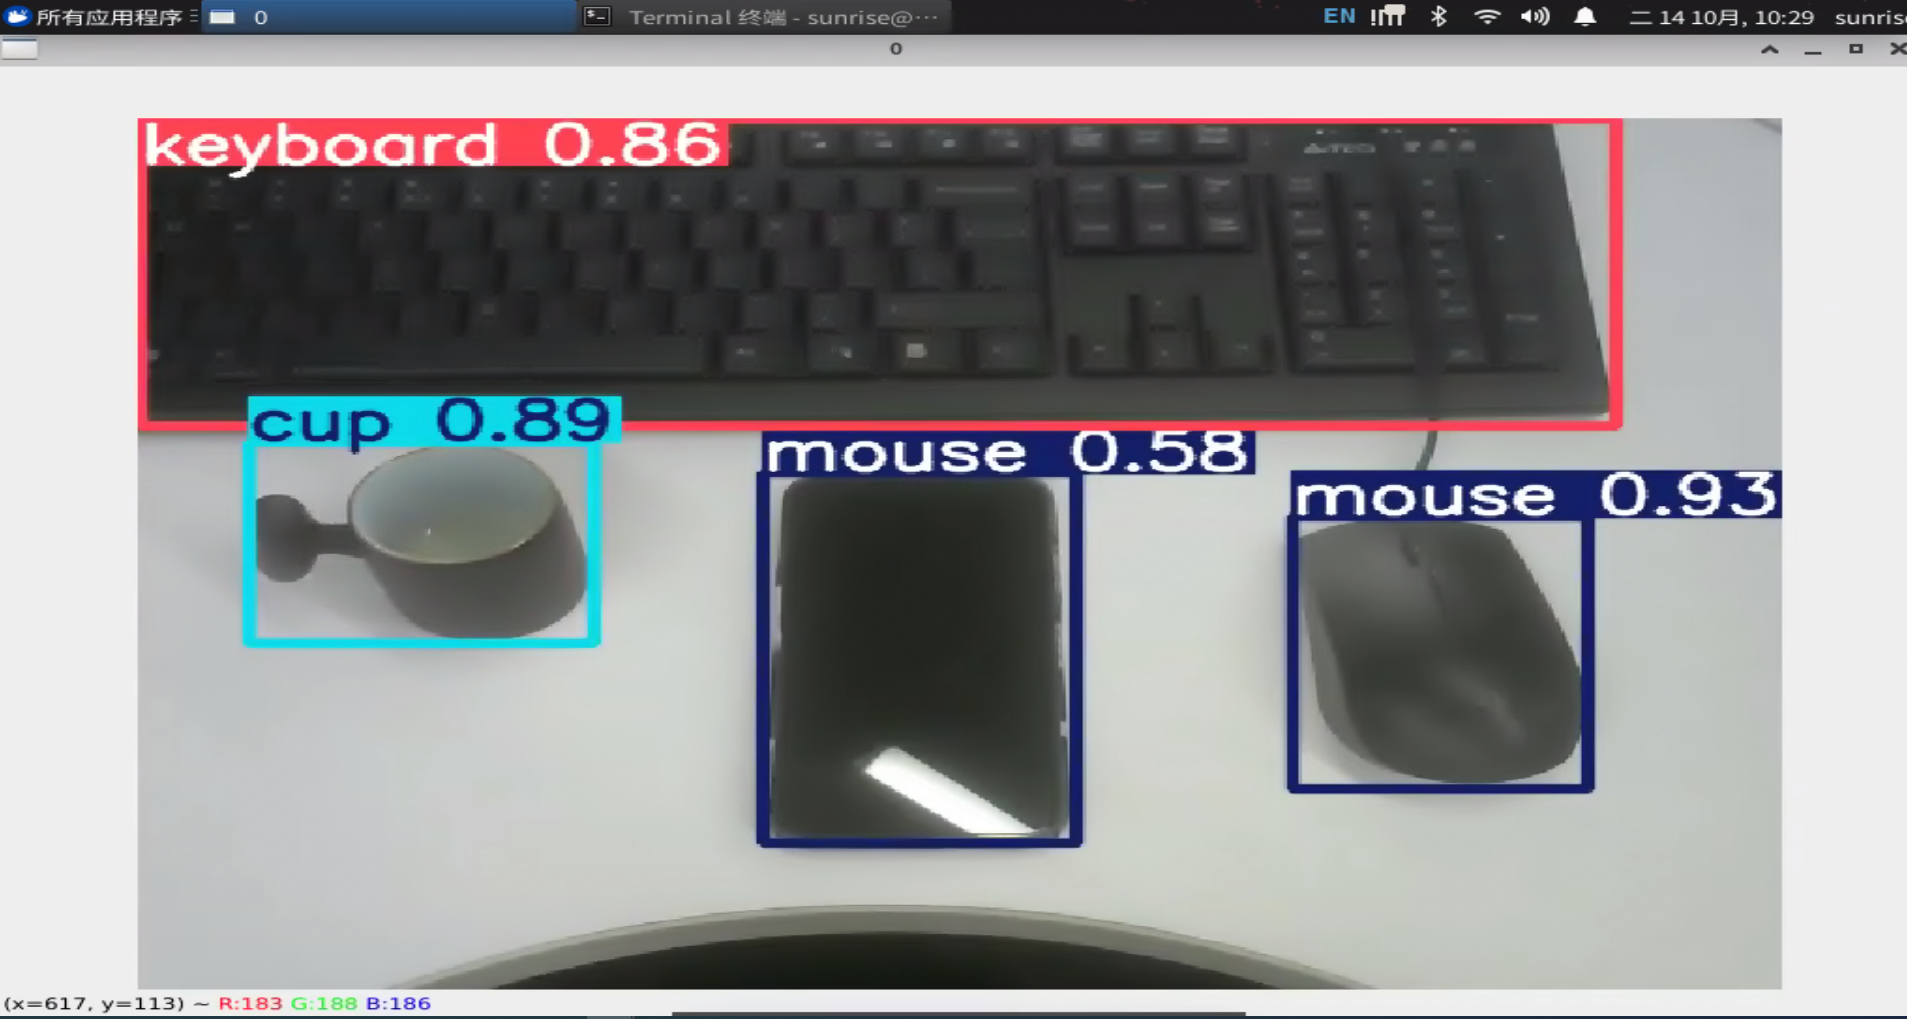
python detect.py --weights yolov5s.pt --source 0Terminal output:
If no camera is available, you can use local images or video import:
Use local image for quick verification:
python detect.py --weights yolov5s.pt --source path/to/image.jpgUse video file for verification:
python detect.py --weights yolov5s.pt --source path/to/video.mp4