#NV|# 04 Quick Start Device Development
#KM|
#RW|In order to help developers quickly get started with M4R1 device development, this tutorial will explain how to quickly build a development environment using the VM image file we created for M4R1 device development environment for device development.
#RW|
#VX|:::tip #XV|All relevant materials have been uploaded to Baidu Cloud. Developers can download them from the Baidu Netdisk via the download link in Materials Download #XJ|::: #XW|
#HP|# 0 Preface
#SK|
#YS|Because the VM image file we created and the virtual machine hard disk space required for compiling source code are very large, it is recommended to reserve 400-500GB hard disk space
#TX|
#QK|# 1 Obtaining VM Image File
#BY|
#YS|1) Baidu Netdisk provides M4R1_VMIMAGE_OH5.0_V1.0.zip as the compressed package of VM image file. Download the compressed package
#VP|
#YV|Because it contains the Ubuntu system and related development environment dependencies, the VM image file is relatively large, about 46G. Please prepare enough space for download
#KS|
#JB|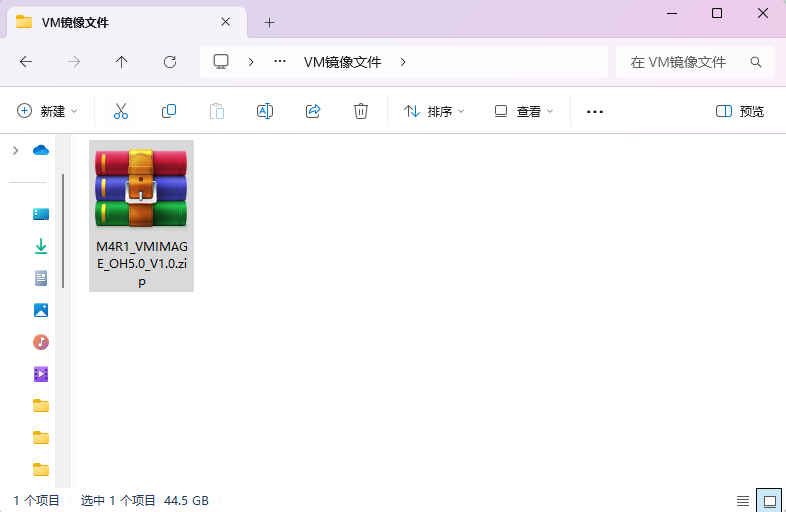
#YQ|
#MV|:::info Note #TH|DevEco Studio installation package path:
#NB|05-Development Materials>01-OpenHarmony Development Materials>VM Image File>M4R1_VMIMAGE_OH5.0_V1.0.zip #ZY|::: #XW|
#MK|2) After downloading is complete, extract the compressed package. If hard disk space is insufficient, you can delete the compressed package after extraction.
#MJ|The extracted files contain mf file, ovf file, and vmdk file
#HQ|
#MY|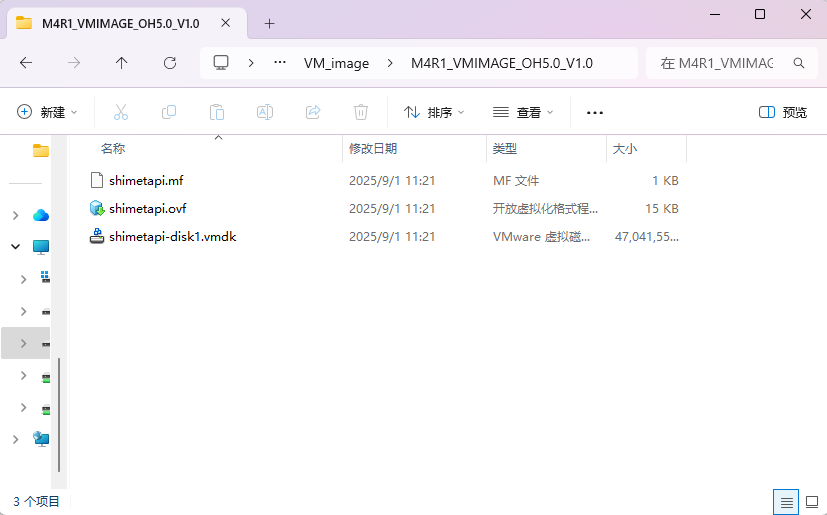
#ZM|
#WX|# 2 Importing ovf File to VM
#JQ|
#RJ|1) Open VM, select [File -> Open] from the menu bar.
#WV|
#HZ|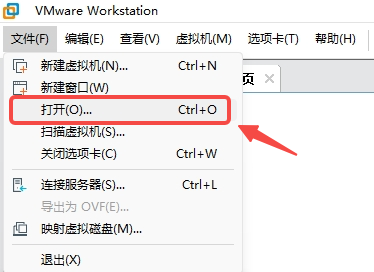
#MV|
#XQ|2) In the popup window, find the folder you just extracted, select the ovf file inside, and click [Open].
#BN|
#ZJ|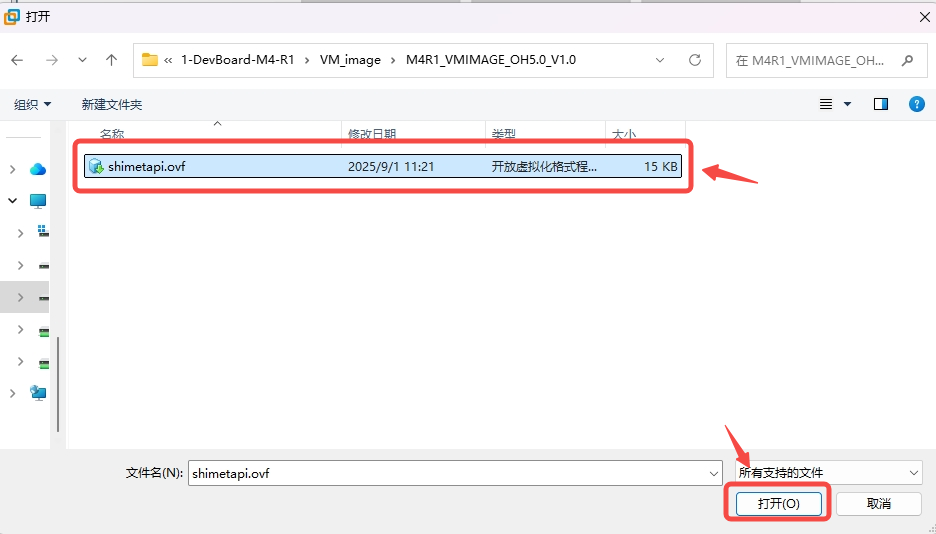
#ZK|
#WJ|3) In the new popup window [Import Virtual Machine], enter a new virtual machine name and select the storage path. After completion, click [Import].
#XN|
#KH|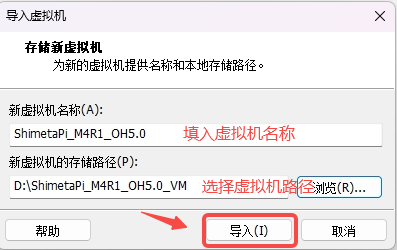
#PB|
#MJ|:::tip Note #YS|The storage path is recommended to be more than 300GB. If you need to use the image for other operations, you need to expand more space #WH|::: #BY|
#ZM|4) After completing the above operations, it will show that it is importing. Wait for the import to complete.
#QW|
#RT|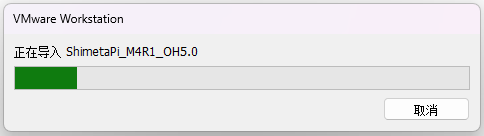
#NM|
#MJ|:::tip Note #NM|To ensure developers can complete the installation, the VM image file reserves virtual machine disk size of 200GB, which is the limit disk size for compiling source code. Compilation may fail if the size is less than this.
#JK|It is recommended to have more than 300GB of storage disk space. You can search online for methods to expand VM space #XN#
#XR|In the future, we will release VM image compressed packages with default disk space of 300GB as default images #PQ|::: #QH|
#TT|5) After the import is complete, you can see the basic settings. Click [Edit Virtual Machine Settings] to modify the settings
#VW|
#TR|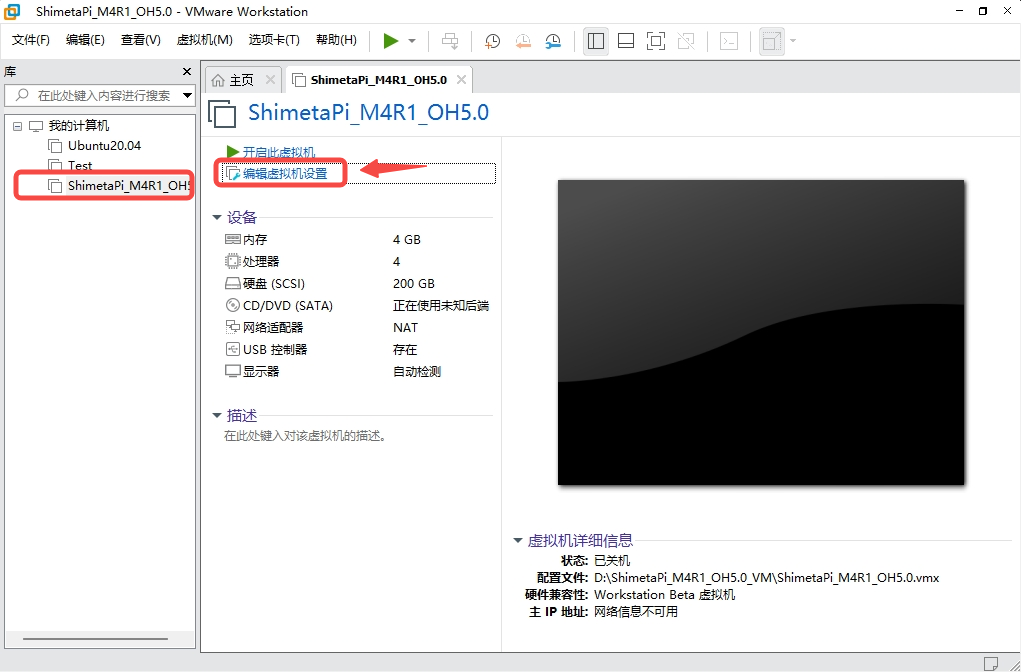
#JN|
#JT|6) Adjust the memory size to 16GB, as shown in the figure. Click [16GB]. When you see the virtual machine memory is: 16384MB, click [Confirm].
#PZ|
#NM|
#TH|
#WY|You can see the virtual machine memory is set to 16GB
#ZH|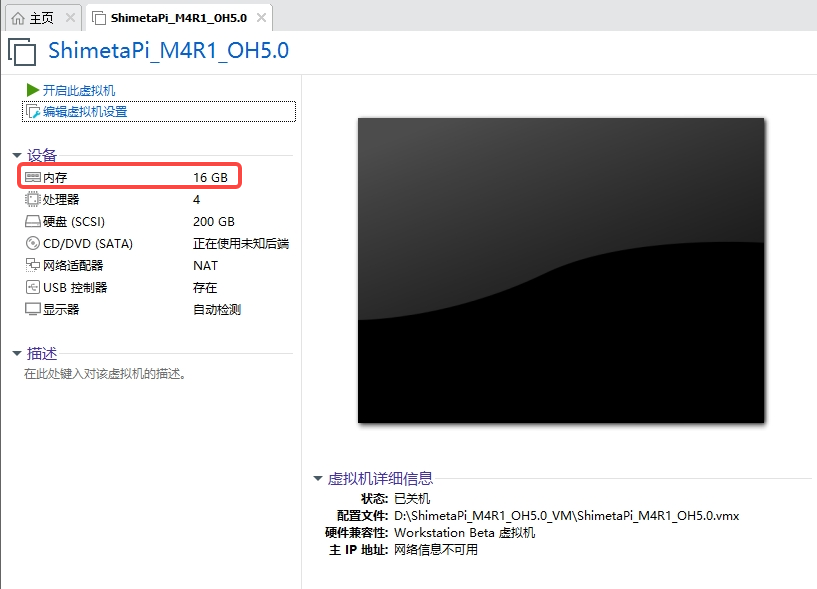
#PR|
#MJ|:::tip Note #KT|The decompression and compilation time depends on memory and thread count. To achieve better performance release and faster compilation and decompression, you need to increase memory and add more core threads to the virtual machine #VR|::: #SZ|
#XV|# 3 Extracting Source Code
#VB|
#TQ|1) Click the green play button on the VM interface to start the virtual machine
#BR|
#BH|
#JQ|
#JZ|Wait for the virtual machine to start. When the login interface shown below appears, the virtual machine has started successfully
#YX|
#NY|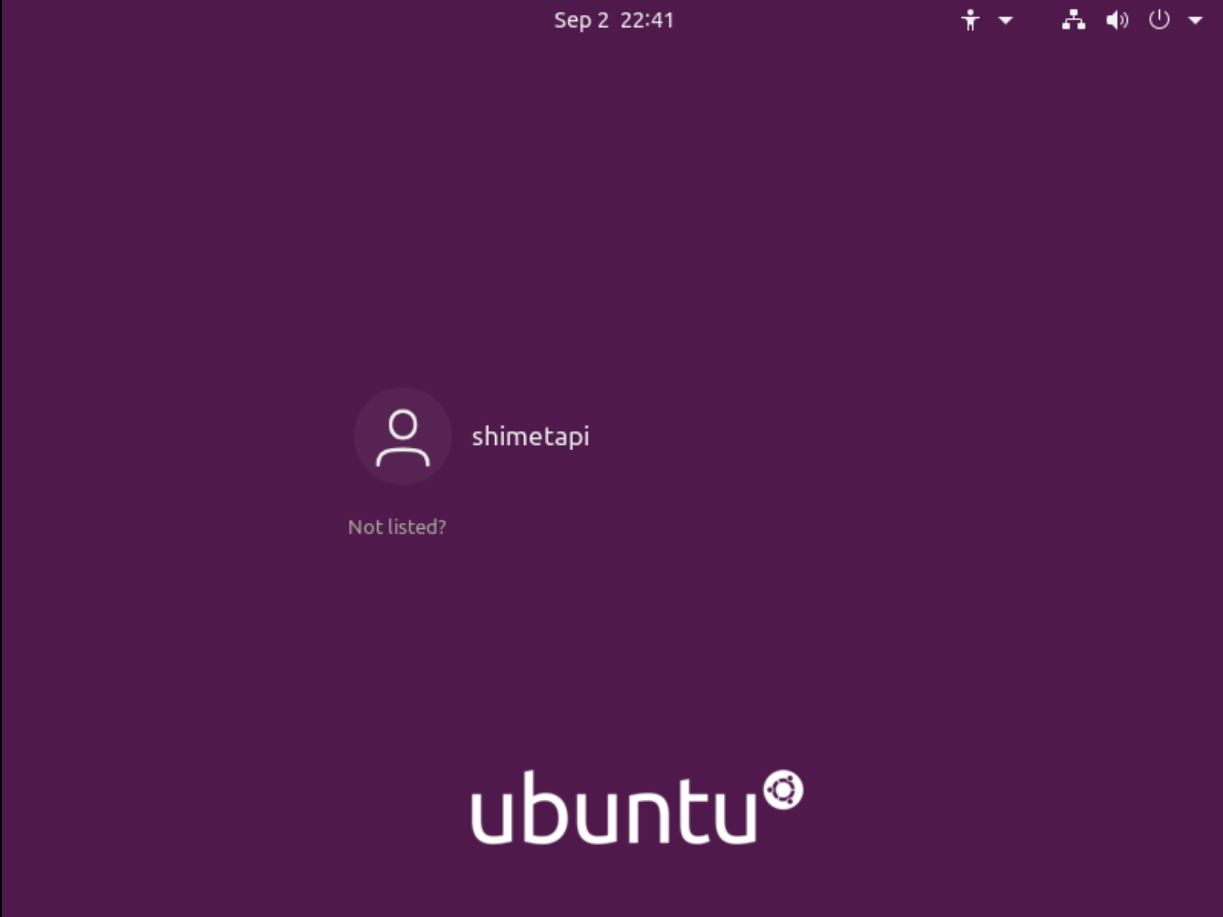
#SR|
#HZ|Click the user, a password input box will appear. Enter the password in the password input box to enter the Ubuntu desktop
#XB|
#TB|:::info Account Information #RZ|Username: shimetapi
#ZP|Default Password: 123456
#ZK|::: #JZ|
#JV|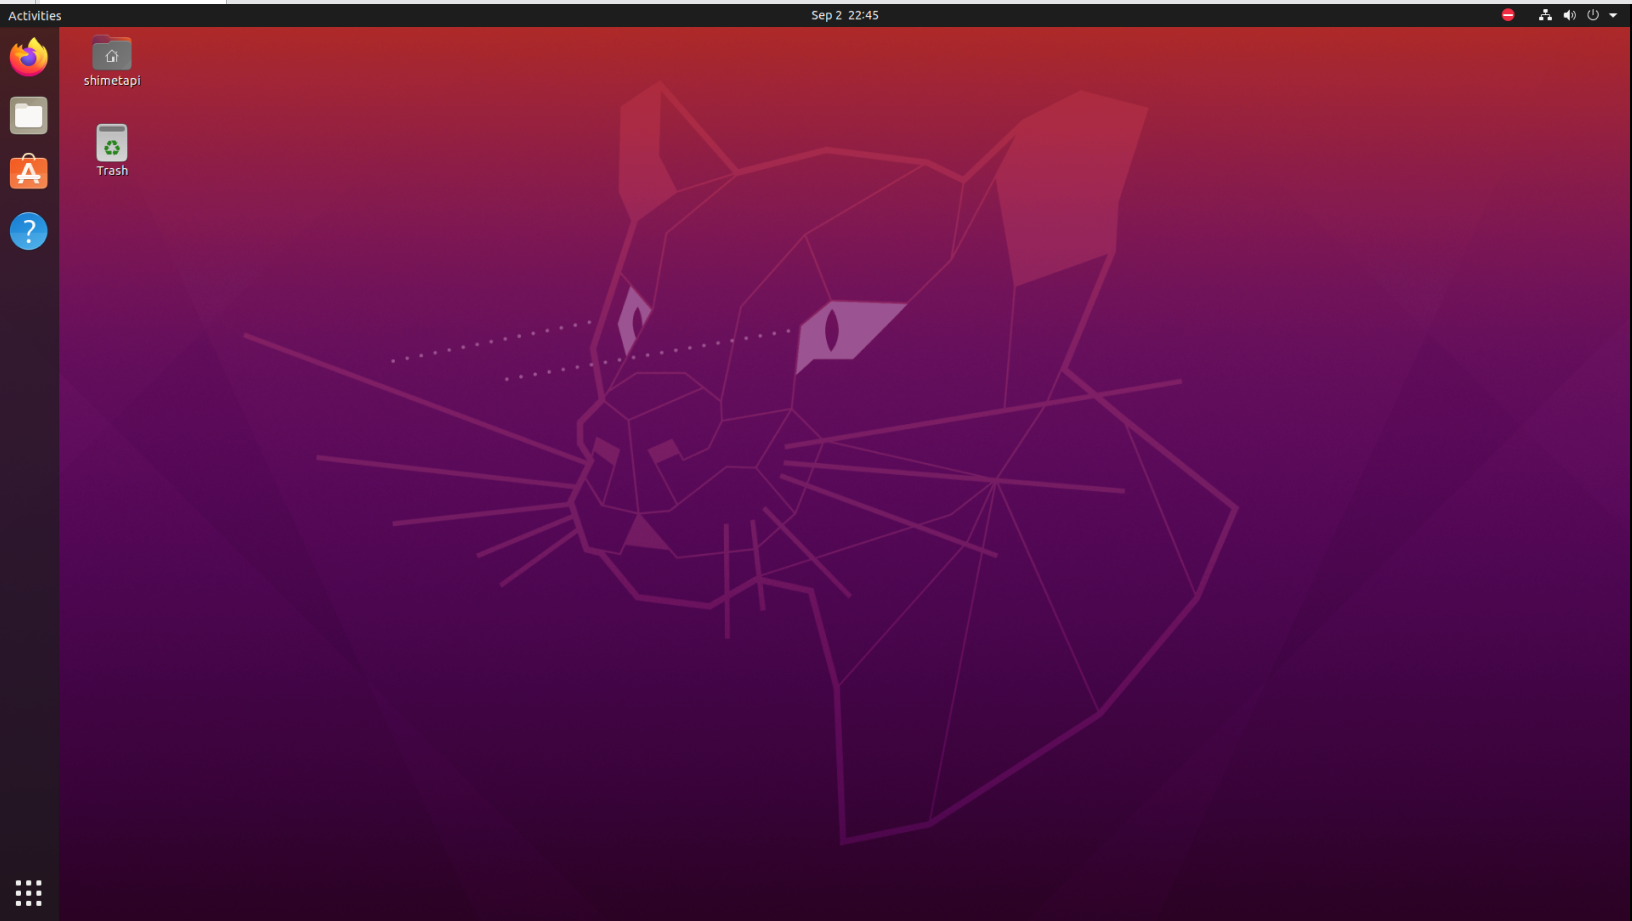
#MS|
#HK|2) Click the nine small dots below, select [Terminal] from the interface to enter the terminal
#ZT|
#NP|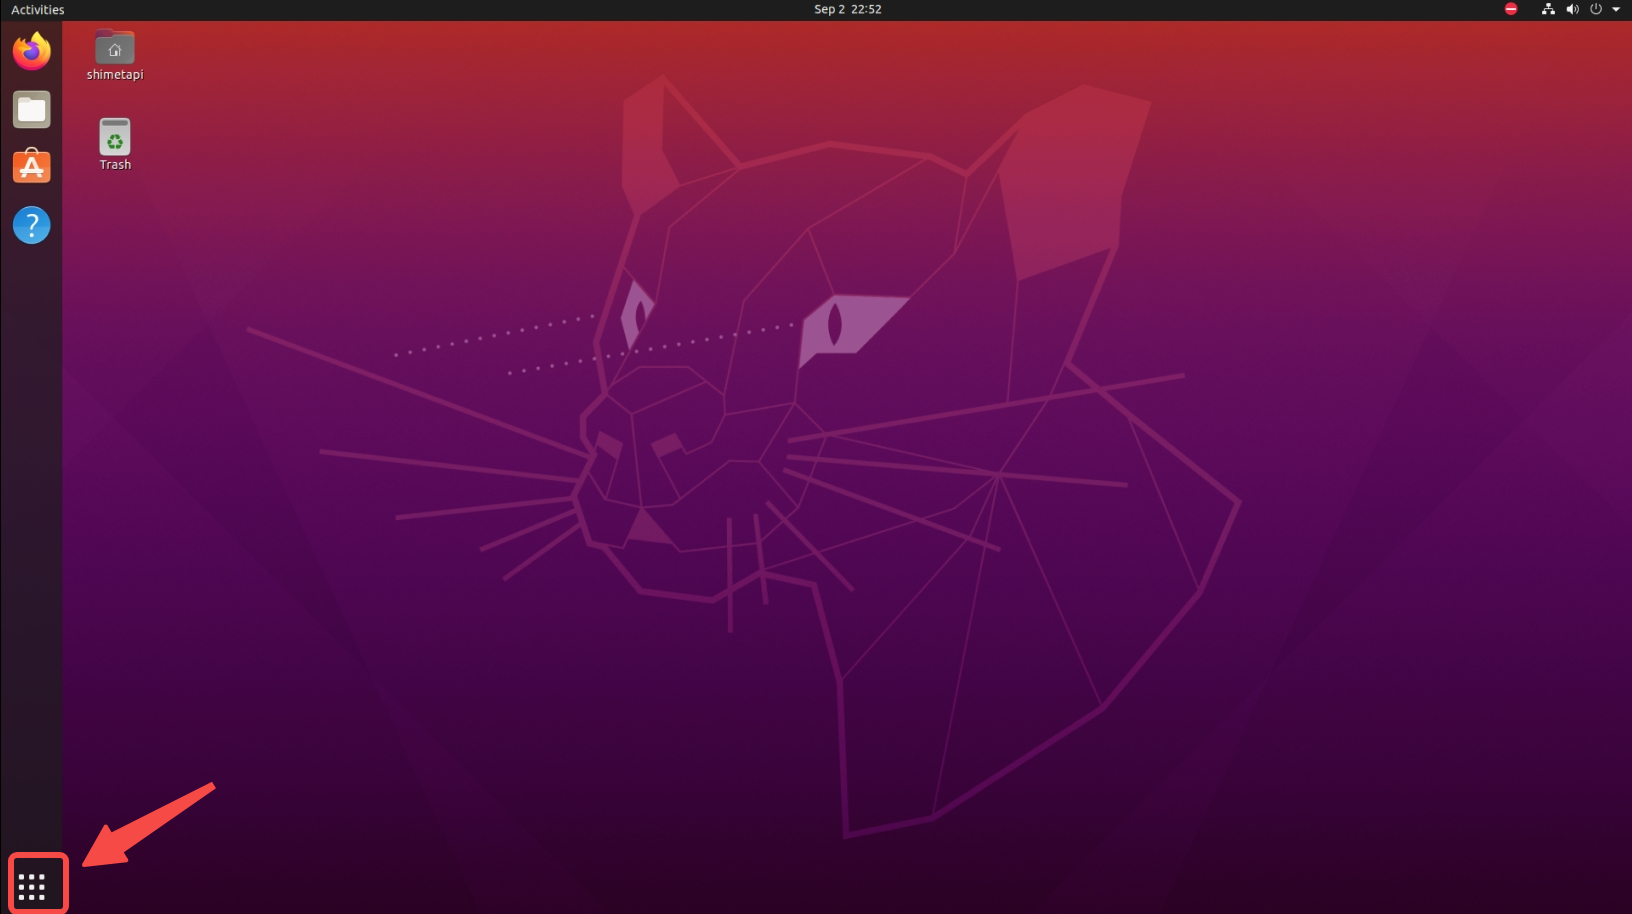
#BP|
#JV|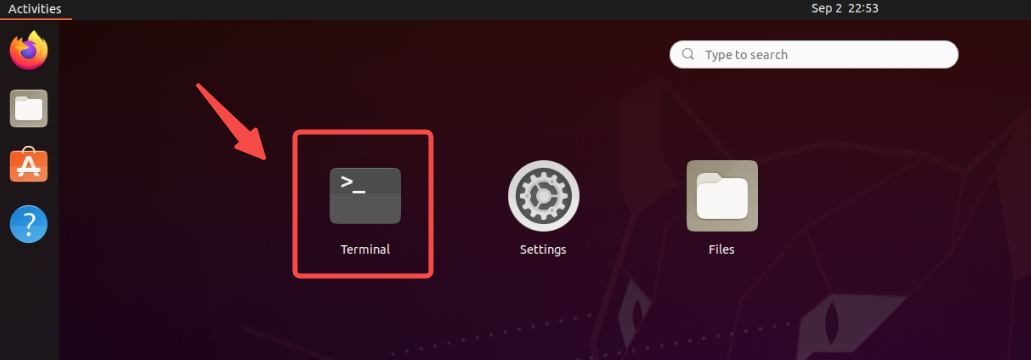
#SR|
#KR|3) After entering the terminal, enter the following command to check if the source code compressed package exists
#PJ|
#PV|shell #QV|ls #ZP| #HT|
#KM|As shown in the figure below, if there is M4R.0_V11_OH5.0.tar.gz, the source code compressed package exists.
#YQ|
#KN|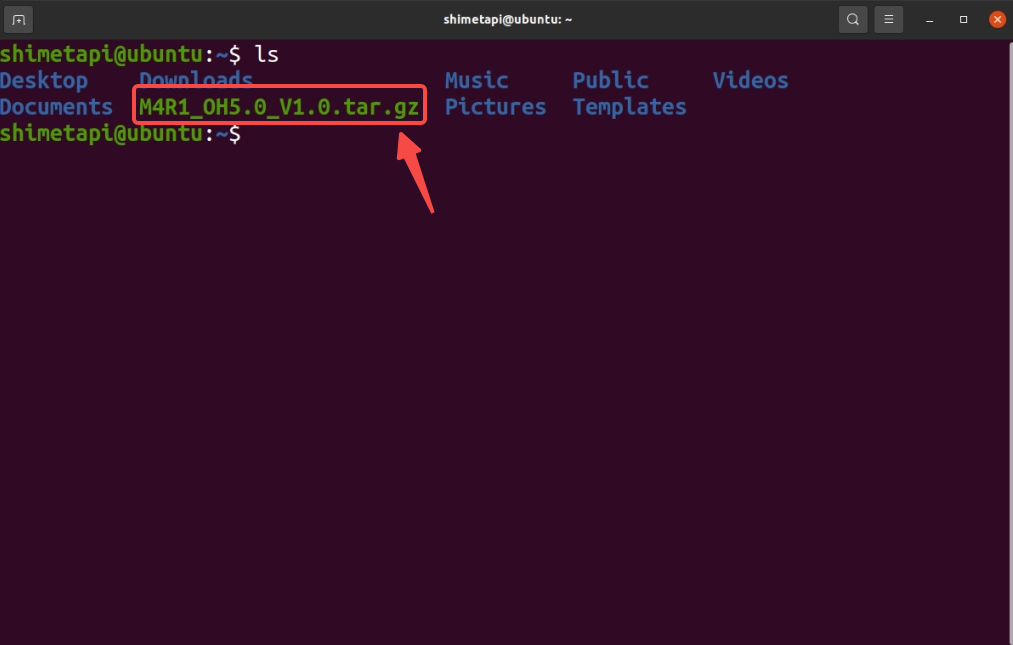
#WY|
#WZ|4) Enter the following command to extract the compressed package
#QJ|
#PV|shell #QZ|tar -zxvf M4R1_OH5.0_V1.0.tar.gz #PV| #BK|
#NS|Wait for extraction to complete.
#RM|
#XT|# 4 Compiling Source Code
#XM|
#RQ|After extraction is complete, enter the following command to start compiling the source code
#JQ|
#PV|shell #TX|cd OpenHarmony #QQ|./build.sh --product-name rk3568 --ccache #SN| #XB|
#YM|After compilation is complete, the information shown in the figure below will be displayed, showing the compilation time. Since the case uses the minimum required configuration for compilation, the compilation time is very long.
#HP|
#KT|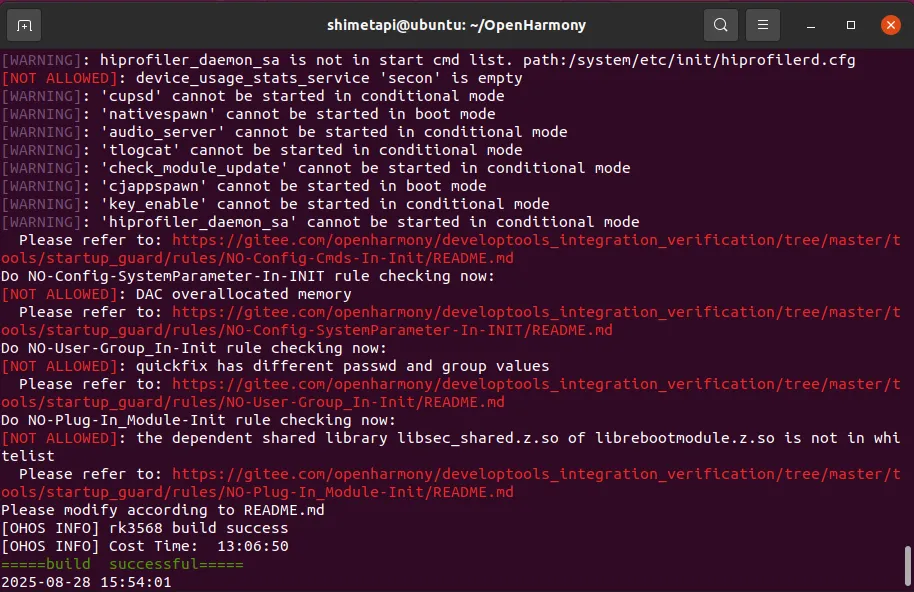
#WP|
#BV|# 5 Packaging Firmware
#BM|
#ST|After source code compilation is complete, enter the following command to package the firmware
#QX|
#PV|shell #KM|./build_package.sh #RY|