
Image Processing Chain
This article uses sample_vio as an example to systematically explain the overall processing flow of the image processing chain, combined with hands-on operations to help users deeply understand its working mechanism and implementation process.
Note
This document only introduces how to use the sample. For the specific code implementation, see <SDK_DIR>/sample/vio/sample_vio.c and related files.
1 Purpose and Significance of sample_vio
sample_vio is the sample program in the SDK that demonstrates the video input and image processing chain. It shows the complete video pipeline from sensor image capture, through VI -> VPSS processing, and then, depending on configuration, output to a VO display device or sent to VENC for encoding. Through this sample, users can quickly verify the access capability of the video path, the image processing results, and the stability of the output chain, providing a reference for subsequent service development.
2 Workflow of sample_vio
sample_vio first uses the VI module to capture and input sensor image data, then sends the captured video stream to VPSS for image processing, including scaling, cropping, distortion correction, denoising, and image enhancement. The processed image data can be output to the VO module for display or sent to the VENC module for encoding and saved as a file, depending on actual needs. Through different work_mode configurations, sample_vio can also implement online or offline processing, dual-camera video processing, WDR scenario switching, and resolution switching, meeting the video processing needs of different application scenarios.
3 sample_vio Usage Example
Step 1: Build sample_vio
Switch to the sample directory and run: make vio. Expected key output:
#### make "vio" completed successfully!(7 seconds) ####At this point, the <SDK_DIR>/sample/vio directory contains an additional sample_vio executable and a sample_vio.o file.
Step 2: Copy sample_vio
Copy the sample_vio executable to the board.
Note
Board resources are limited. It is recommended to mount an SD card first (SD card mounting steps), then copy to the SD card to run.
Step 3: Grant execute permission to the sample_vio file
chmod +x sample_vioStep 4: Run sample_vio
Parameter description
sample_vio: Function description: MPP framework chaining.
Command format: ./sample_vio [work_mode] [stream_mode]
work_mode:
    0 vi online, vpss online

    1 vi offline, vpss online (can be used to support 4K resolution sensor input)

    2 vi offline, vpss offline

    3 vi online/offline, vpss offline, wdr mode (default: vi online)

    4 vi offline, vpss offline, vi selects linear/wdr switch

    5 vi offline, vpss offline, resolution switch

    6 vi offline, vpss online, dual-camera (supports any 2-lane input sensor combination)

    7 vi offline, vpss online, dual-camera stitching

    8 vi online, vpss online, dual-camera + internal switch

    9 vi offline, vpss offline, pre-recording and readback sample (CV4003 sensor)

    10 vi offline, vpss online, ldc distortion correction

    11 vi offline, vpss online, ahd sensor input
stream_mode:
    0: output to a display device

    1: encode output to a file
Example:
./sample_vio 0 1Expected output:
[sample_comm_sys_get_wrap_buffer_size]-555: wrap buffer line is  720
[sample_vio_vi_online_vpss_online]-205: wrap vb size : 1992960
[SENSOR][Func]:sc465sl_set_slave_addr [Line]:1637 [Info]:Sensor dev [0] set slave addr 0x60 success.
[SENSOR][Func]:sc465sl_i2c_init [Line]:1664 [Info]:====== i2c[1] init success!=======
[SENSOR][Func]:sc465sl_set_wdr_mode [Line]:487 [Info]:linear mode
[sample_comm_isp_sensor_init]-368: sensor i2c_id = 1, clk_id = 1
[SENSOR][Func]:sc465sl_get_ae_common_default [Line]:858 [Info]:man_ratio_enable: 0
[SENSOR][Func]:sc465sl_calc_fps [Line]:1358 [Info]:sc465sl set fps = 30.000000
[ISP]isp_init[1113]: isp[0] init success
[ISP]isp_run[771]: isp run.


[sample_comm_vi_start_dev]-1066: mipi_rate: 864.
[ISP]isp_start[503]: isp0 start.
[SENSOR][Func]:sc465sl_4lane_linear_2560x1440_init [Line]:952 [Info]:============================================================================
[SENSOR][Func]:sc465sl_4lane_linear_2560x1440_init [Line]:953 [Info]:=== SC465SL_27MInput_MIPI_4lane_12bit_30fps_2560x1440_linear init success! =
[SENSOR][Func]:sc465sl_4lane_linear_2560x1440_init [Line]:954 [Info]:============================================================================

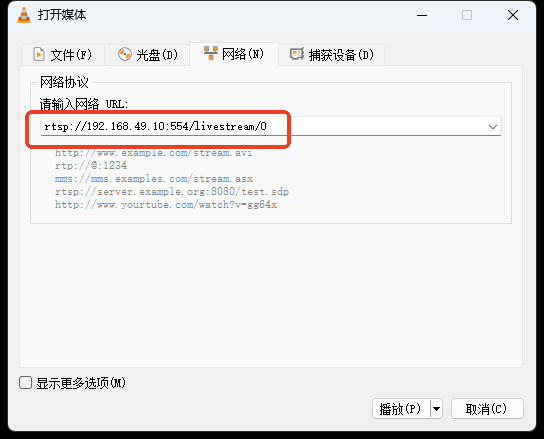
rtsp://192.168.49.10:554/livestream/0
rtsp://192.168.49.10:554/livestream/1
---------------press any key to exit!---------------
[SENSOR][Func]:sc465sl_calc_fps [Line]:1358 [Info]:sc465sl set fps = 25.000000
The network URLs are:
rtsp://192.168.49.10:554/livestream/0is the main stream (higher definition)rtsp://192.168.49.10:554/livestream/1is the sub-stream
Step 5: View the Result
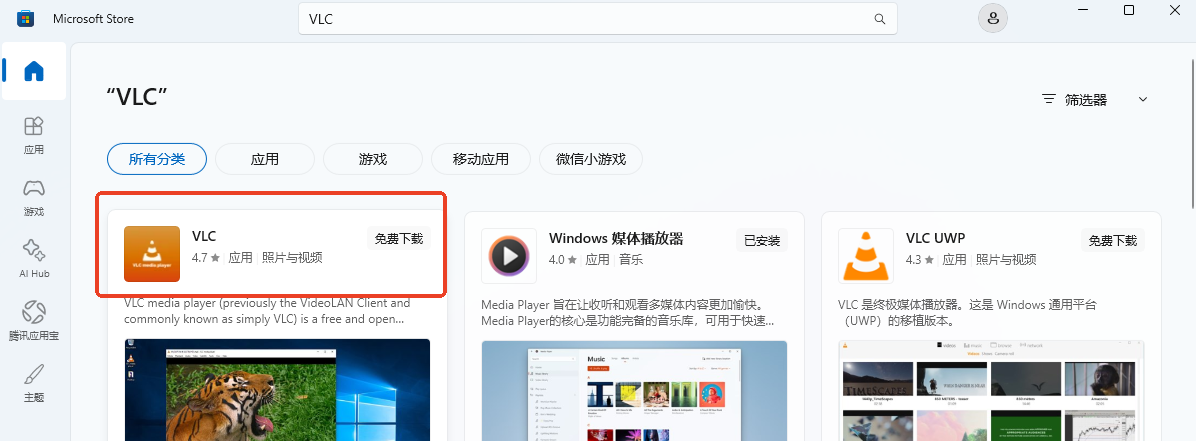
1. Install VLC media player
You can install it directly from the Microsoft Store.
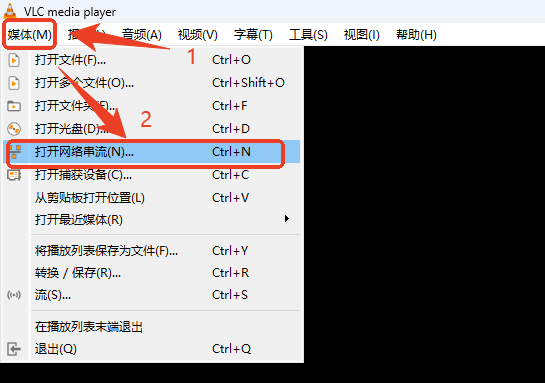
2. Open the network stream tool to pull the stream
3. Enter the network URL
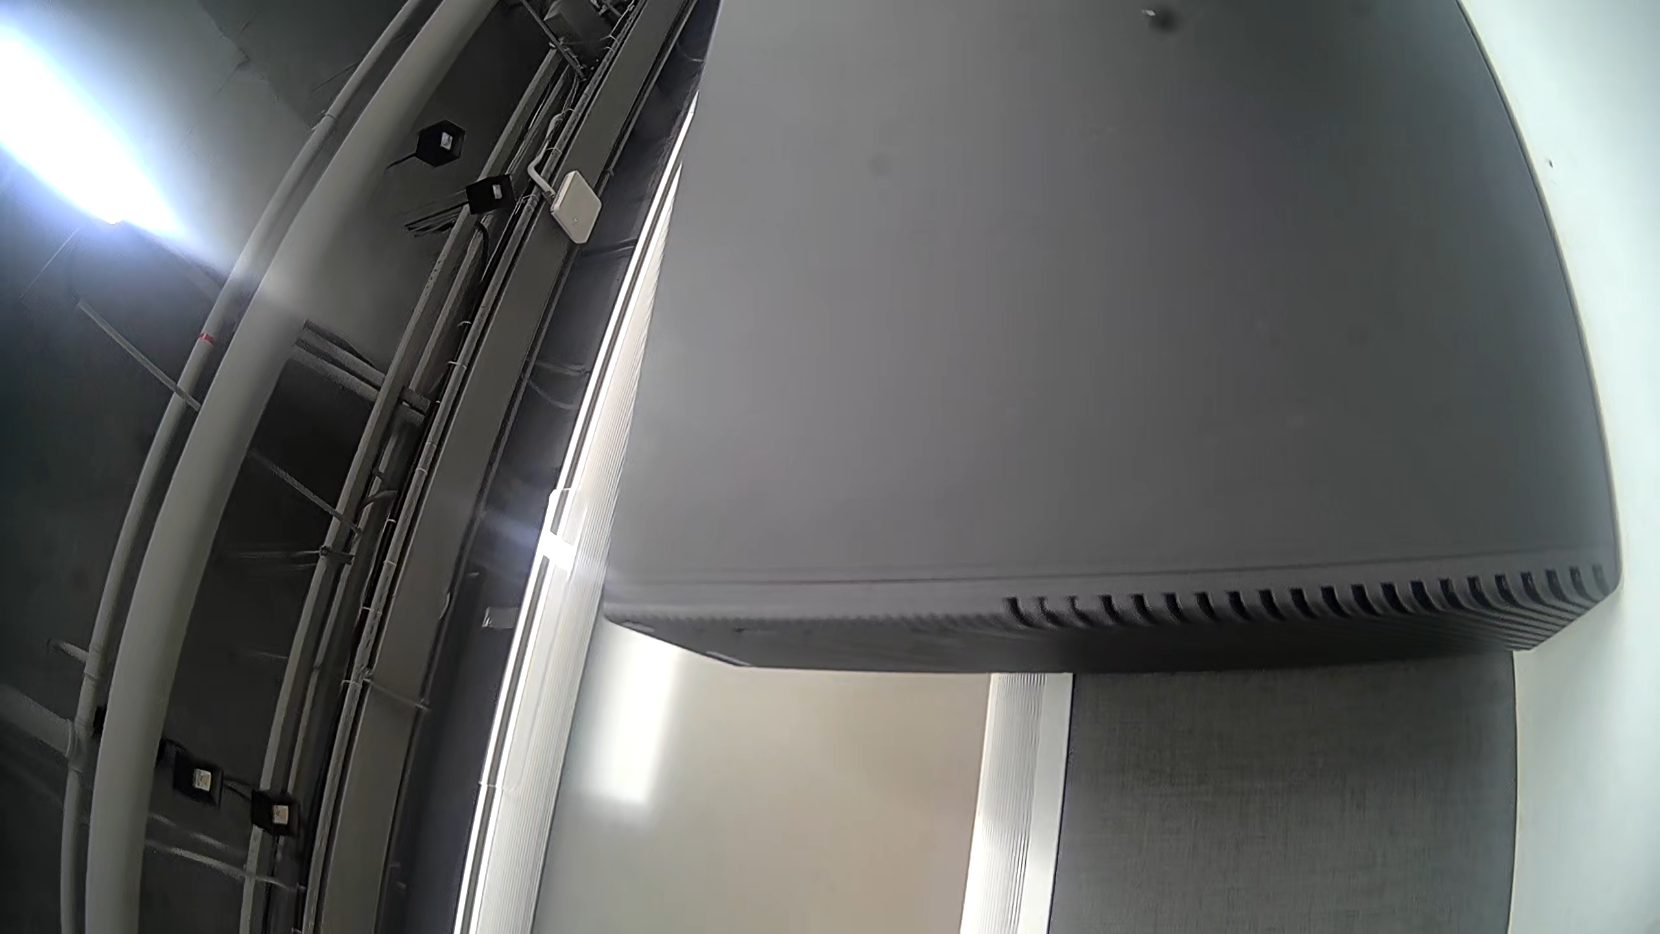
After clicking the play button, you can see the camera image.
Tip
If the image distortion is large, use ./sample_vio 10 1 for ldc distortion correction.