Image Encoding
Image encoding compresses raw image data into a smaller format that is easier to store or transmit.
Note
This document only introduces the use of sample_venc. For the specific code implementation, see <SDK_DIR>/sample/venc/sample_venc.c and related files.
1 Purpose and Significance of sample_venc
sample_venc is the sample program in the SDK that demonstrates the video encoding capability, mainly showcasing the typical usage of the VENC module. This sample can either connect to the camera image chain to implement real-time capture and encoding (VI -> ISP -> VPSS -> VENC), or directly take a raw YUV image file as input for encoding tests, implementing an independent "file input -> encoded output" verification flow. Through this sample, users can quickly verify whether the encoder works correctly, whether bit-rate control is effective, whether different encoding formats are usable, and whether advanced encoding features such as ROI, QPMap, JPEG snapshot, and JPEG stitching work, providing a reference for subsequent video storage, network streaming, and image snapshot service development.
2 Workflow of sample_venc
sample_venc mainly includes two types of workflows.
- Real-time camera encoding flow
The program first initializes system resources, then uses the VI module to capture the sensor image, processes it through ISP, sends it to VPSS for scaling or distribution, and finally hands it to VENC for encoding and output. In this mode, sample_venc can simultaneously output a main stream and a sub stream (for example H.265 + H.264), and can also be extended to JPEG/MJPEG snapshots, QPMap, ROI, and other features.
- Local YUV file encoding flow
The program directly reads an NV21-format raw YUV file, feeds it as input frames into the VENC module for encoding, and finally outputs H.264 / H.265 / JPEG / MJPEG bitstream files. This mode does not depend on the sensor or ISP and is suitable for independently verifying encoder capability, input-format compatibility, and bit-rate control parameters.
3 sample_venc Usage Example
The build and copy steps are the same as sample_vio.
3.1 Parameter Selection:
sample_venc:
    Function description: capture and encoding sample
    Command format: 1)./sample_venc [index]
                0 wrap/low-latency h265+h264 encoding, main stream + sub stream + jpeg
                1 h265+h264 encoding, main stream + sub stream
                2 h265+h264 encoding, qpmap
                3 h265+h264 encoding, roi
                4 jpeg/mjpeg encoding
                2)./sample_venc [nv21 yuv file] + [width] + [height] + [target format]
                nv21 yuv file:   input yuv file
                width:           output resolution width
                height:          output resolution height
                target format:   output encoding type: h265, h264, jpeg, mjpeg
3.2 Encoding Test with a Raw YUV Image File
Step 1: Get the Lena image download link
Tip
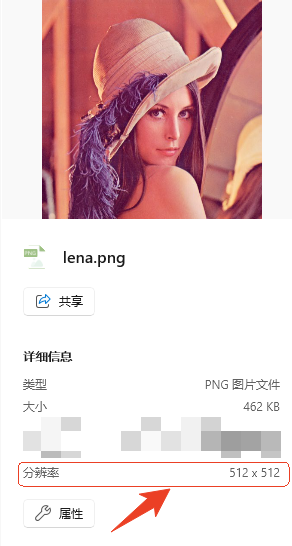
It is recommended that users prepare a high-definition image themselves, so that the difference after encoding is more visible. Note that the input image width and height must not be entered incorrectly, otherwise the encoded image will be garbled. The width and height can be viewed on the PC by selecting the image, as shown below:
Step 2: Convert PNG to YUV
Copy lena.png to the build server and run the following command to convert the PNG file to a YUV file:
ffmpeg -i lina.png -pix_fmt nv21 lina.yuvAfter conversion, copy the lina.yuv file to the board.
Step 3: Encode the YUV file
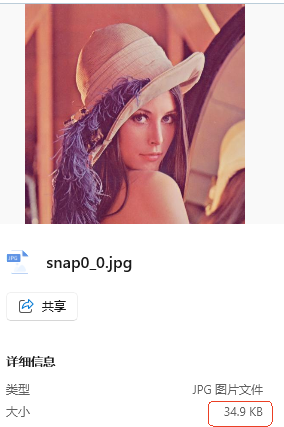
./sample_venc ./lena.yuv 512 512 jpegAfter execution, snap0_0.jpg ~ snap0_29.jpg are generated in the current directory. Copy these JPEG files to the PC to view them.
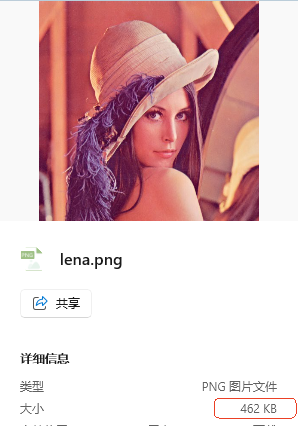
Step 4: Compare Before and After Encoding