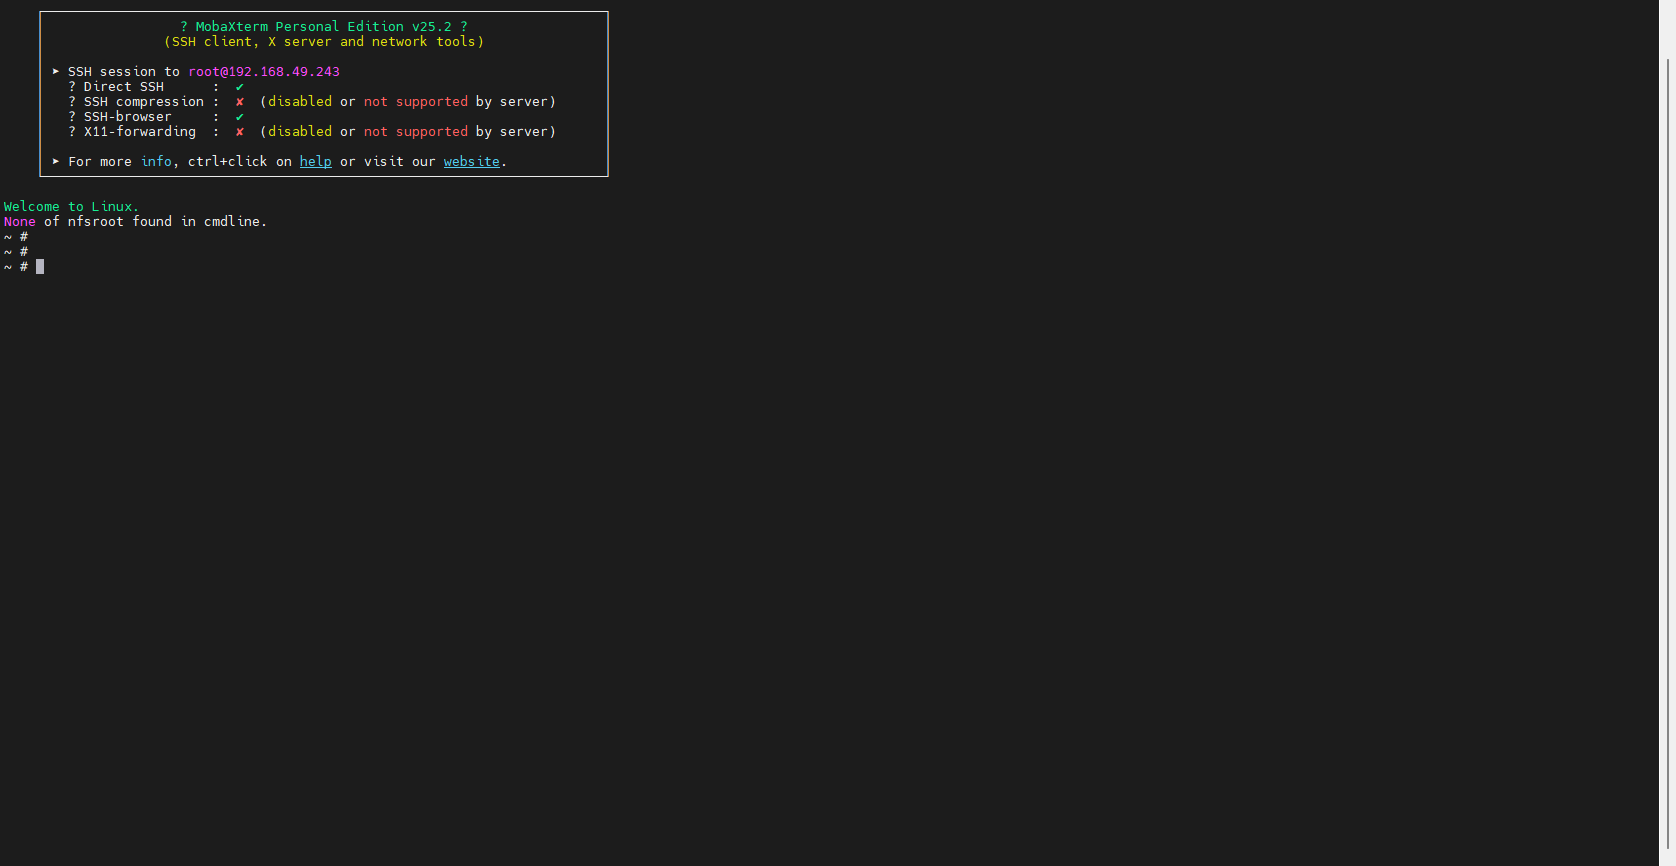
System Login
This chapter uses MobaXterm as an example to show how to log in to the ShiMetaPi-Pico-G1 board via serial port and SSH, and enter the Linux command-line terminal for development and debugging.
1. Installing MobaXterm
Install the free version of MobaXterm from its official site, MobaXterm official site, as shown below: 
2. Logging in via Serial Port
2.1 Overview
Serial login is the most basic and reliable login method. It does not depend on network configuration and is suitable for first-time use and system debugging. The Pico-G1 board connects to the PC's USB port through a serial adapter board (FT232) and communicates using serial terminal software.
2.2 Hardware Connections
Required items:
| Item | Description |
|---|---|
| ShiMetaPi-Pico-G1 development board | Target board |
| FT232 serial adapter board | Provided with the SDK |
| USB data cable | Connects the serial adapter to the PC |
| 3 Dupont wires | Connect the serial adapter to the development board |
Wiring:
| Serial adapter | ShiMetaPi-Pico-G1 development board |
|---|---|
| TX | RX |
| RX | TX |
| GND | GND |
Note
Connect TX to RX and RX to TX; do not connect same-name pins. GND must be connected, otherwise communication will be unstable. Do NOT connect the VCC pin — a voltage mismatch could damage the board.
2.3 Operation Steps
Step 1: Install the serial driver.
Install the FT232 driver on the Windows workstation. The driver is in the SDK release package at:
sdk/tools/windows/burning-tools/ftdi-driver/FTDI-CDM-Driver.exeDouble-click the installer and follow the wizard to complete installation.
Step 2: Confirm the serial port number.
Connect the serial adapter to the PC via USB, open Windows Device Manager, and check the port number under "Ports (COM & LPT)":
Device Manager
└── Ports (COM & LPT)
    └── USB Serial Port (COM3)    ← Note this port number
Expected output:
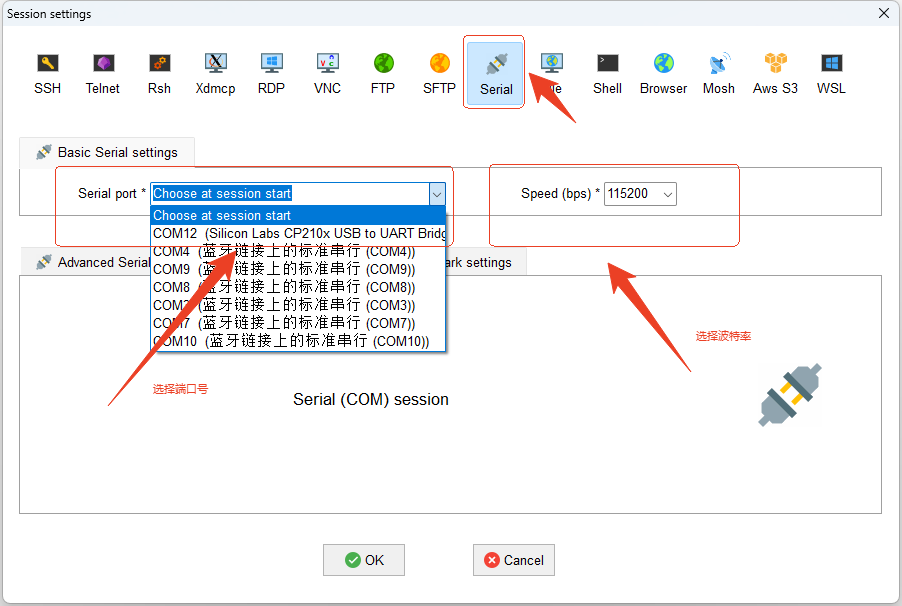
Port number examples: COM3, COM5, etc., depending on the PCStep 3: Log in with MobaXterm
Note
The baud rate must be set to 115200.
 Step 4: Reset
Connect and reset the board; the serial terminal prints boot information:
U-Boot 2021.04 (Apr 26 2026 - 10:00:00 +0800)

Model: GK7206V11A Demo Board
DRAM:  128 MiB
...
Loading Environment from SPI Flash... OK
Hit any key to stop autoboot:  0
...
Starting kernel ...

[    0.000000] Booting Linux on physical CPU 0x0
[    0.000000] Linux version 5.10.130 (user@server) (arm-gcc12.2.0-linux-uclibceabi-gcc 12.2.0) #1 SMP PREEMPT
...
[    2.500000] Freeing unused kernel memory: 1024K
[    2.600000] Run /sbin/init as init process

Welcome to GK7206
GK7206V11A login:
Tip
Press Enter during boot to enter the U-Boot command line; type boot to continue booting the Linux system.
3. Logging in via SSH
Note
SSH login is a network-based remote login method. The Pico-G1 board connects to the LAN via an Ethernet cable, and the PC uses SSH client software (such as MobaXterm) to connect to the board for remote command-line operation. The precondition for SSH login is therefore that the Pico-G1 board and the PC are on the same LAN.
Step 1: Download and install the LAN IP scanning tool Zenmap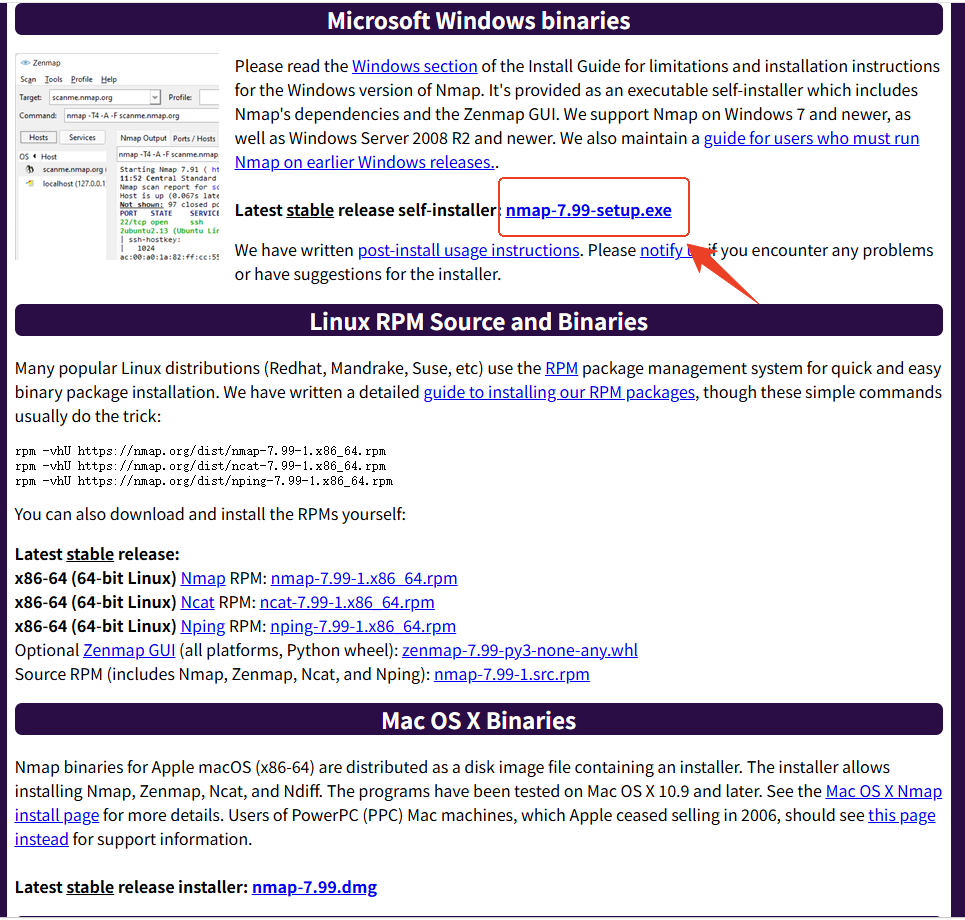 Follow the prompts and click
 Next through the installation.
Step 2: Find the IP address of the Pico-G1 board
- Open Zenmap.
- Run Zenmap, select your network segment from the
Targetdrop-down, selectPing scanforProfile, and clickScanto scan all IP addresses in the current LAN.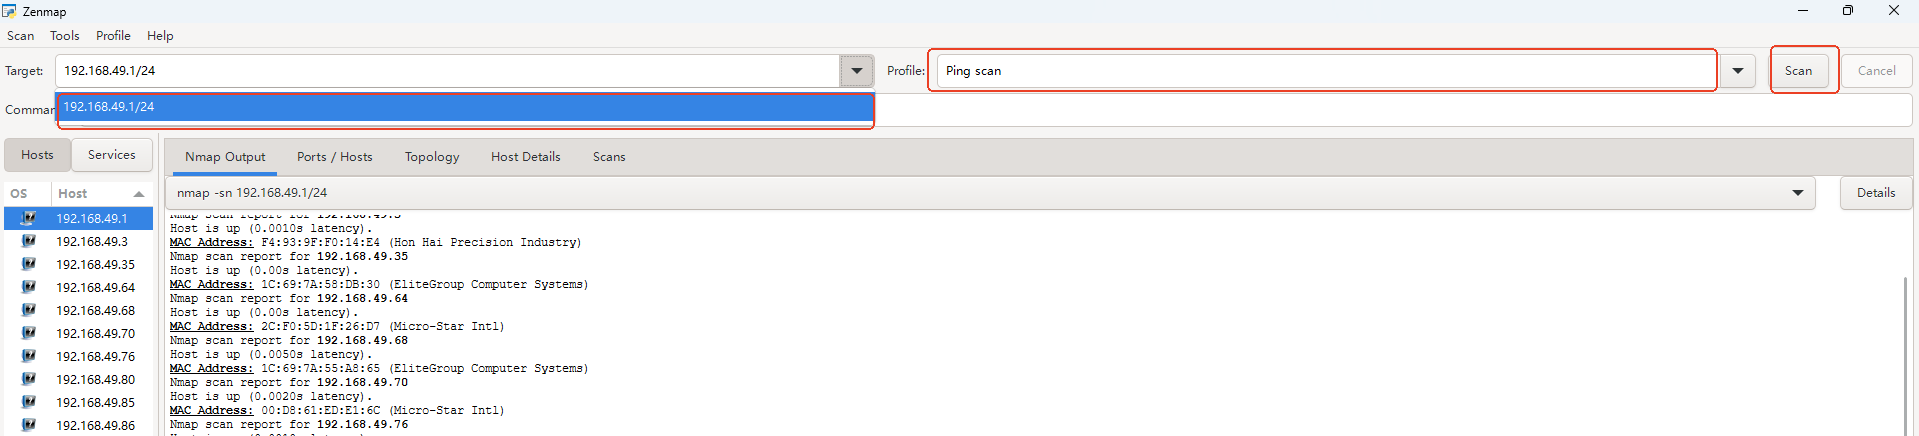
- Record all currently scanned IP addresses.
- Power on the device and ensure it is connected to the network (wait about 10 seconds after power-on is recommended).
- Click the Scan button again to scan all IP addresses in the current LAN.
- Exclude all previously recorded IP addresses; the remaining one is the Pico-G1's IP address.
Step 3: Log in with MobaXterm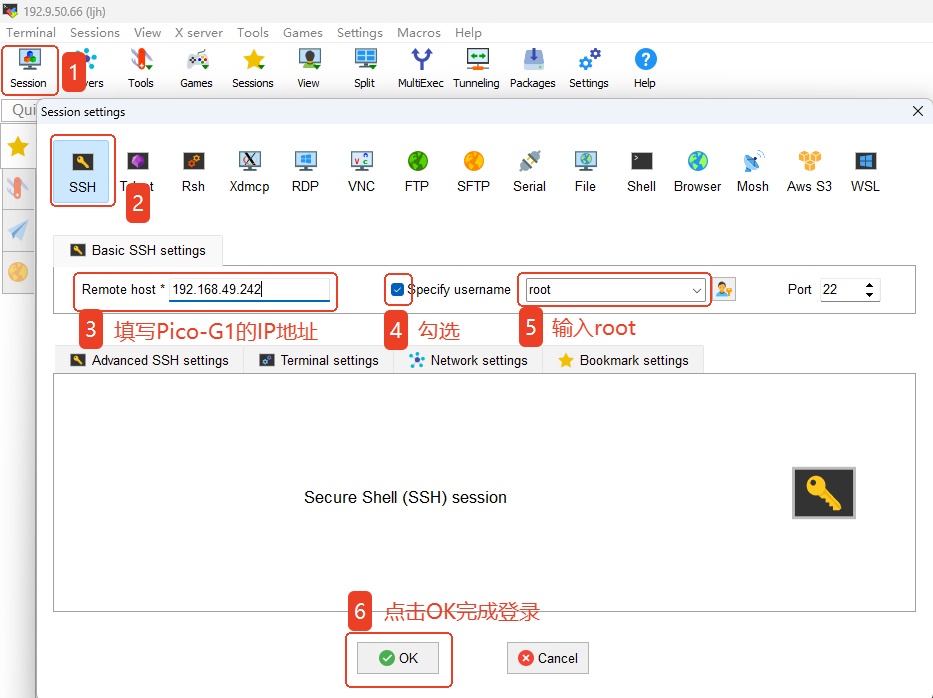 Enter the default user password
 123456 and press Enter. 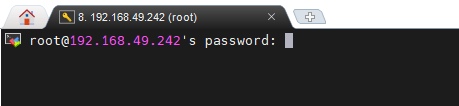
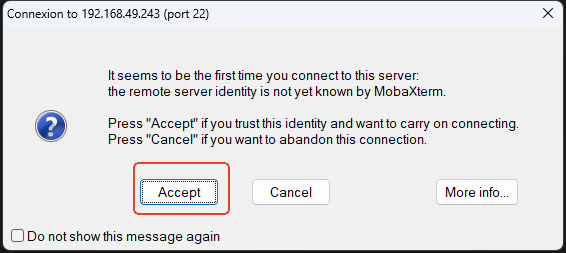
Select Accept.
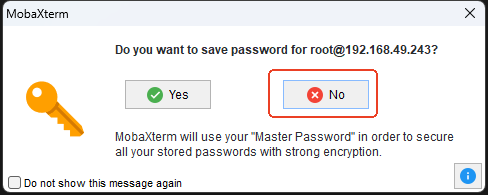
Select No.
Step 4: Successfully logged in